Thermaltake Core P3 Pro Tempered Glass Case Review
Author: Dennis GarciaCore P3 Pro Chassis Assembly
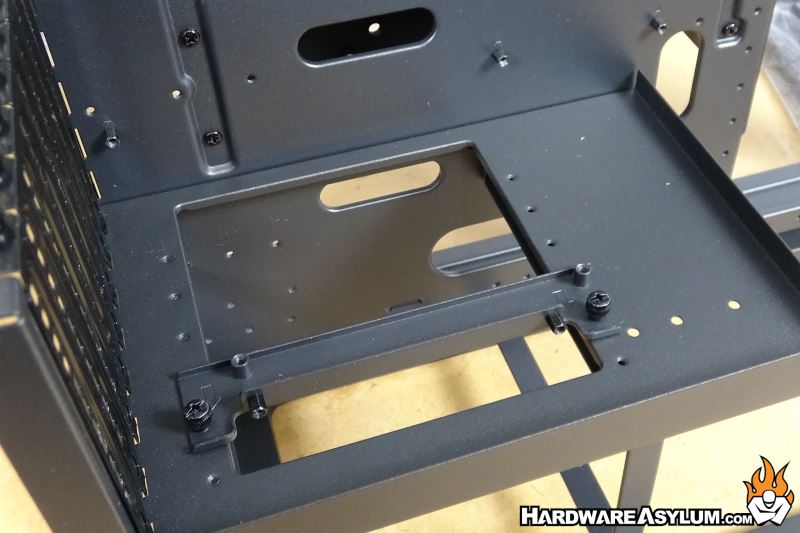
For an experienced system builder, the process of assembling a Core P3 Pro is pretty straight forward and the biggest challenge that I had was finding the right screws. As with any computer build you have a mix of Metric and Standard thread pitches. With the P3 they all seem to have the same appearance so just be careful and if the screw doesn’t want to thread properly, don’t force it.
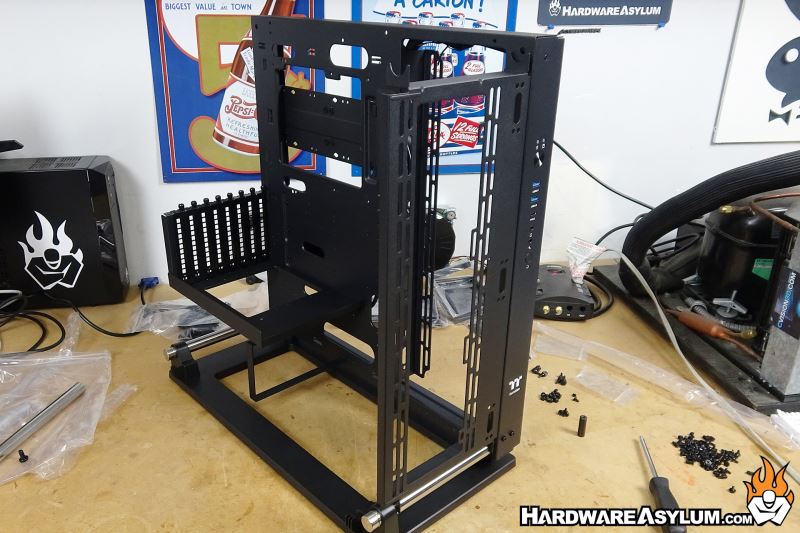
For me the first part was to assemble the base. The Core P3 Tempered Glass Pro offers three basic orientations. The first is flat with the motherboard facing up similar to what you would find in a test bench. Next is vertical, and the orientation I’ll be featuring in this review. The final option is a wall or monitor stand using the VESA mounting holes.
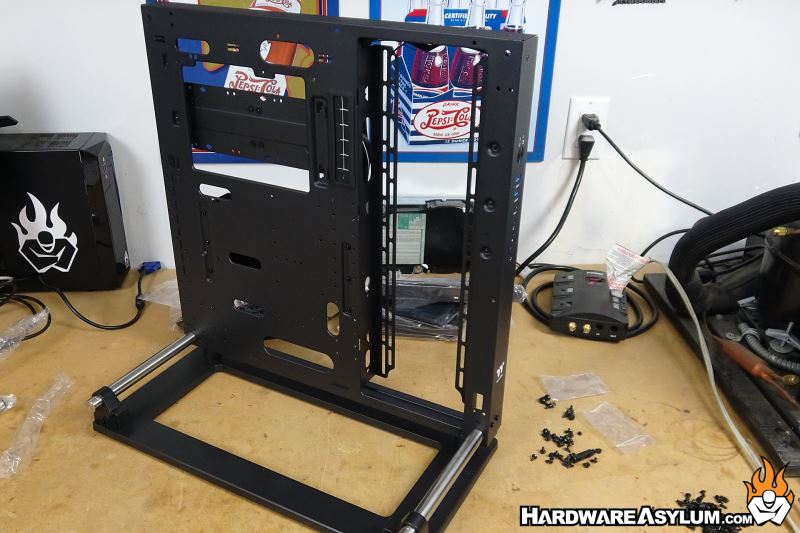
It was a little difficult getting everything lined up correctly but, once all the screws where installed the baseplate was extremely sturdy.
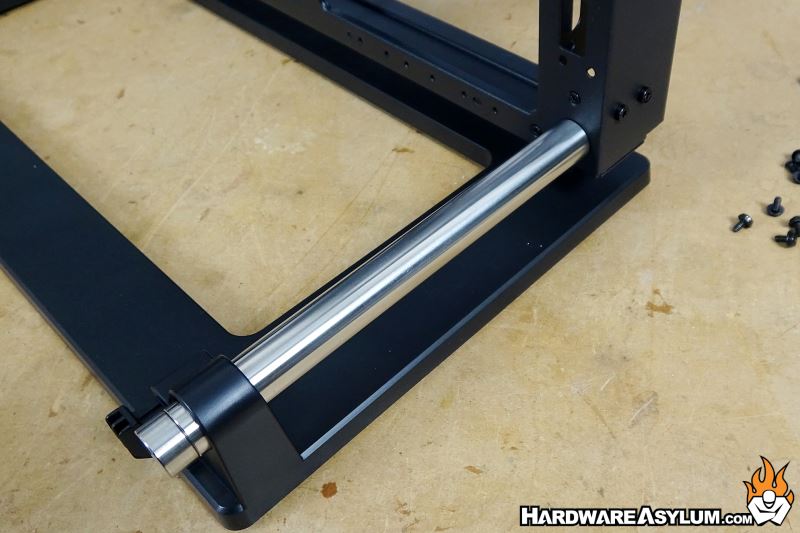
The chrome bars have been featured on every P series chassis that we have reviewed and help give the case a very strong appearance while contrasting well with the black panels. They are constructed from a solid round stock and serve as structural support while also holding the tempered glass panel.
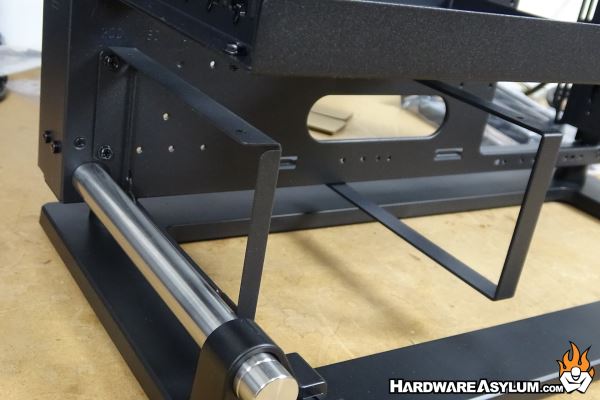
Once the bars are attached you can start placing the other components such as the PSU holder and fan panels.
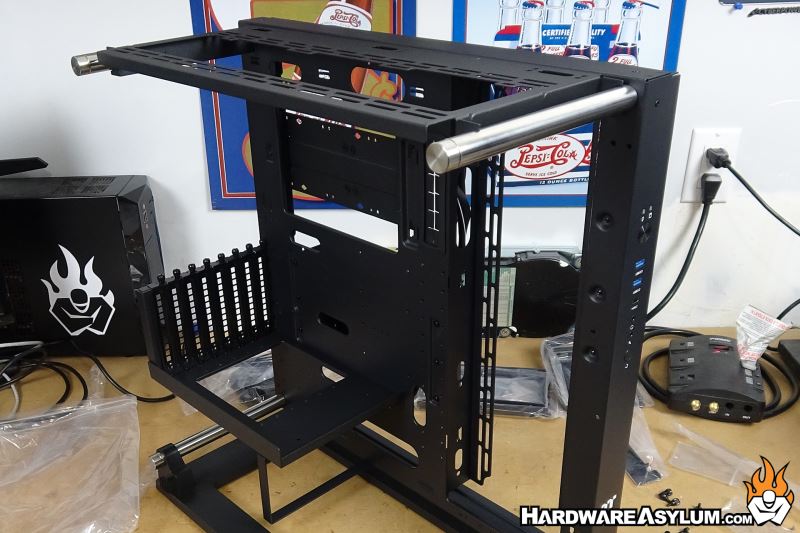
These can be placed across the top or at the front depending on how you wanted to your build to go.
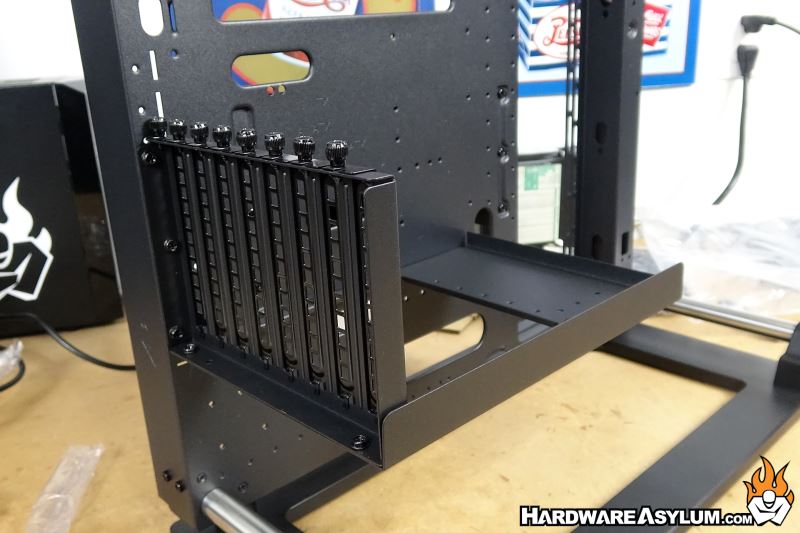
The same is true with the placement of the expansion cards. The Core P3 allows you to decide how the expansion cards will be oriented.