Thermaltake Core P3 Pro Tempered Glass Case Review
Author: Dennis GarciaP3 Chassis Assembly Cont.
Once you have decided how you wanted to assemble the Core P3 Pro you can move on to the interior parts of the chassis starting with cable management.
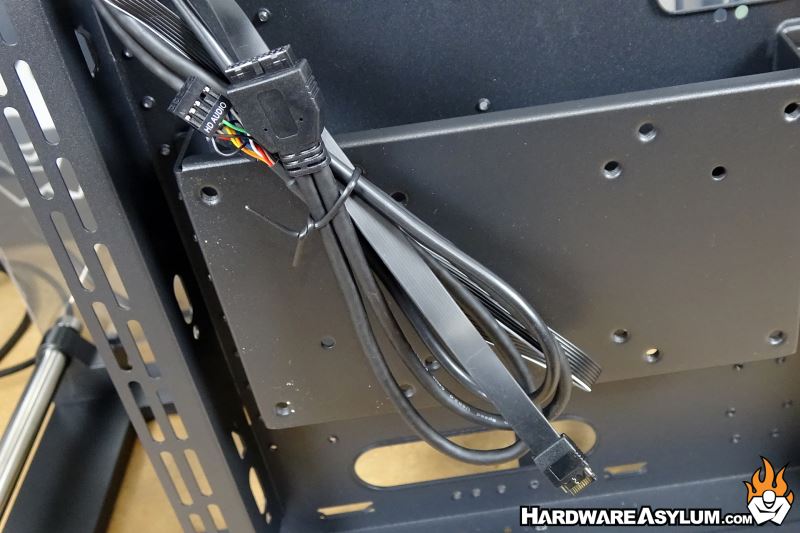
As mentioned, there are several cable holes on the motherboard tray which dump into an extremely large storage area. As with most Thermaltake designs you will find ample cable tiedowns along with various holes for “one off” cables like those from case fans and front panel connectors.
The Core P3 comes pre-wired for front panel audio, USB 3.0 and USB 3.2 Gen 2. You’ll get a large power button, reset button and customary power and hard drive activity lights.
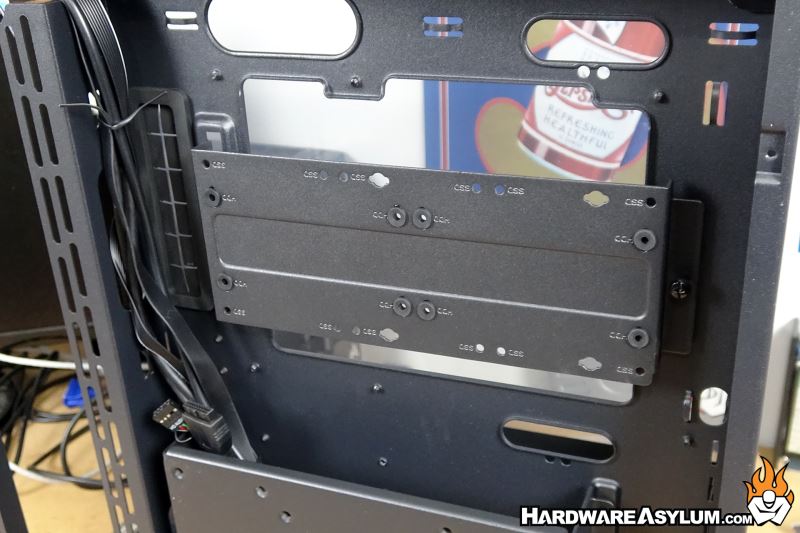
You will get a factory option to install 2x 3.5” hard drives or up to 3x 2.5” SSDs in the provided drive rack. Using additional mounting brackets a total of 5x 2.5 drives are supported.
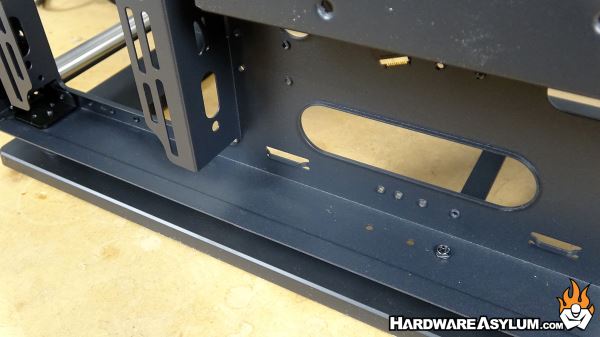
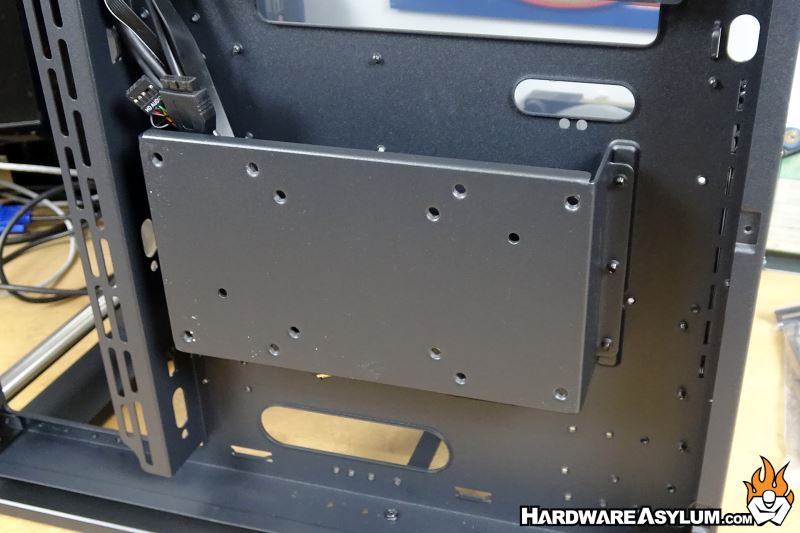
Below the hard drive rack you’ll find the internal support bracket for the VESA mounting system. This panel helps to transfer load from the back panel to the motherboard tray solid support system. Cables can be run behind this bracket, or it can be removed if it is no longer needed.
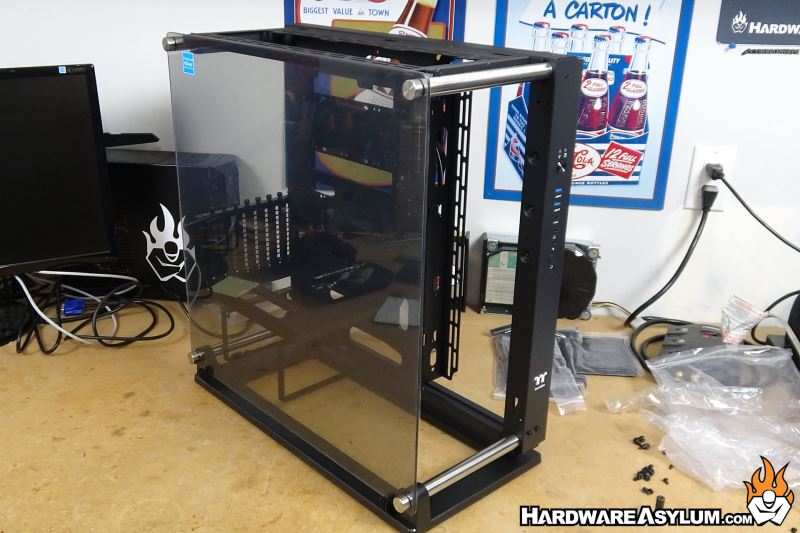
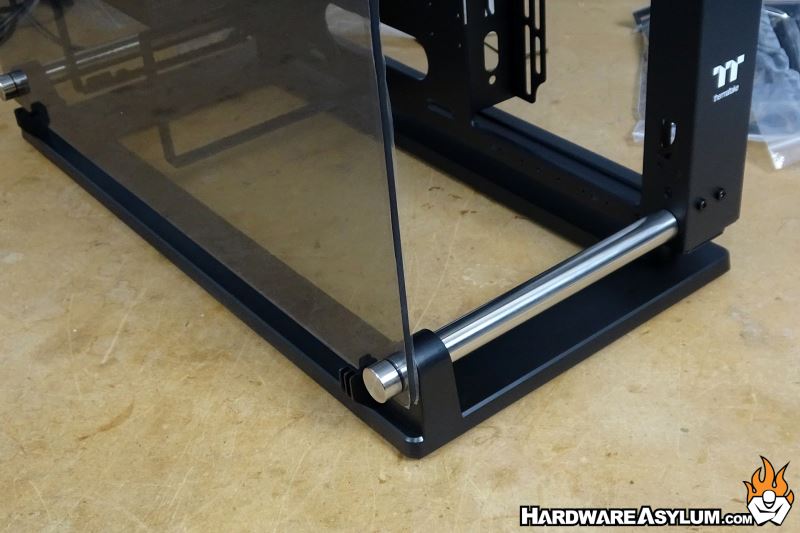
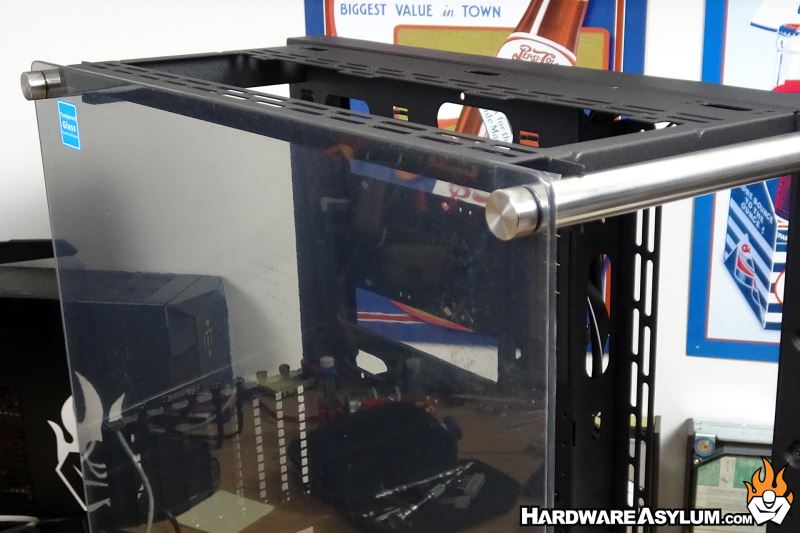
The final part to the chassis assembly process is to install the tempered glass. Thermaltake has provided a very thick glass panel that mounts directly to the chrome posts and works as a secondary support panel to prevent the chassis from flexing.