Cooler Master MasterLiquid ML360 SubZero Review
Author: Dennis GarciaCooler Installation
Installing the MasterLiquid ML360 SubZero is extremely easy and the universal mounting hardware makes the process pretty quick.
We will be testing on the LGA1200 platform with a Core i5 10600K processor. The motherboard is an EVGA Z490 FTW and the process starts with the backplate. It installs in the normal location using the existing mounting holes and is form fitted to match the socket plate.

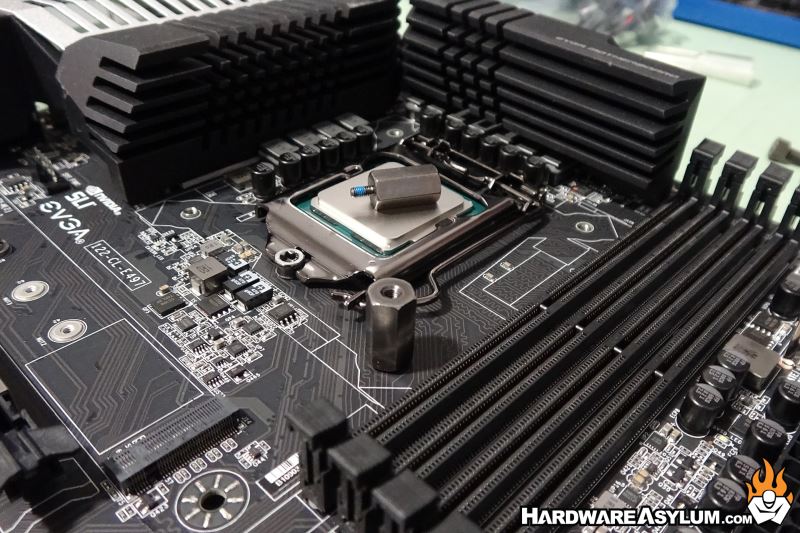
Next you’ll install the standoffs and much to my surprise they resemble how you might install the cooler on an X99 or X299 system. The risers install into the backplate and that is it. I was able to secure the standoffs with my fingers but you could use a wrench if you wanted. Keep in mind they don’t need to be tight, just snug.
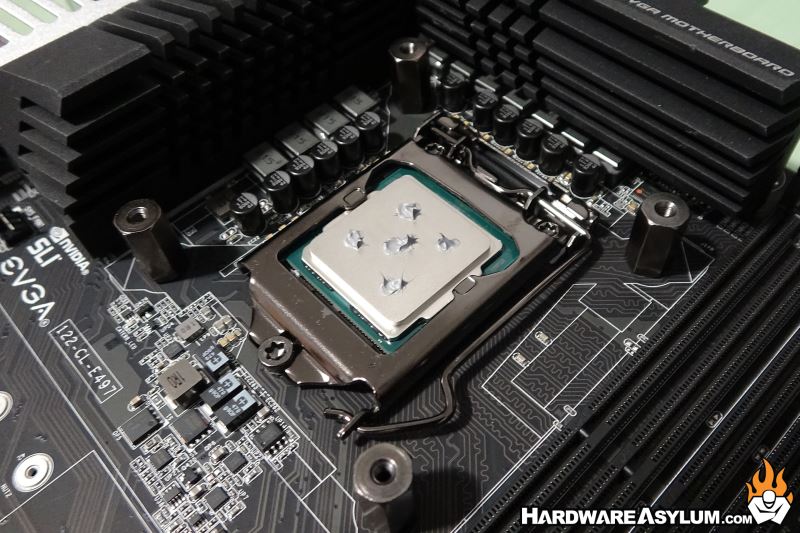
As with all of my cooler tests I’m using my own thermal paste and prefer to use the 5-dot method which involves five small dots on the processor in an X pattern. Despite the SubZero offering below zero cooling performance there is no need to use any special thermal paste, except maybe liquid metal.

Finally install the waterblock and secure it using the four spring screws that have been pre-installed. Secure them with a couple of turns each from opposite sides of the cooler until they stop.
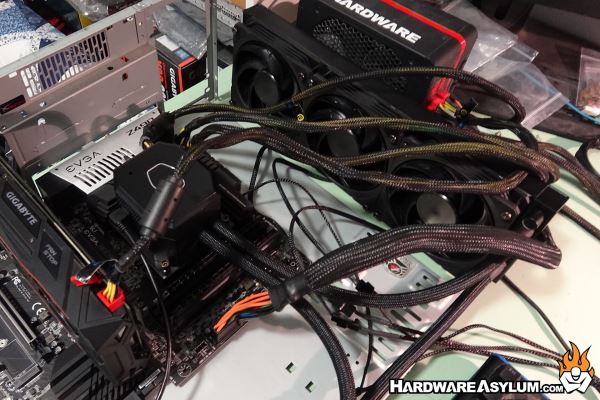
The final, final step will be to wire this cooler up. As you can see that is quite the process especially when you consider that each fan has a properly sized tail, you need to run a PCI Express power cable to the cooler and hook up the USB connection to a motherboard header.
You also get to contend with another set of hoses as you remotely mount the pump to the side of your case.