Danger Den DD-M6 Waterblock Review
Author: Dennis Garcia
Published: Tuesday, January 31, 2012
Installation
Installing heatsinks on the LGA2011 is a little different from what we are accustomed to. Instead of mounting the heatsinks directly to the motherboard you mount them to the CPU retention plate. Lucky for us LGA2011 platform does allow for there to be holes in the motherboard so we have some options when installing aftermarket coolers and waterblocks.
The first step is to clear the thin gasket between the retention plate and the PCB. This serves as an insulation barrier and also attempts to block things from passing thru. To clear these holes we found it best to simply thread the bolt thru the mounting hole until it passes thru to the other side.
The first step is to clear the thin gasket between the retention plate and the PCB. This serves as an insulation barrier and also attempts to block things from passing thru. To clear these holes we found it best to simply thread the bolt thru the mounting hole until it passes thru to the other side.
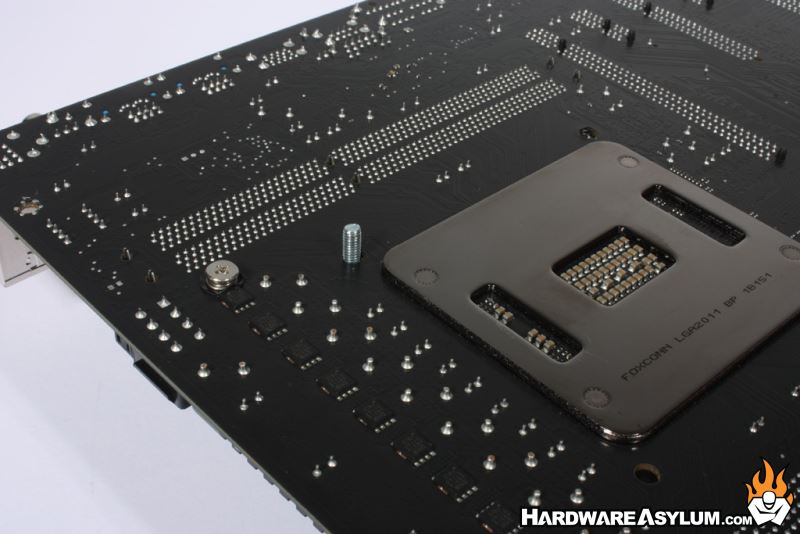
You'll want to do this for all four holes.
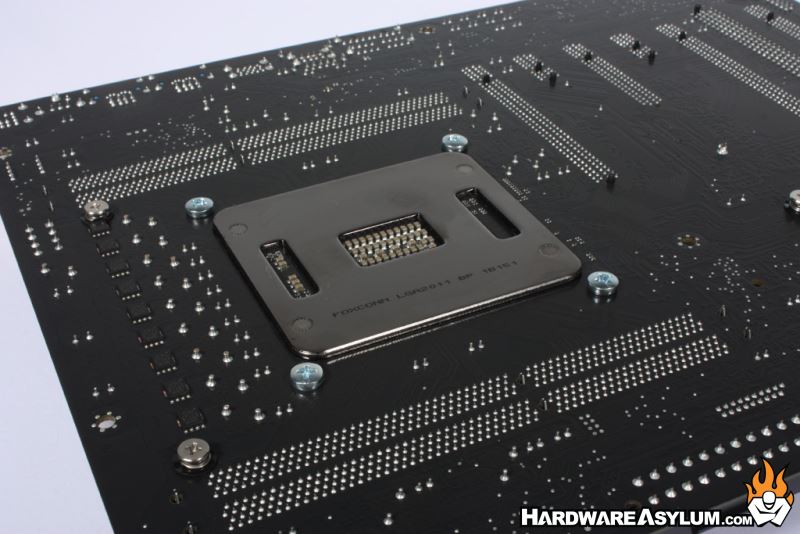
Next reverse the bolts so they thread up from the back of the motherboard and secure them finger tight. Use the included 4mm nuts to jam the screws in place. At this point you are ready to mount the waterblock.
First install the CPU and apply your favorite thermal paste. We prefer to use the 5 dot method placing 5 small dots of paste on the CPU.
Next place the M6 waterblock over the CPU paying careful attention as to where the "IN" is located in relation to where the inlet hose will be.
Place the included springs on each of the corners and you'll be ready for the final step.
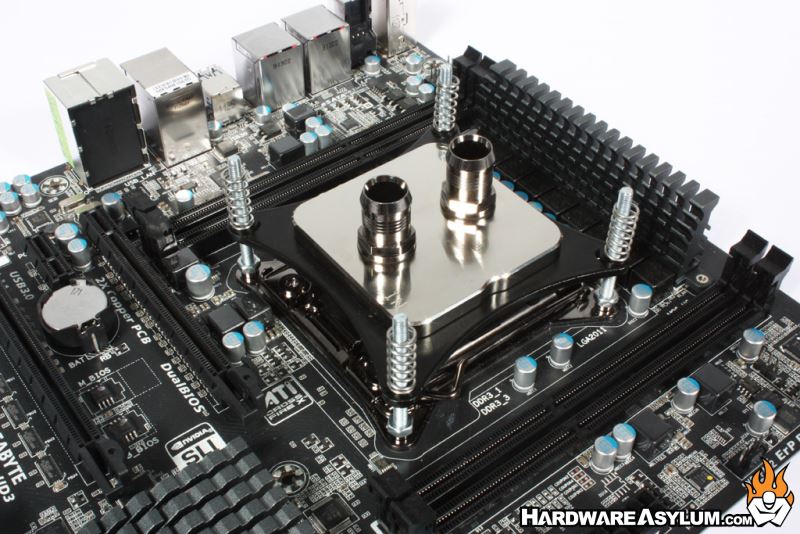
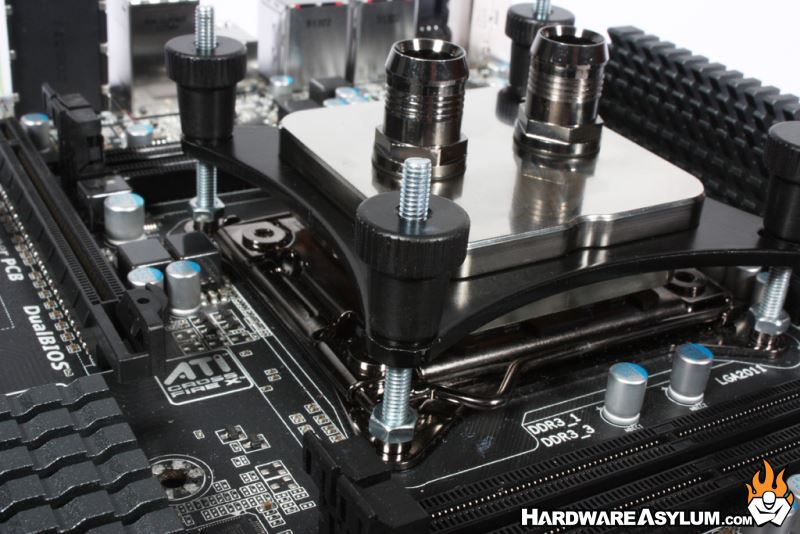
A new feature making its debut with the Danger Den DD-M6 waterblock is a set of specially designed thumb screw that not only looks great but removes the guess work when it comes to how much spring pressure you need. When the screw almost touches the surface of the waterblock you are done.
Normal installation procedure applies so tighten the thumbscrews opposite of each other in stages to ensure even pressure and give yourself the best chance for a good mount.
Normal installation procedure applies so tighten the thumbscrews opposite of each other in stages to ensure even pressure and give yourself the best chance for a good mount.