Thermaltake FrioOCK Heatsink Review
Author: Dennis Garcia
Published: Tuesday, July 12, 2011
Installation
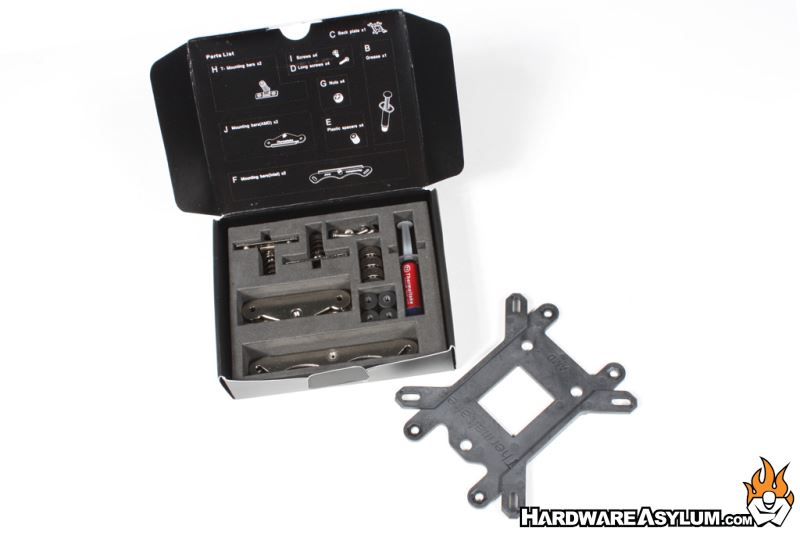
Installing the FrioOCK is pretty straight forward. The first thing you will notice is the handy package Thermaltake is using to hold all of the installation hardware. The black plate is made from a composite material and features a universal mounting configuration for both AMD and Intel systems.
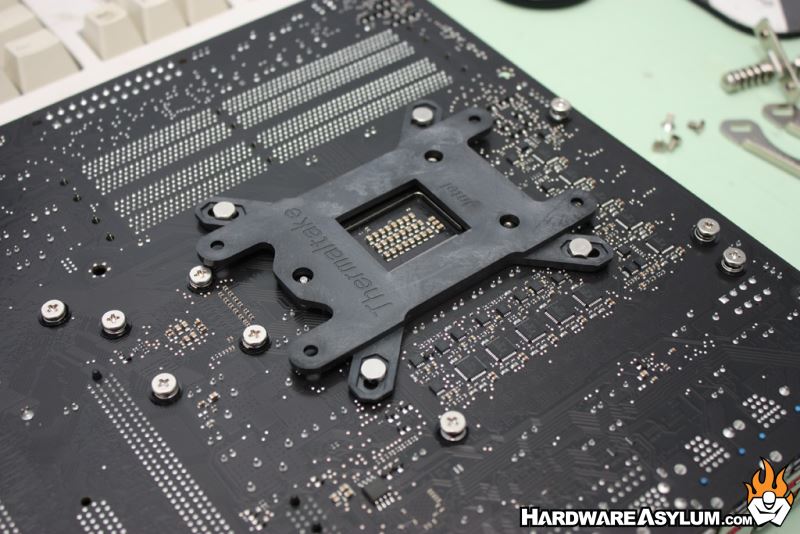
You get started by aligning the back plate over the CPU reinforcement plate using the exposed screws as a guide. Next you'll insert a mounting screw and secure it in place using one of the plastic spacers. These spacers are threaded so they will hold the mounting screws in place for the next step.
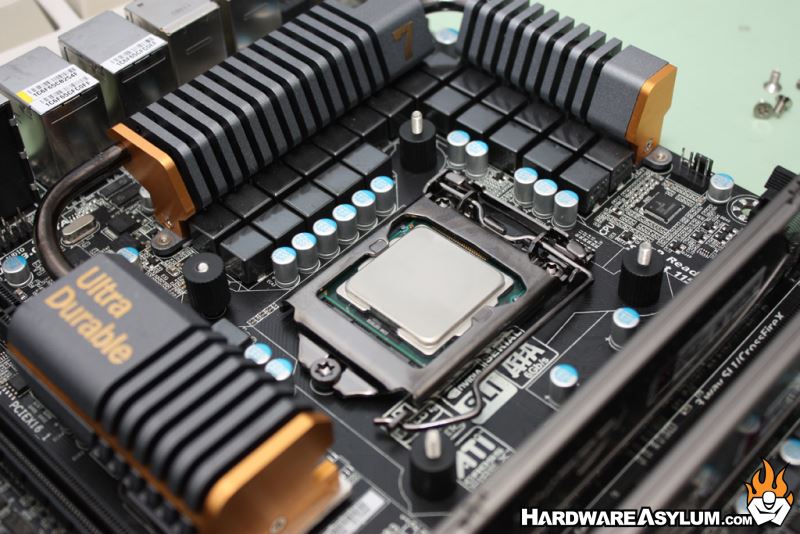
There are two mounting plates depending on what system you are using. Since we are using a LGA1155 for this build we'll use the longer plates and lock them down using the included metal thumbscrews.
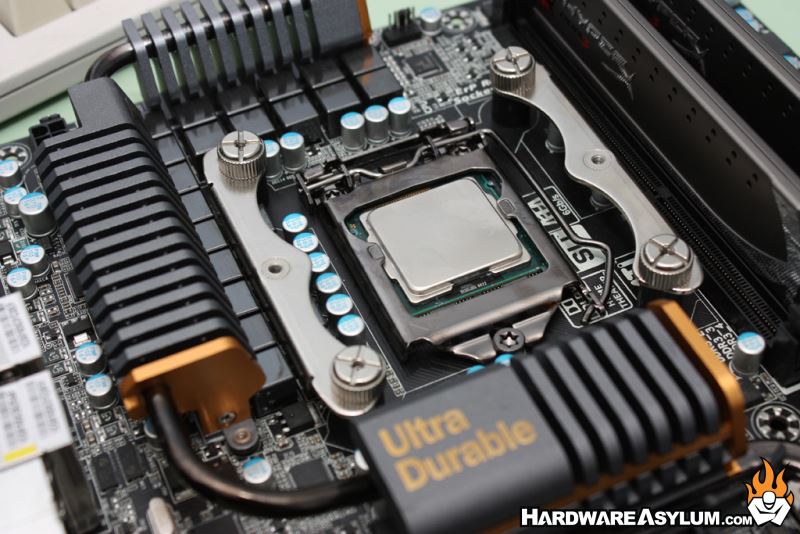
To attach the heatsink you need to install the mounting screws to the heatsink base. These simply attach with one on each side. The mounting screws will then line up with the screw holes on the mounting plates we just installed.
To attach the heatsink you need to install the mounting screws to the heatsink base. These simply attach with one on each side. The mounting screws will then line up with the screw holes on the mounting plates we just installed.
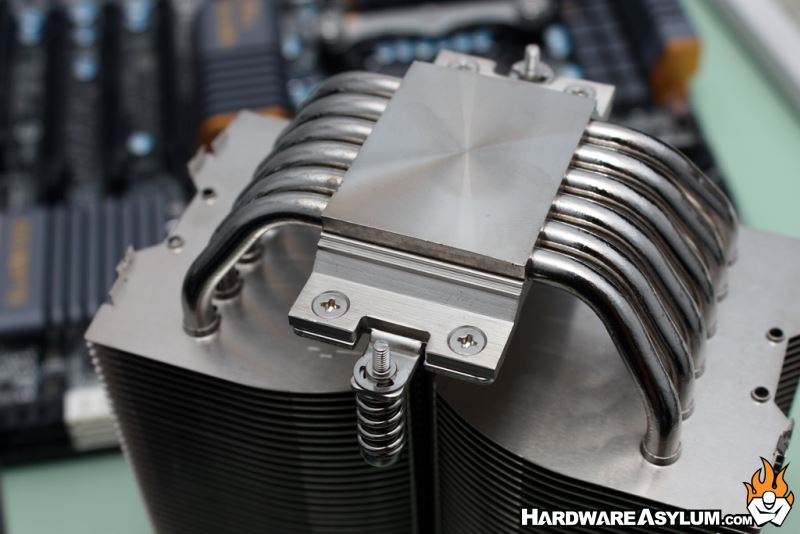
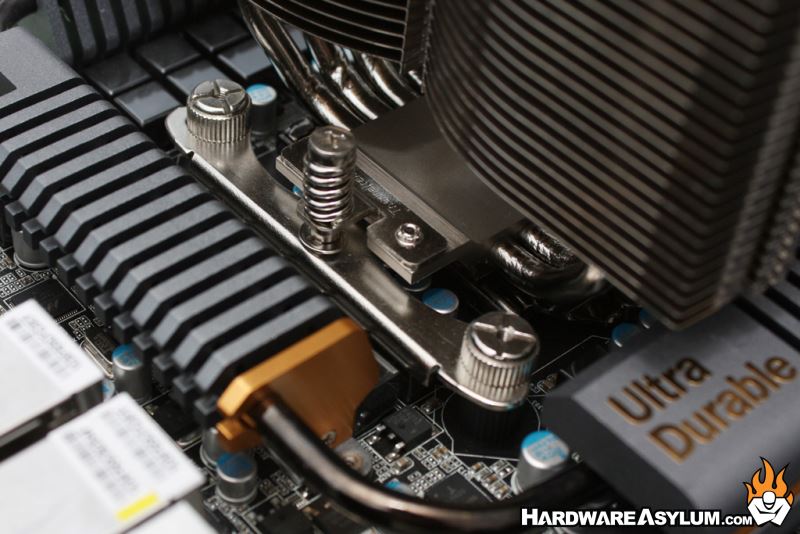
Apply some thermal paste and secure the mounting screws until they stop. The spring pressure will hold the heatsink down and also apply equal force across the heatsink base.
The last step will be to install the fan assembly and connect the fan header. The fans are PWM compatible but also come with a manual dial to change the max RPM level to meet your needs. Depending on your system the fans will spin up during system start but settle down shortly after the BIOS initializes.
The last step will be to install the fan assembly and connect the fan header. The fans are PWM compatible but also come with a manual dial to change the max RPM level to meet your needs. Depending on your system the fans will spin up during system start but settle down shortly after the BIOS initializes.