Noctua NH-C14 Heatsink Review
Author: Dennis Garcia
Published: Thursday, May 19, 2011
Installation
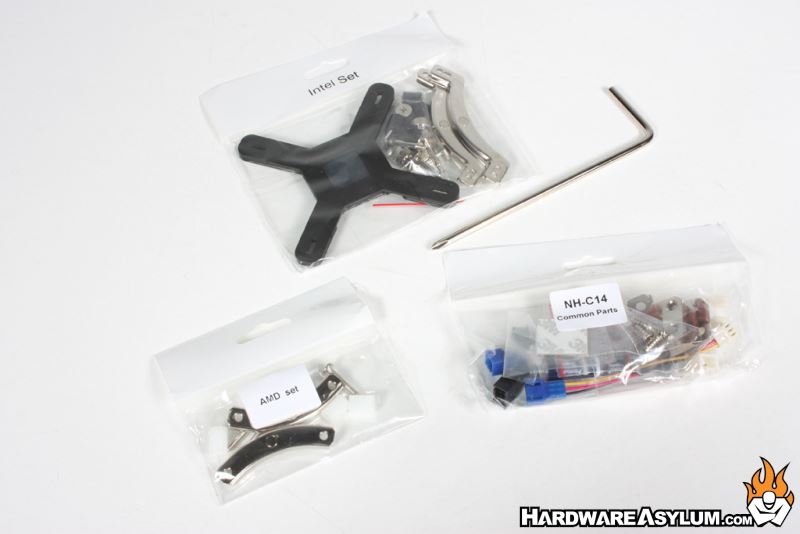
Installing the Noctua NH-C14 is pretty straight forward, the accessory box comes with everything you will need including the reinforced back plate, fan tail accessories (to control fan RPM), screw driver, and mounting plates for both A64 and Intel processors.
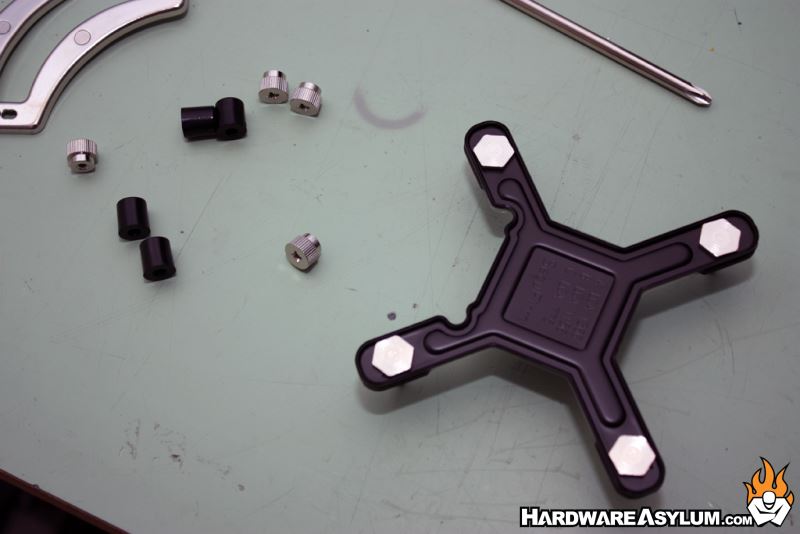
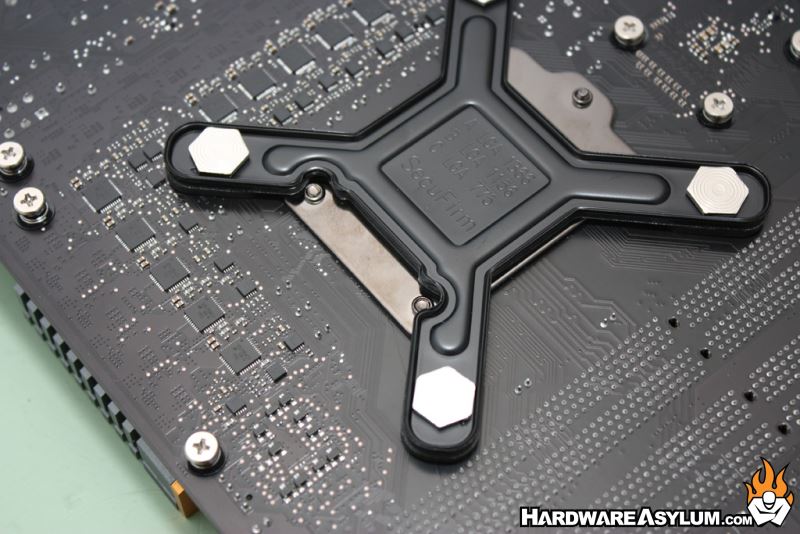
You start by installing the back plate and placing the included spacers over the exposed threaded posts.
Next you secure the mounting plates to those posts using the included screw caps. These simply lock down without any sort of spring pressure.
Next you secure the mounting plates to those posts using the included screw caps. These simply lock down without any sort of spring pressure.

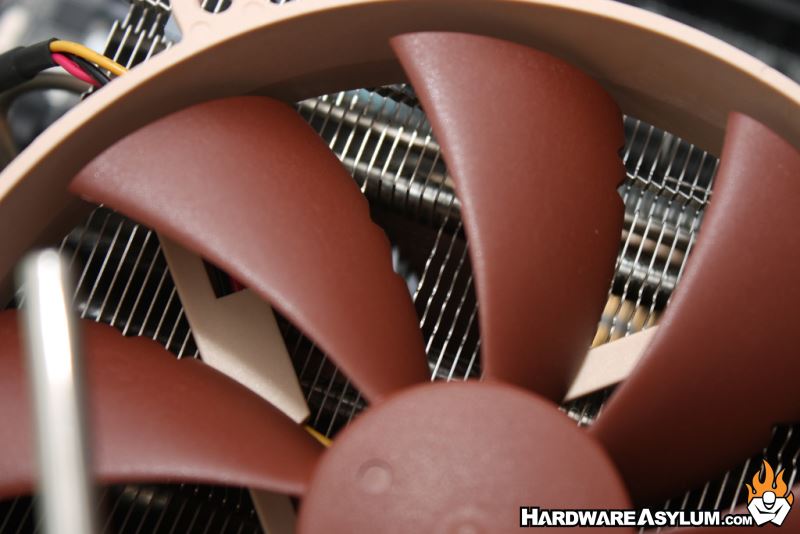
Due to the size of the heatsink you need to do a trial fit to determine the best way to install the heatsink, we choose to face the heatsink so the heatpipes are near the memory modules. This allows for the fans to blow down on the PWM coolers and kept the cooler contained within our system confines.
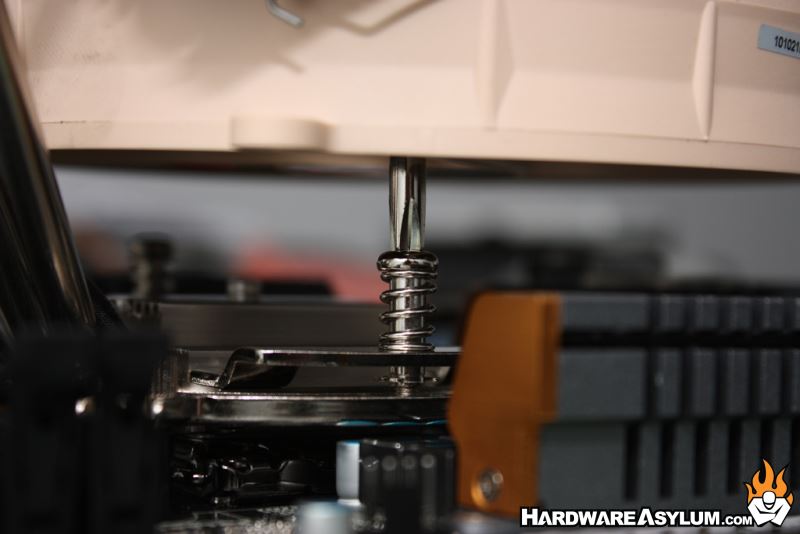
To secure the heatsink you need to use a very long screwdriver since you access the mounting screws through the top of the heatsink.
When you are done plug in the fan headers and away you go.
When you are done plug in the fan headers and away you go.
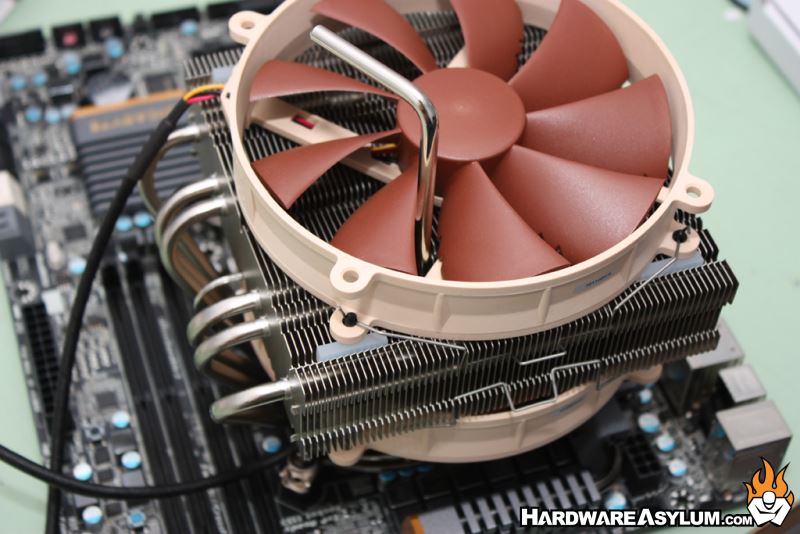
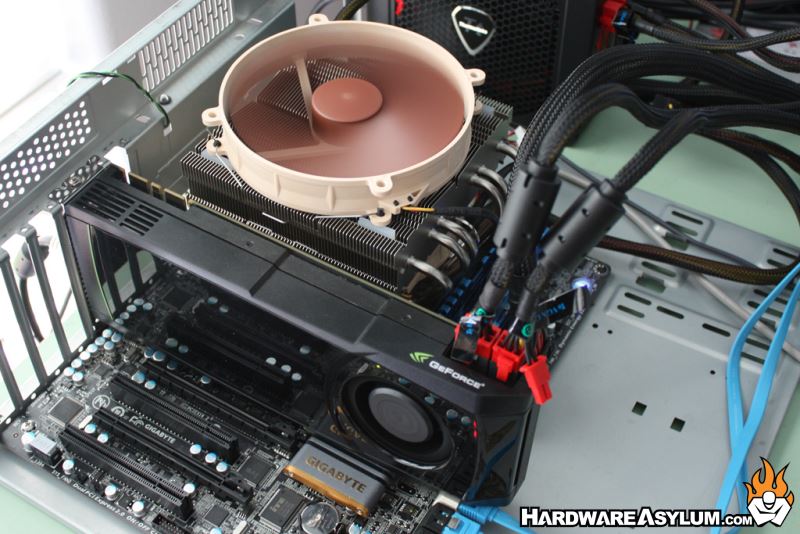
We did mention that the NH-C14 was a rather large heatsink?, despite the overall size we are rather pleased at how well it installed on our Gigabyte Z68X UD7 motherboard. Without the top fan the NH-C14 is no taller than a standard graphics card and should fit in every modern chassis.