Noctua NH-L9i Low Profile Heatsink Review
Author: Dennis Garcia
Published: Thursday, February 07, 2013
Installation
Installing this heatsink is extremely easy, in fact, almost too easy.
Let's start with the included goodies.
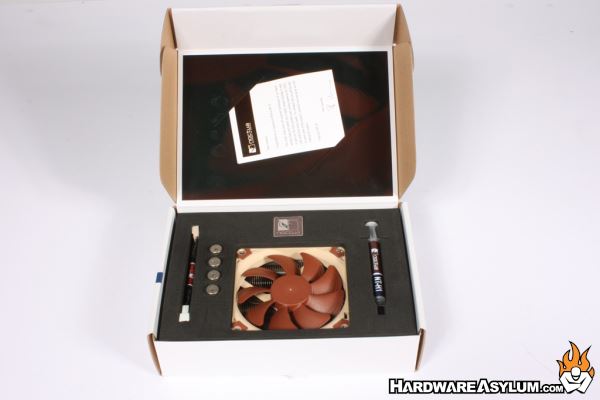
Some say that presentation is 90% of the sale and if that holds true then put me down for 10 because the way this heatsink is presented to you out of the box is totally amazing. Everything is displayed and held in place with soft closed cell foam.
Let's start with the included goodies.
Some say that presentation is 90% of the sale and if that holds true then put me down for 10 because the way this heatsink is presented to you out of the box is totally amazing. Everything is displayed and held in place with soft closed cell foam.
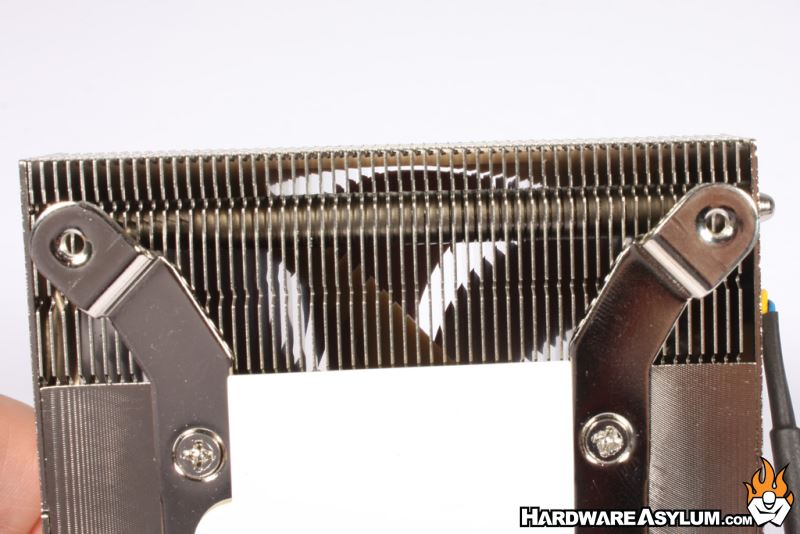
To install this cooler you must first remove the protective cover and locate the mounting holes for the screws, you can't miss them. Another thing you cannot miss is the single heatpipe that runs across the leading edge of this cooler. The same is duplicated along the opposite edge.
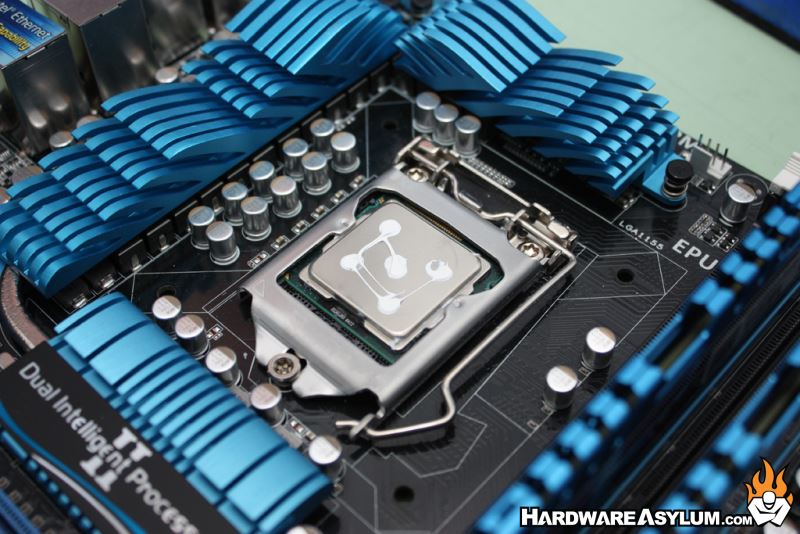
Thermal paste is then applied. As always we prefer the 5-dot method leaving small dabs of thermal paste in a cross pattern on the CPU. This method gives you excellent coverage and doesn't introduce air pockets that you might find when you spread the paste out.
This next part is somewhat tricky. You need to hold the heatsink in place while flipping the entire assembly over to expose the bottom of the motherboard. From there you can take the four mounting screws and secure the heatsink in place. Tighten the screws in a cross pattern finger tight until they stop.
This next part is somewhat tricky. You need to hold the heatsink in place while flipping the entire assembly over to expose the bottom of the motherboard. From there you can take the four mounting screws and secure the heatsink in place. Tighten the screws in a cross pattern finger tight until they stop.
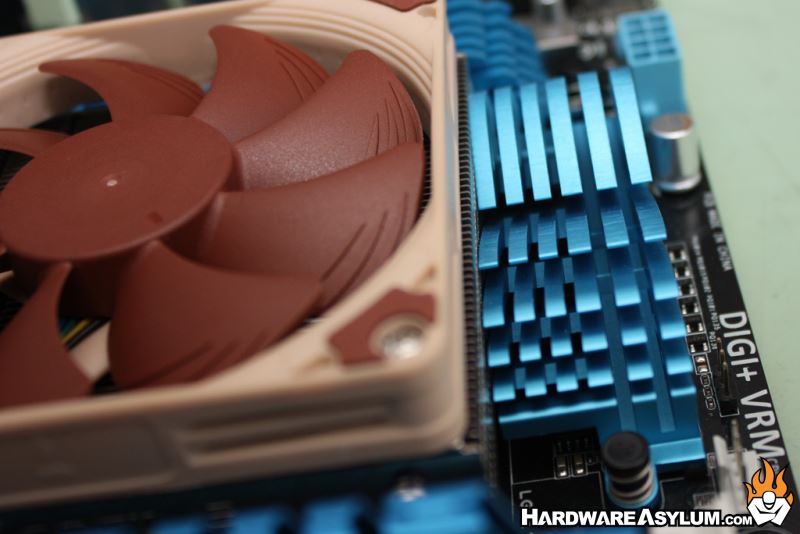
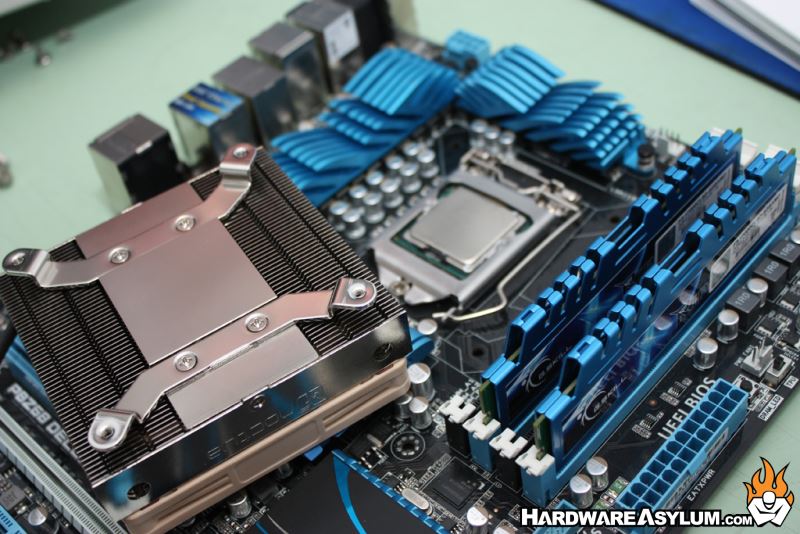
One thing we noticed with this cooler is how close it sits to the PWM heatsinks positioned around the processor. Care must be taken in these situations to ensure the PWM cooler doesn't move and still makes good contact with the mosfets. Chances are your installation will not have this issue since it isn't likely that you'll be using the NH-L9i on an Asus P8Z68 Deluxe.
The final step is to plug in the fan and check your work.
The final step is to plug in the fan and check your work.