Noctua TRX4 Threadripper Cooler Roundup
Author: Dennis GarciaCooler Installation
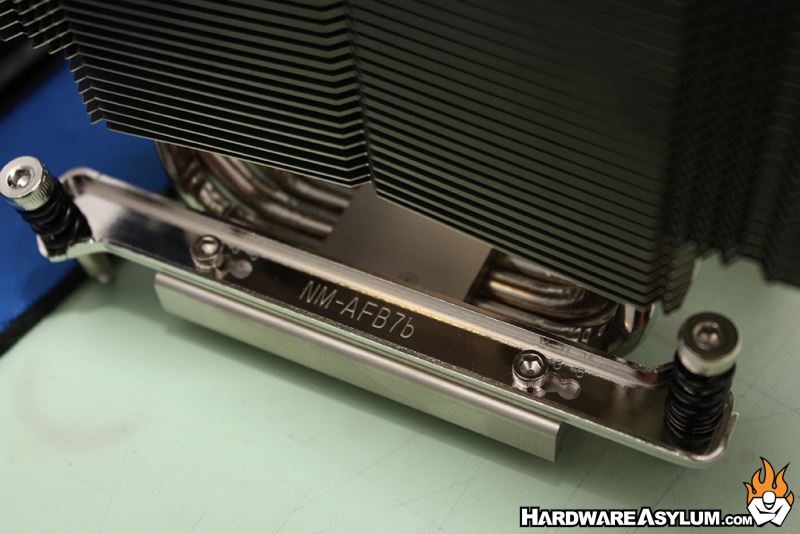
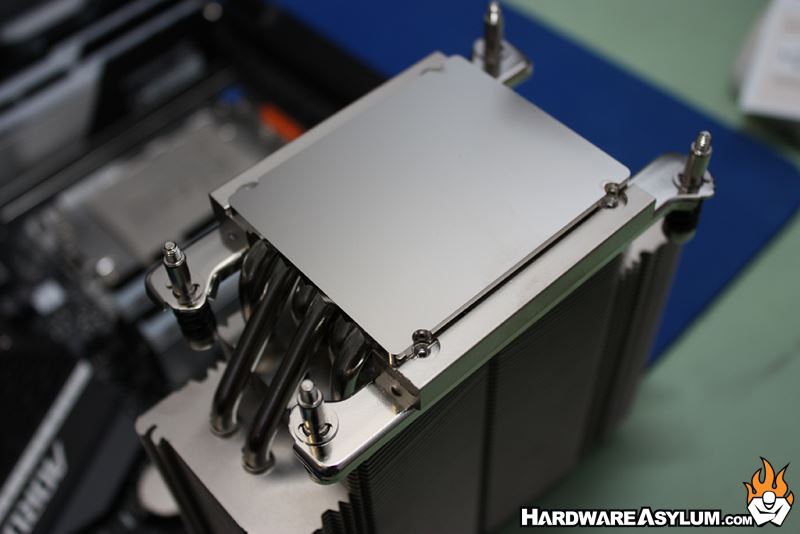
Installing any Noctua heatsink is extremely easy using their universal mounting system. The TR4-SP3 coolers take it one step further by removing the mounting rails and instead using a direct mount with four spring screws on each corner.
To help with fitment the mounting rails offer vertical adjustments allowing the cooler to slide a few millimeters in each direction. This can help ensure the cooler will clear heatsinks on the motherboard but won’t do much for memory modules.
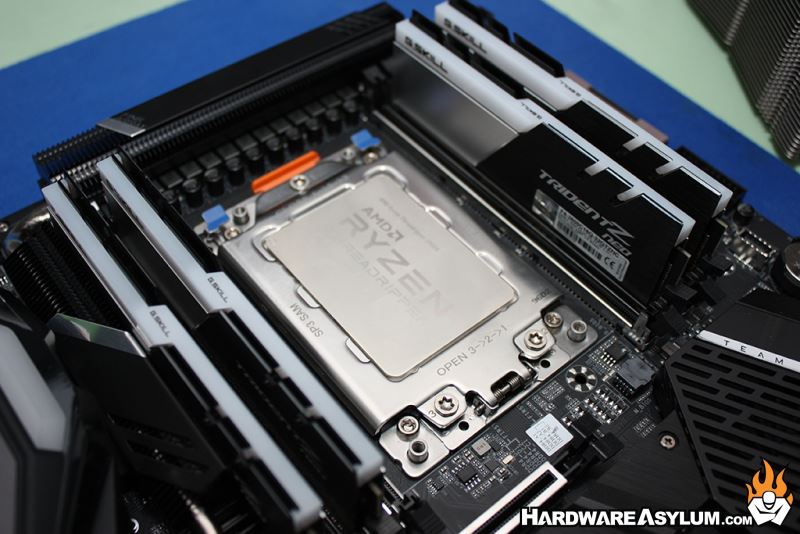
Turns out I needed to adjust the NH-U14S TR4-SP3 to work with the TRX40 Aorus Master and the large VRM cooler located across the top of the motherboard.
Big chips require more thermal compound and most recommend a variation of the 5 dot method we use in the Hardware Asylum Labs. The new recommendation does a combination of big dots and small dots in a grid to ensure proper coverage.
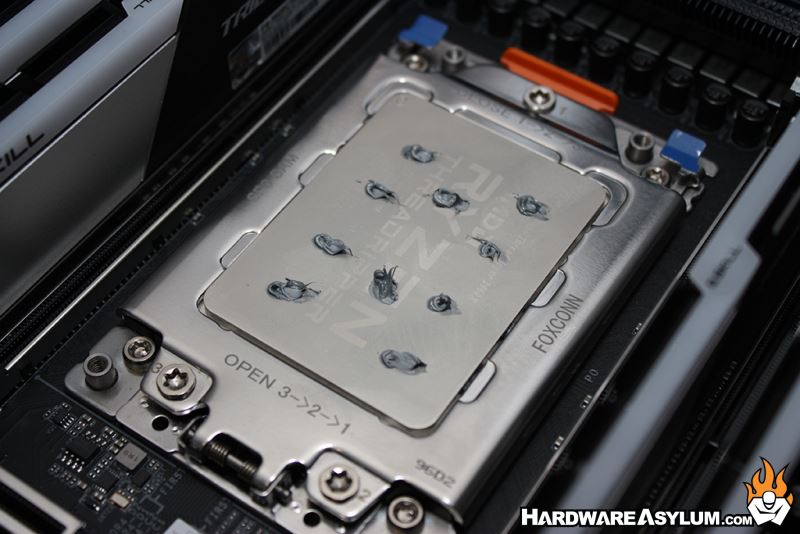
I created my own variation by combining two 5-dots together and found it to cover extremely well.
Each TR4-SP3 cooler can only be installed one way and the screws on the mounting rail will need to match those on the socket. Be sure to use the supplied allen key wrench and alternate tightening each screw until they bottom out.
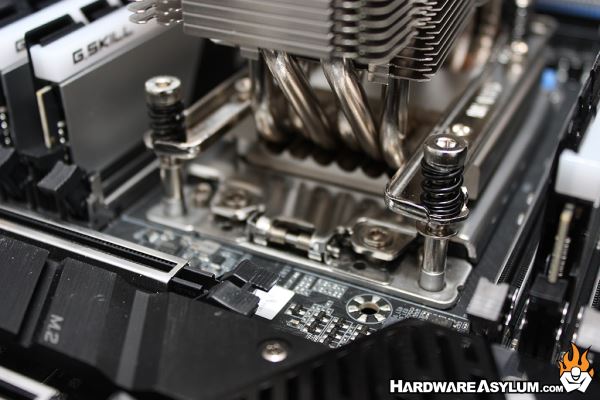
Each TR4-SP3 cooler can only be installed one way and the screws on the mounting rail will need to match those on the socket. Be sure to use the supplied allen key wrench and alternate tightening each screw until they bottom out.
Hook up a fan and you are ready to go.
The final photo shows the NH-U14S TR4-SP3 fully installed with a set of GSKill TridentZ memory. TridentZ modules are extremely popular and can be used with this cooler provided that only a single quad channel kit is installed.