Thermaltake Toughliquid 360 ARGB AIO Watercooler Review
Author: Dennis GarciaCooler Installation
Installing the Toughliquid 360 ARGB is extremely easy thanks to the cooling installation hardware that I have also seen before. However, for those who have not installed a heatsink in a while lets go over the high-level details.
We will be testing on the LGA1200 platform with a Core i9 10900k processor which will require the backplate which is the first step. It installs in the normal location using the existing mounting holes and is form fitted to match the socket plate.
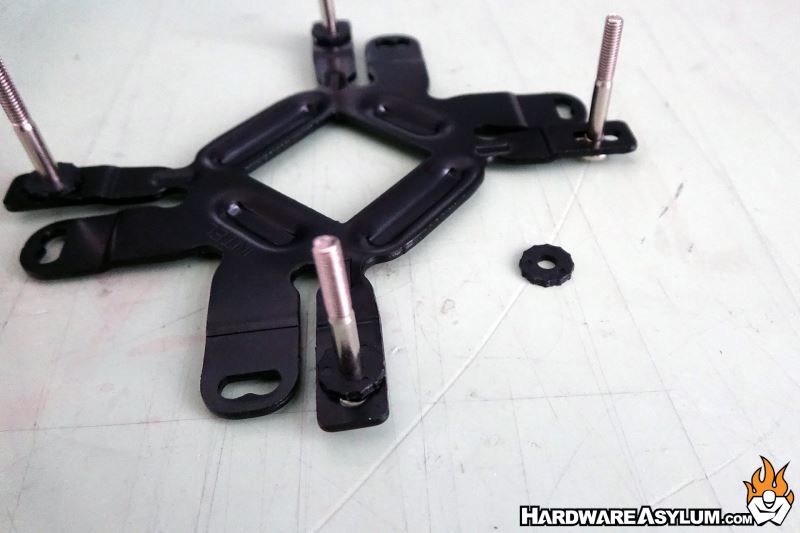
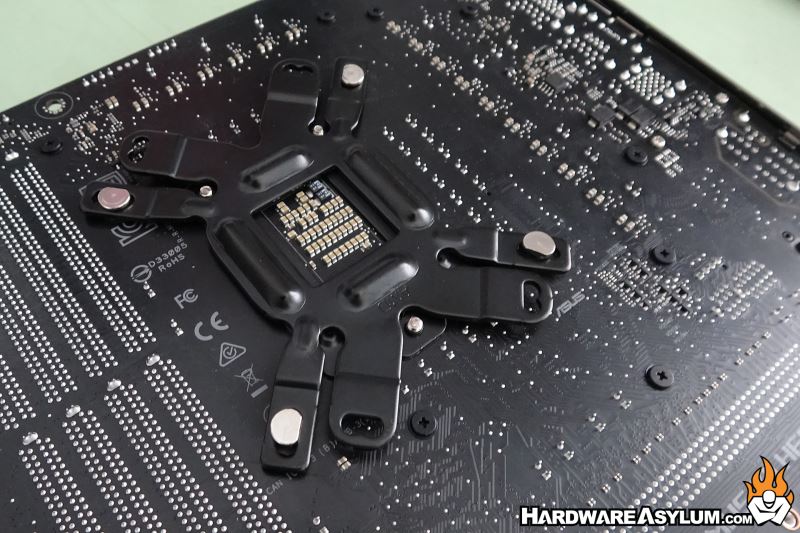
Before the backplate can be installed you need to first install the fitted metal posts making sure to align them into the proper “notch” in the backplate. For LGA 1xxx that will be the middle notch. These posts are then held in place with some plastic rubber washers. The washers really keep the posts from falling out while you install the backplate, after that they provide a little support against the back of the motherboard PCB.
Next you need to build a base for the heatsink to sit on and you do with by installing four plastic spacers. The space has a right way and a wrong way to install it and if you feel resistance when pushing the spacer down you have done it correctly. If it just falls down on the post, flip the spacer around and try again.
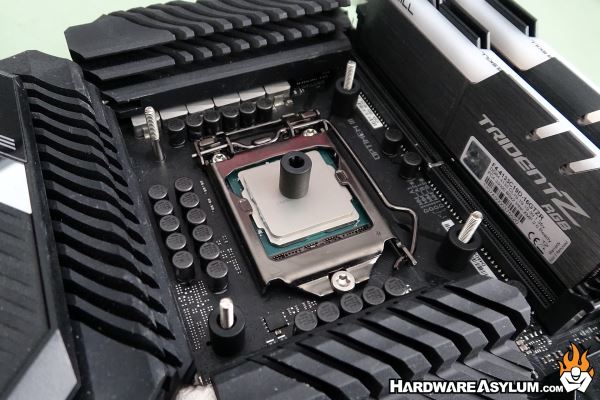
The final two steps are to apply some thermal compound. I prefer the 5-dot method which involves five small dots on the processor in an X pattern. The dots spread and will always cover the entire CPU.

At the same time, I like to also install the cooling fans. As this test will be carried out on an open-air test bench I will just attach the fans to the inside of the radiator. When installing in your chassis you have the option to sandwich the fans between the case and cooler, or mount the radiator directly to the case with the fans on the outside. Your build will dictate which method you choose.
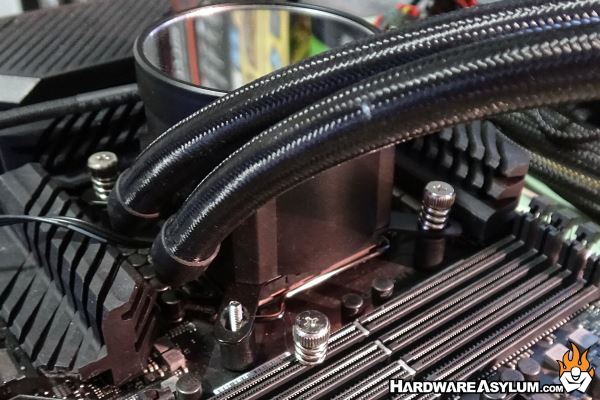
To wrap everything up install the pump block and secure it with the four spring nuts included with the cooler. Tighten each nut one turn in an X pattern until they bottom out, Attach the fan tails and pump power connection and you are ready to rock.