Thermaltake Toughliquid Ultra 360 AIO Watercooler Review
Author: Dennis GarciaCooler Installation
Installing the Toughliquid Ultra 360 is extremely easy and can be done in just a small handful of steps and, for me, is a very familiar process. However, for those who have not installed a heatsink in a while lets go over some of the high-level details.
We will be testing on the LGA1700 platform with a Core i9 12700k processor. This platform will require using a backplate, which is the first step. It installs in the normal location using the existing mounting holes and is form fitted to match the socket plate.


You will want to flip the motherboard over for this next step. Place a hand over the backplate to keep it in place and set it down flat on your work surface. If the plate moves, repeat the steps or simply align it as needed. Now, if you are installing this cooler and the motherboard is already installed you’re going to need to just hold it in place for the next step.
Next you need to build a base for the heatsink to sit on and you do with by installing the four mounting posts. These thread into the backplate through the holes in the motherboard. These only need to be finger tight.

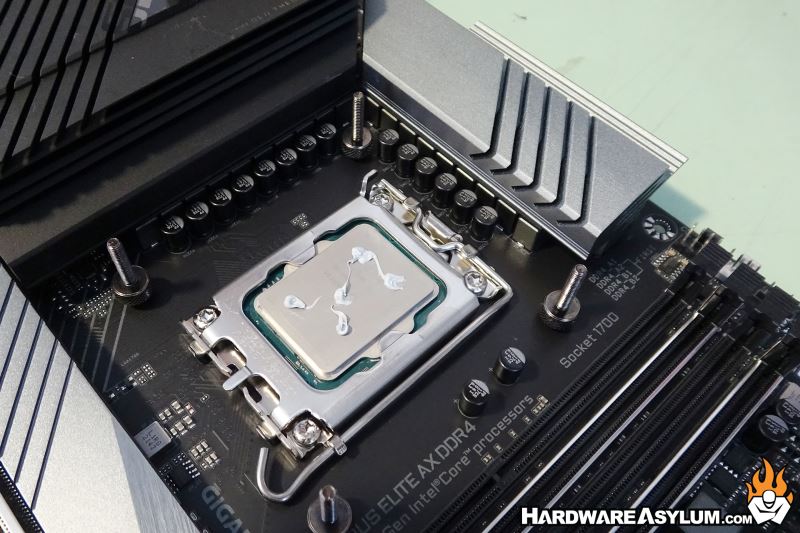
The final two steps are to apply some thermal compound. I prefer the 5-dot method which involves five small dots on the processor in an X pattern. The dots spread and will always cover the entire CPU. These are a big messy but, they work the same and its really the location of the compound over how pretty the dots are.
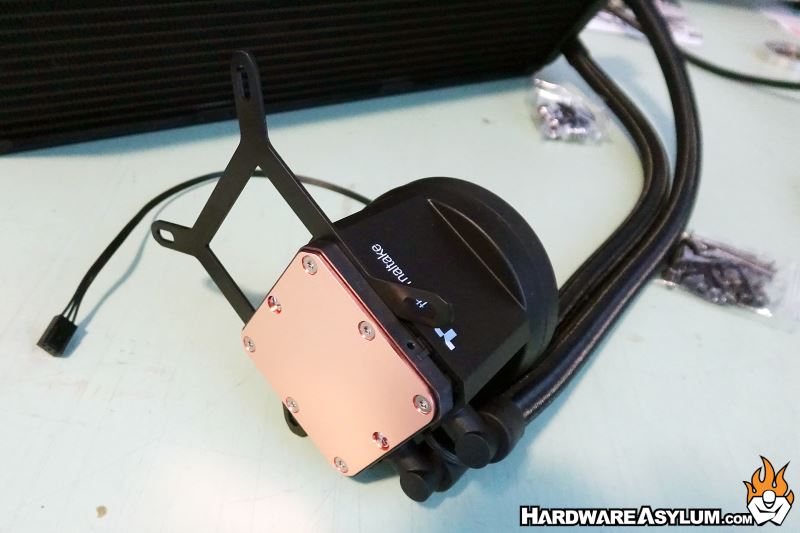
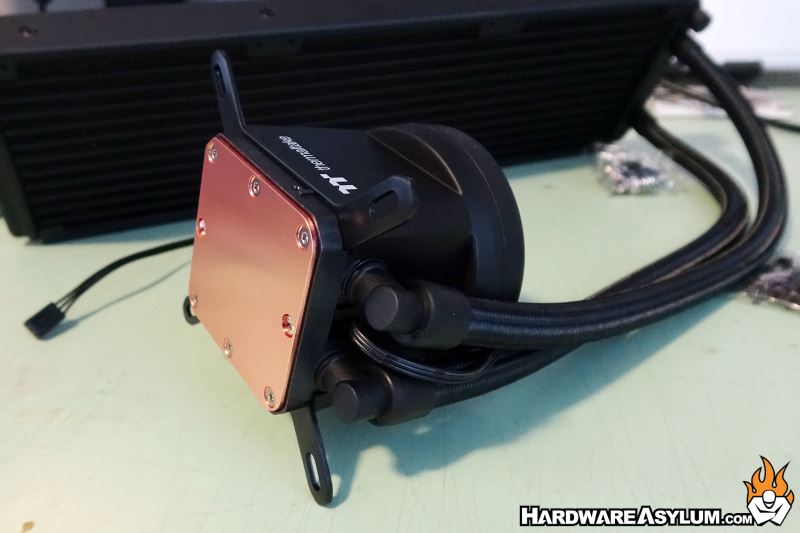
Out of the box the Toughliquid Ultra does not have any mounting rails installed. Select the correct one for your platform, (for this system I needed to use the special LGA 1700 version). The rail slides into a grove on the pump block and will bottom out when installed correctly.
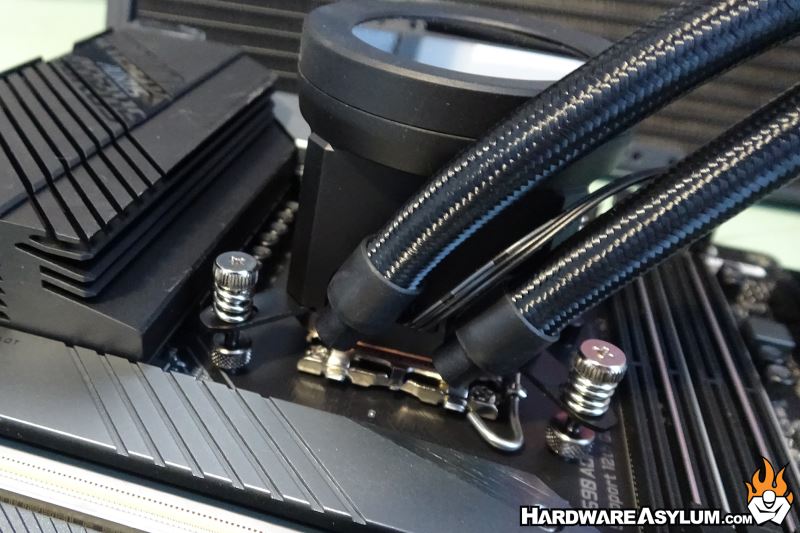
With the mounting rail installed slide it down over the mounting posts and secure it with the spring fasteners. It is important to make sure the pump block is sitting flat on the processor. You can check this by gently rocking it around until it flattens out. The spring fasteners then need to be installed until the spring just touches the mounting rail. After that you can release the pump block and tighten each fastener in an X pattern until they bottom out. A half a turn each should be plenty and, don’t over tighten.

The final step I take is to install the fans. Since I’ll be testing on an open-air test bench. I will have the fans positioned in a “push” configuration. You’ll also want to connect the AIO pump header and connect the USB header for the LCD display to finish the install.