ASUS ROG Maximus XI Apex Motherboard Review
Author: Dennis GarciaBoard Layout and Features Continued
The upper right section of almost any motherboard is typically dedicated to all things related to overclocking and the Apex is no exception. In fact there is a lot going on here and I will likely miss something so, let’s break it down and see what sticks.
Dual channel memory comes standard on the Coffee Lake processor and the ASUS Maximus XI Apex supports standard speed DDR4 modules at 2133Mhz with overclocking support up to 4800+Mhz. A maximum of 32GB is addressable as there are only two memory slots available.
Having only two memory slots is a key feature for running memory modules in excess of 4000Mhz+. You see memory speed is influenced by the quality of the CPU and also the quality of the motherboard. With four memory sockets you have twice as many traces on the PCB all of which can introduce noise into the system. This noise is why memory overclocks fail and why your motherboard might only support 3200Mhz memory modules instead of anything faster.
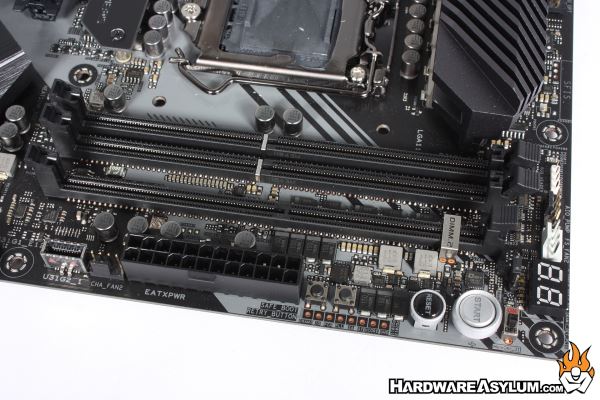
In the location normally occupied by additional memory sockets you will find a long slot called “DIMM 2” and is a dedicated slot designed to support two M.2 SSD drives using a special expansion card. (Shown later)
Below DIMM 2 you will find the majority of benchtop controls from the standard power and reset to more complex features like “Retry Button” that is beneficial during overclocking when the reset button isn’t working.
One of the most beneficial overclocking tools is the DEBUG LED. You’ll find this above the DIMM.2 socket and by default will only show the POST codes however, there is an option in the UEFI to also show the CPU temperature after the system has booted. Sadly, this isn’t a default feature so be sure to look for it in during your initial system setup.
Power and rest buttons are clearly marked with a MemOK II switch located nearby. This is an activation switch to enable the MemOK II feature that will detect memory failures and apply different DRAM voltage settings to help recover the system . For those of you who hate having to reset the system every time you fail a memory overclock you will want to enable the MemOK II switch.
The final notable options are the voltage test points. These are solder pads on the PCB allowing you to check the actual system voltage using a meter and can be a lifesaver for the extreme overclocker and a nice verification for the novice overclocker who is never quite sure if the voltage is correct.
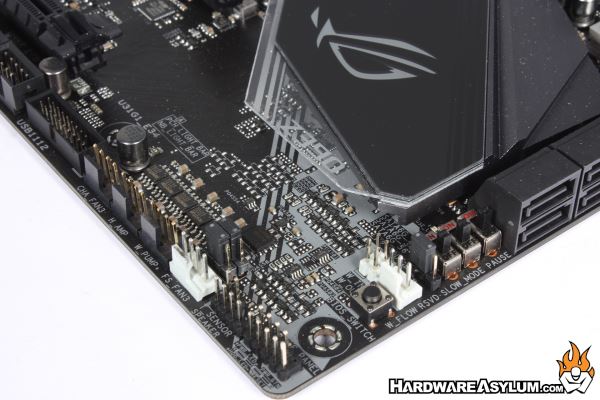
At the bottom of the motherboard you’ll find the rest of the overclocking controls including a BIOS Switch, LN2 jumper, Slow Mode switch, and a Pause switch. There are 4-pin fan headers all over the APEX motherboard. Most support 12w fans with two supporting 36W/A devices such as watercooling pumps.
The white fan header is an input for a Bitspower flow meter allowing you to monitor water flow using the ASUS AI Software.
Next to the memory sockets is the DIMM 2 slot which is a dedicated slot for M.2 drives. The riser card supporting these drives is pictured below.
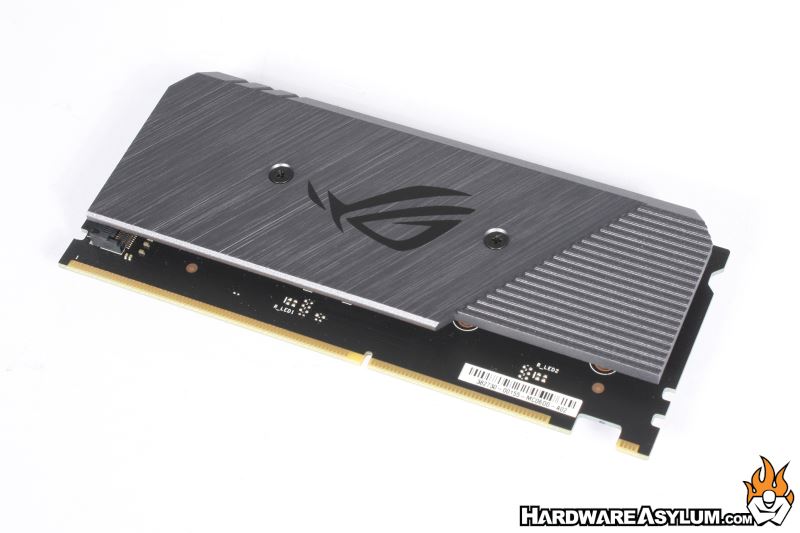
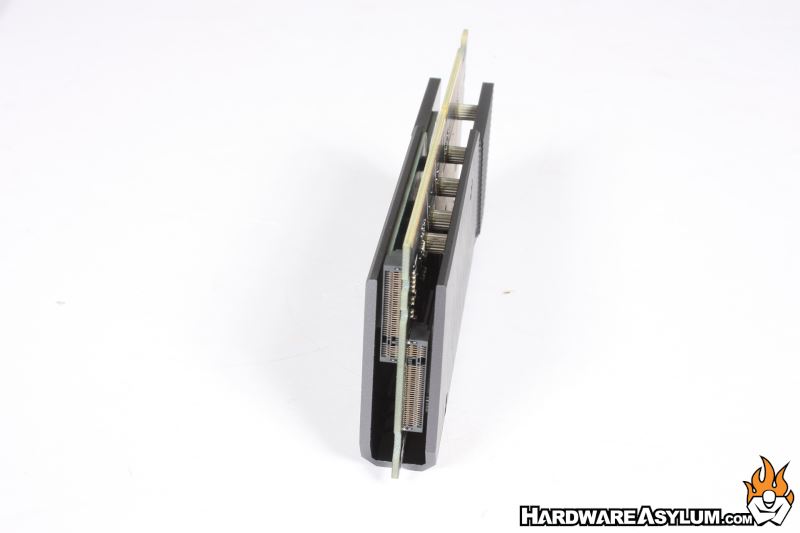
DIMM 2 is double sided and supports a variety of M-Key M.2 drives up to 22110 in length. While the DIMM 2 card is very creative is has a side benefit of removing the drives from being between the PCI Express slots where they can be exposed to frost and condensation while overclocking and also opens the area up for custom LED lighting effects.
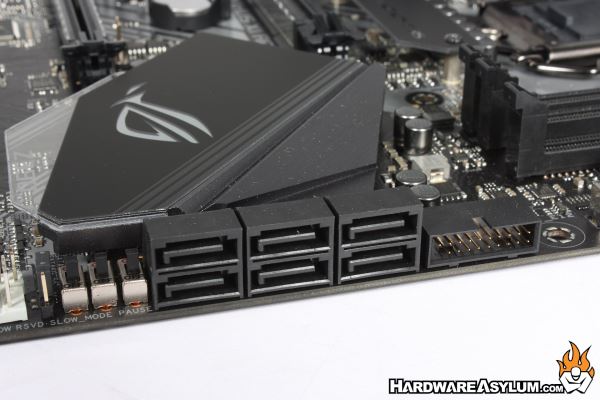
Of course for those of you not yet on the M.2 train a total of six SATA connections are available along with a USB 3.0 header.