MSI MEG Z390 ACE Motherboard Review
Author: Dennis GarciaBoard Layout and Features
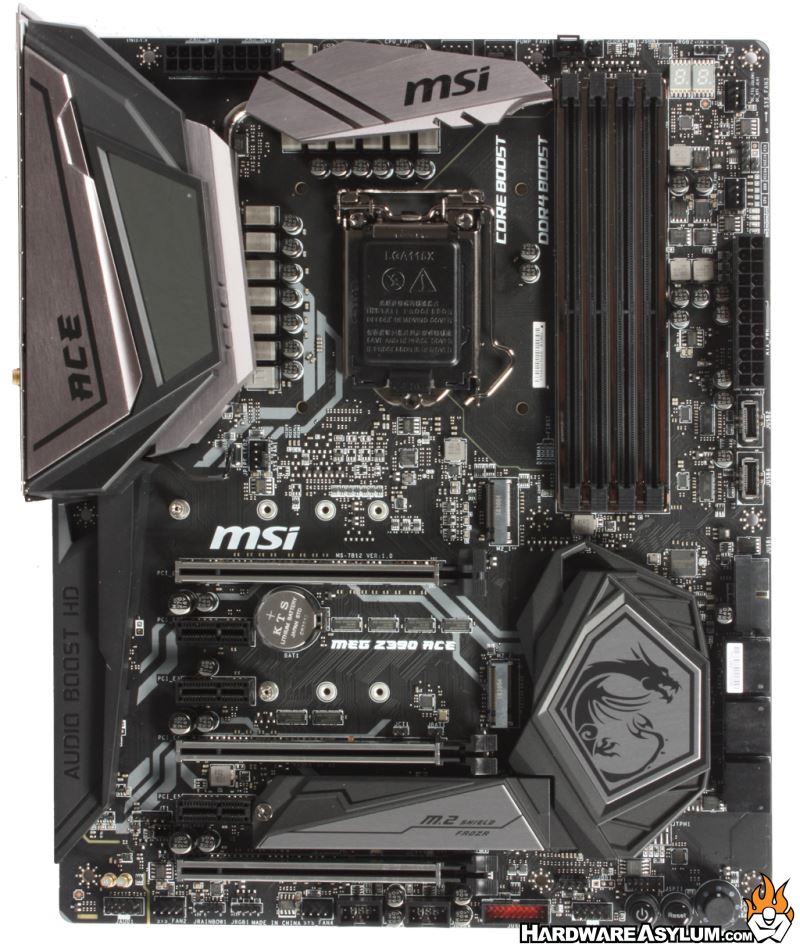
The MSI MEG series is a very interesting one and to be honest I struggle to distinguish these new boards from the previous generation when looking at just features. However, there are some obvious differences when you look at the product overall. With the MSI MEG Z390 ACE you’ll quickly notice a number of rather large covers on the motherboard. To the left you’ll see the integrated I/O shield which also hides a VRM heatsink. This heatsink is connected to the VRM cooler across the top and the chipset cooler features a built-in M.2 heatsink. Together these heatsinks frame the motherboard and, in most builds, would be fully exposed.

Looking at the back of the motherboard we can get an indication as to how the motherboard is constructed, most notability, how the PCI Express slots are wired. From this we can usually determine which slots are primary and secondary in terms of bandwidth and better understand optimal performance. There are a number of surface mounted components along with screws that extend away from the PCB.
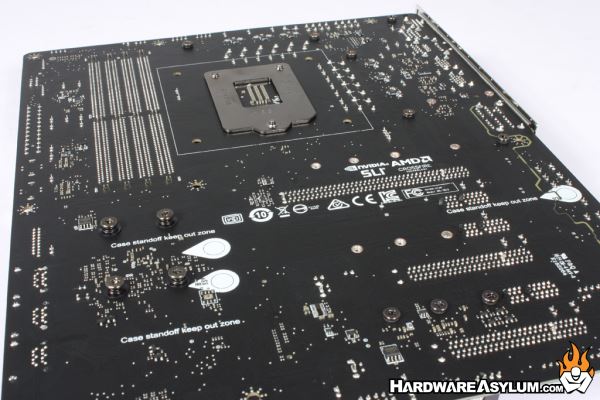
I especially like the warning messages to keep case standoffs out of the middle region. That will prevent any accidental shorts. This brings up a VERY good point that you should only install standoffs where there is a hole on the motherboard. #goodadvice
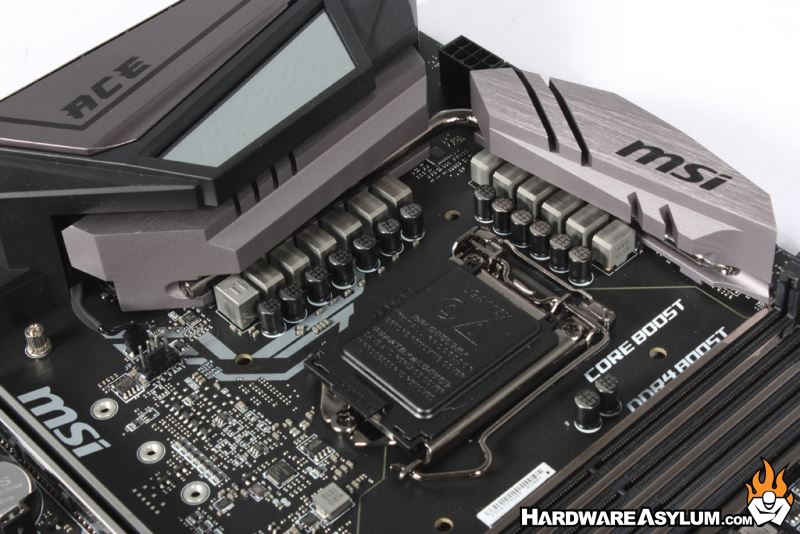
Looking around the CPU socket you will find what appears to be a 13 phase power supply based on the number of chokes around the CPU socket. Overall the CPU area is very clean with very few components to get in the way if you choose to employ alternative cooling methods which may or may not include LN2.
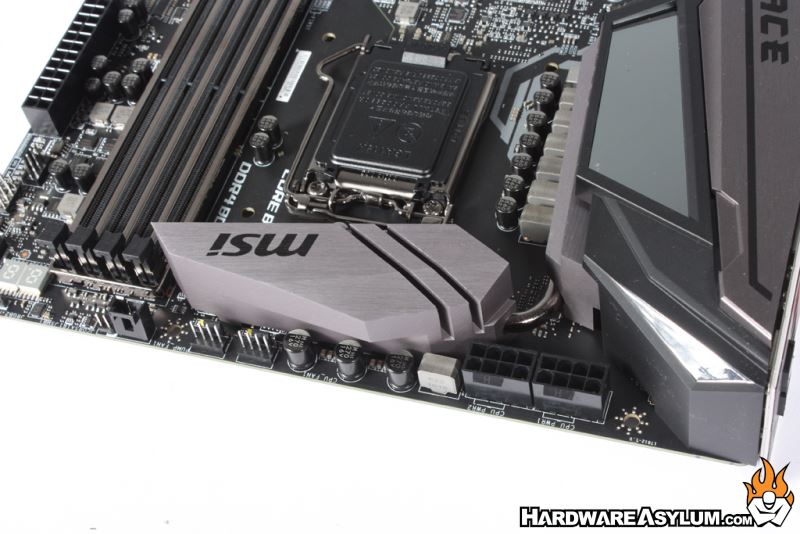
Behind the VRM cooler you'll find the CPU Power connections comprised of two 8-pin power connectors. Access to the connector is good allowing power cables to be installed an removed with ease. Across the top near the VRM cooler you’ll find fan headers for a AIO pump and CPU fan.
The taller plastic connector is the JCORSAIR1 and as you may have guessed allows you to control Corsair accessories from the motherboard.