How to Insulate for Single Stage Phase Cooling
Author: Dennis Garcia
Published: Tuesday, May 17, 2011
Conclusion
I hope this write up helps you understand how to install a phase change cooler. The steps I took in this guide are a little extreme for a cooling system that only drops to -50c but I adapted this method over a course of several benching sessions to determine what worked best for me and the equipment I use.
A side benefit of my method is that it can be used for a variety of cooling options. For instance I set out to bench an AMD Athlon 5000+ Black Edition using my phase cooler but quickly discovered that the chip had a cold bug at -15c. Not wanting to give up I decided to switch from phase cooling to a more traditional water setup with a special loop to chill the water using the phase cooler.
A side benefit of my method is that it can be used for a variety of cooling options. For instance I set out to bench an AMD Athlon 5000+ Black Edition using my phase cooler but quickly discovered that the chip had a cold bug at -15c. Not wanting to give up I decided to switch from phase cooling to a more traditional water setup with a special loop to chill the water using the phase cooler.
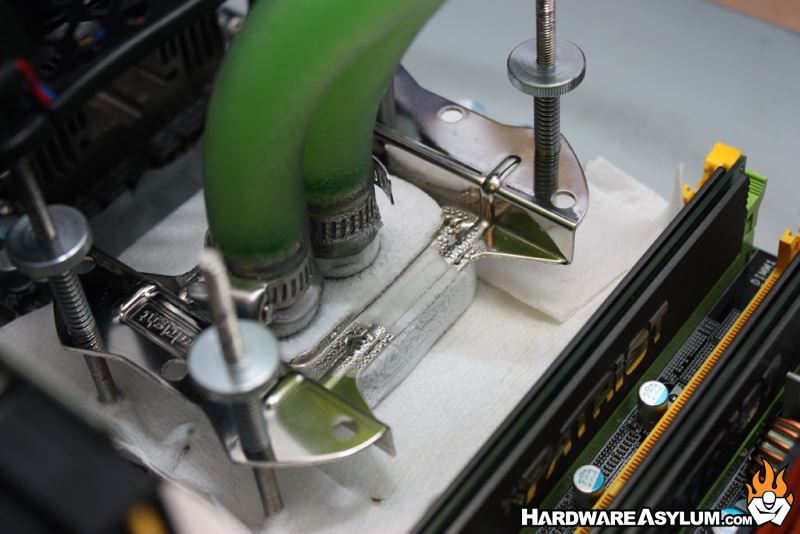
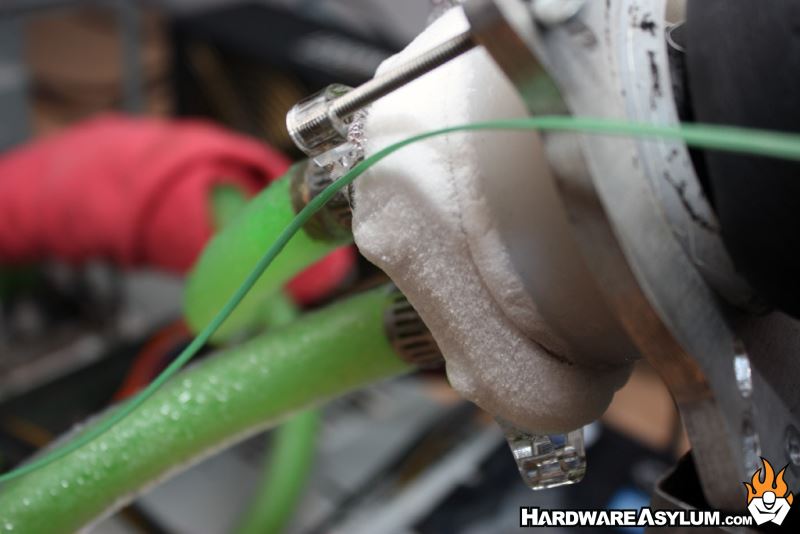
Ultimately I was able to get the water down to -20c which allowed me to run the 5000+ Black Edition right above its cold bug temperature. Both of the waterblocks I used frosted up rather quickly and would melt during some of the longer CPU runs. Had I not insulated using the method shown here my motherboard would have been soaked and likely caused more damage than my scores did on HWBot.
LN2 Considerations
At the beginning of this guide I mentioned that my insulation method is a hybrid between phase cooling and liquid nitrogen setups. I picked this method because I don't actually run my phase 24/7 and didn't really care about applying insulation to the motherboard.
So, the question is, what would change if you wanted to run LN2 or even dry ice?
The first thing I would change is how much kneaded eraser was applied to the motherboard. Many of the chokes around the CPU would need to be covered along with the area around the base of the PWM heatsinks. Many overclockers also insulate around all of the unused memory sockets and down to the first expansion slot.
You'll also want to use a much larger piece of Frostking insulation on the back of the motherboard and make sure it is sandwiched between the PCB and your bench table. That will protect the back of the motherboard without messy chemicals or sprays.