Sama V60 Gaming Build and Review
Author: Dennis GarciaV60 System Build
MSI MAG B850 Tomahawk Max Wifi – B850 Chipset
AMD Ryzen 9 9950X (4.3Ghz) Sixteen Core 16 x 1MB L2 Cache 2 x 32MB L3 Cache
Crucial Pro Series Overclocking Memory
Nvidia RTX 5080
Dedicated Hardware
Sama V60 Curved Glass Case
Sama L70 360mm AIO Watercooler
Sama G1000 1000w PSU
The links will take you to Amazon where you could buy these items and help out the site.
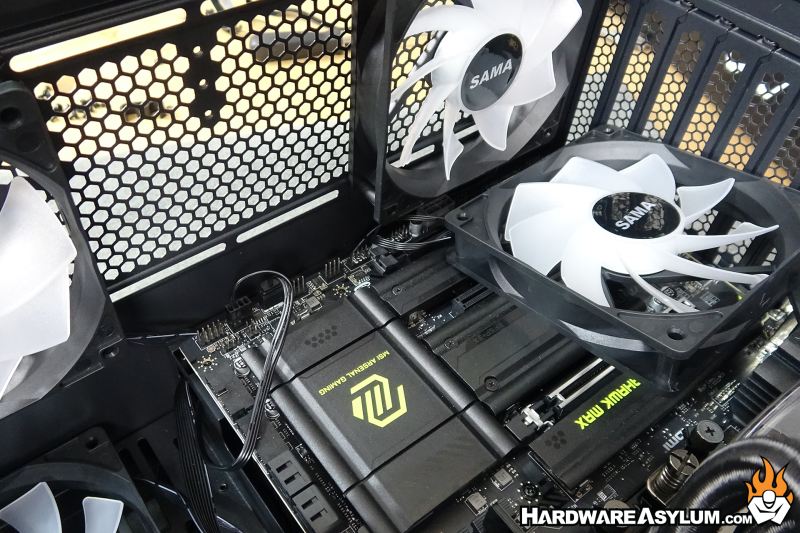
I like to start with the motherboard first. There is quite a bit of room at the top of the motherboard for radiator and fan combos.
I cannot say the same for the bottom of the motherboard but, we will get to that a little later

Our MSI MAG B850 Tomahawk Max motherboard does consume the entire motherboard tray leaving cable access holes to reside on the vertical portion which is technically under the motherboard.
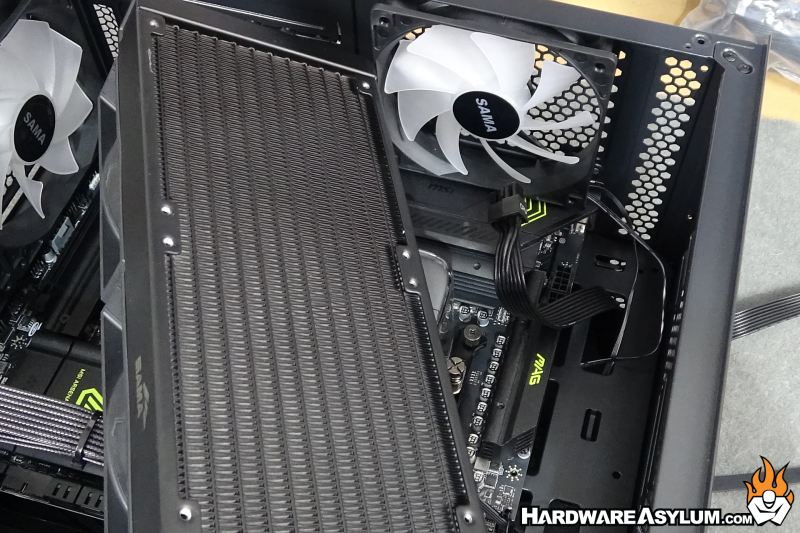
I mentioned that area at the bottom of the case is limited. Well, here is a shot of the pre-installed fans actually obscuring half of the last expansion slot. Normally this wouldn’t be an issue since most modern builds only use one of two of the available expansion slots.

However, when it comes time to install front panel connectors, USB, fans and RGB cables you can either install them before installing the motherboard OR, you can remove a pre-installed fan to gain access.
Not the end of the world but, quite annoying.
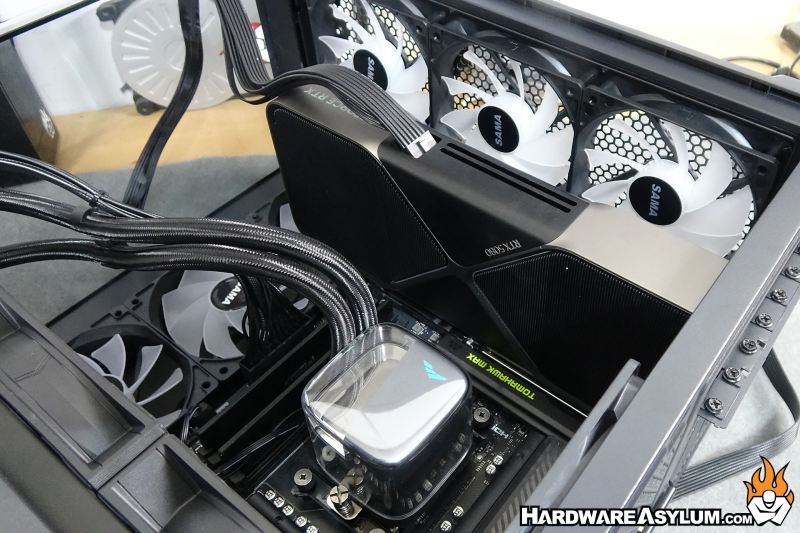
For this build, the next thing I installed was the AIO cooler which slots in nicely at the top of the case. There is clearance with the rear mounted exhaust fan to slide the radiator forward and back the entire length of the case and looks like it is designed to be there.
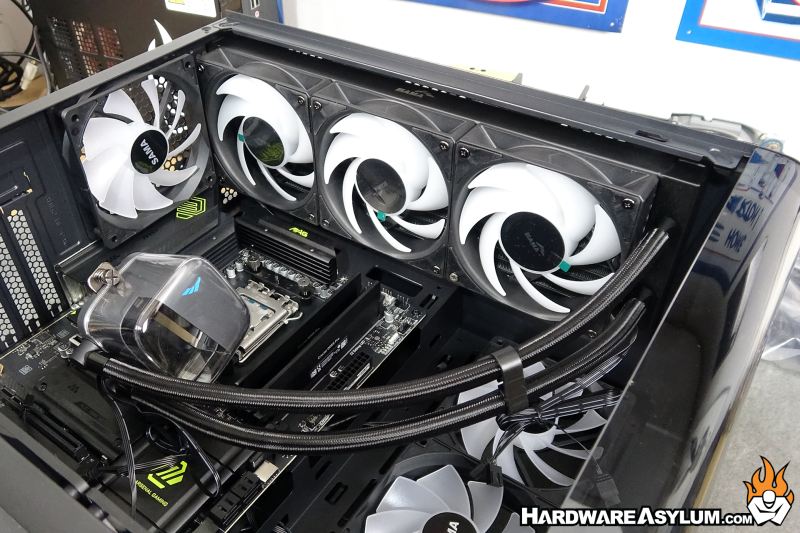
Of course, I promptly needed to remove the radiator to gain access to the two 8-pin CPU power connectors. Normally this wouldn’t have been an issue but the Sama G1000 CPU power cables are split in half and there is no way to lock the individual 4-pin blocks together.
This made installing the cables extremely difficult with the radiator installed. In retrospect, installing the PSU and power cables before the cooler would have been the smart move.
Once the wires had been sorted the pump block could be installed. After some twisting the cooler was attached. I did find it interesting that you cannot install the L70 on an AMD system with the hoses at the bottom of the pumpblock. The cooler only came with the short rails and thus limiting how the cooler could be installed.
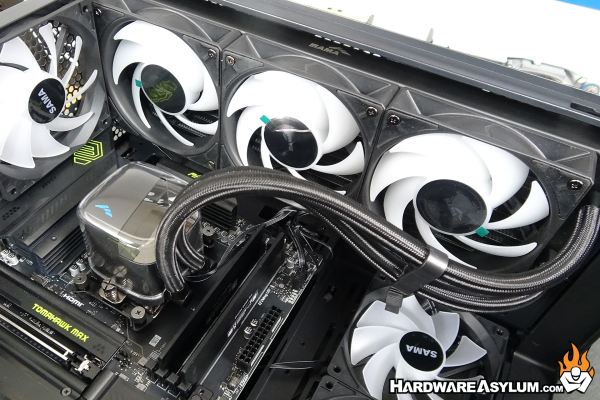
On a positive, the hoses have a nice curve in this position and might have been too short to be installed in any other position.
The final item to install on the front was the RTX 5080 graphics card using the single 12VHPWR cable. This cable is a stacked ribbon design making it rather easy to route but not long enough to do much with.
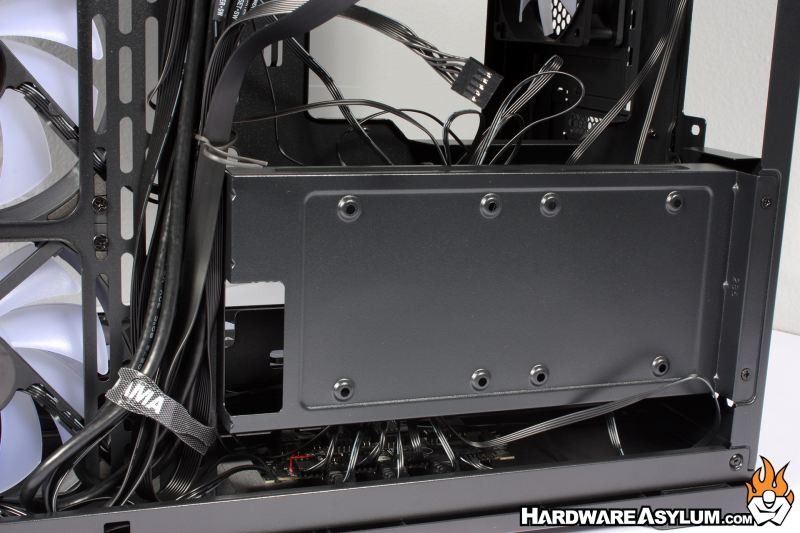
Flipping the case around I could install the G1000 PSU but needed some room to route the cables from the motherboard side. This is when I removed the SSD plate to expose a total rat nest of wires used to control the individual 120mm fans and their RGB lights. Granted these are behind the solid part of the motherboard tray but, make me wonder if maybe the case is too small for this many fans.
I didn’t spend much time with my cable routing but was able to get everything installed and bundled up so the back panel could be installed.
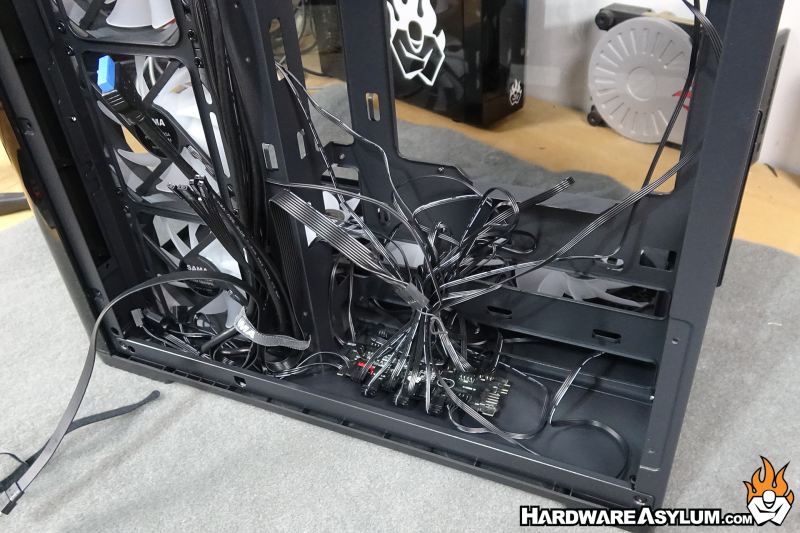

For the record, while a mess, this is what 95% of your cables look like so having this much room behind the motherboard tray is actually quite nice.