Thermaltake Tower 100 Mini ITX Case Review
Author: Dennis GarciaCase Interior and Panel Poppin
Building a Mini ITX system is already a difficult task so it is nice when you can fully dissemble a computer case during the build process. The Thermaltake Tower 100 delivers in a variety of ways.
One of the first panels I removed was the basement vent. This panel covers the area occupied by the power supply and doesn’t require that you remove the top plastic bezel. Simply remove the screw at the bottom and pull the panel away.

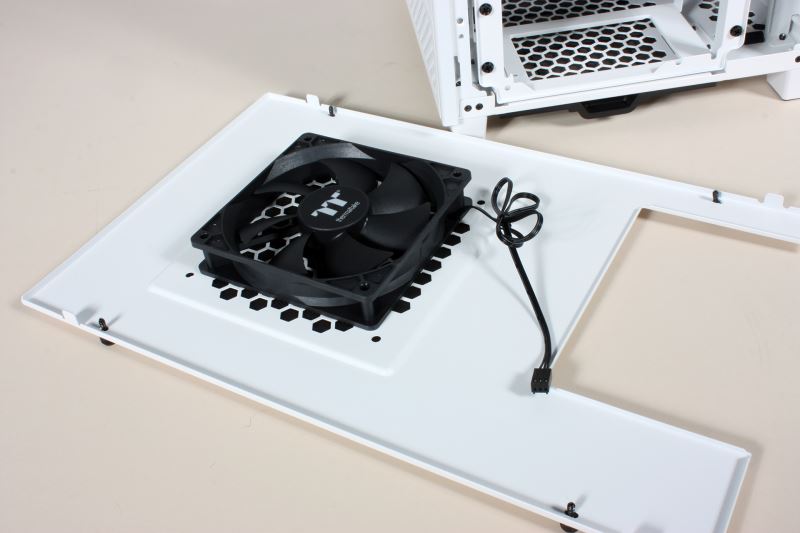
The back panel can be removed using the four captured nuts holding in in place. As you can see the Tower 100 comes with a 120mm fan with the option to replace it with a 140mm in the future.
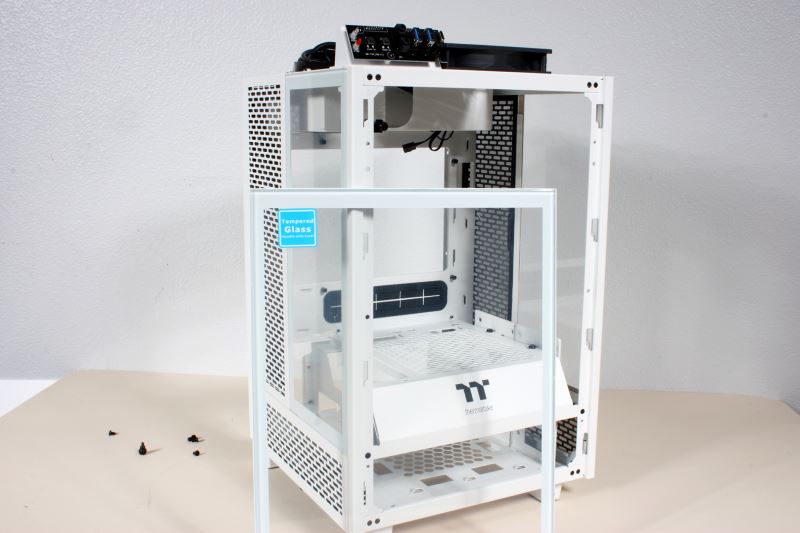
Unlike your standard desktop tower, the top plastic bezel is held in place with four small screws that need to be removed before you can remove the side panels. Of course, removing the top bezel will expose the primary cable management location and cooling fan. There are plenty of tiedown loops available giving you some room to move things around when needed.

Once the bezel has been removed the side panels can be lifted away. Each panel is held in place with your standard case hooks and fit surprisingly well offering little to no chance for vibration. Both side panels feature a filter panel that can be removed and cleaned.

Removing the back panel exposes the reverse of the motherboard tray along with a long cable access grommet for interfacing with the PSU. The power cable exits out the back meaning that every cable needs to take the long path around to access the motherboard. While this sounds bad it actually is brilliant in that the chore of bundling PSU cables is consumed by simply running them from point A to point B.
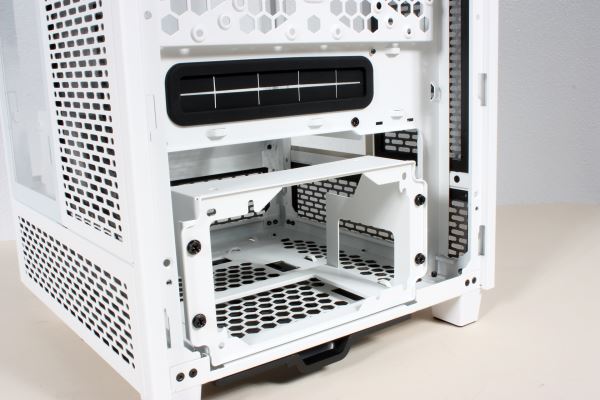
The PSU cage is removable allowing you access to install the PSU and get to cables during and after your build is complete.