Cooler Master Hyper 212 RGB Black Edition Heatsink Review
Author: Dennis GarciaInstallation
Installing the Hyper 212 RGB Black Edition could not be easier. I’ll be using the ASUS Maximus XI APEX and Core i9 9900k for this review so consider this pictorial below to show the LGA 115x installation process.
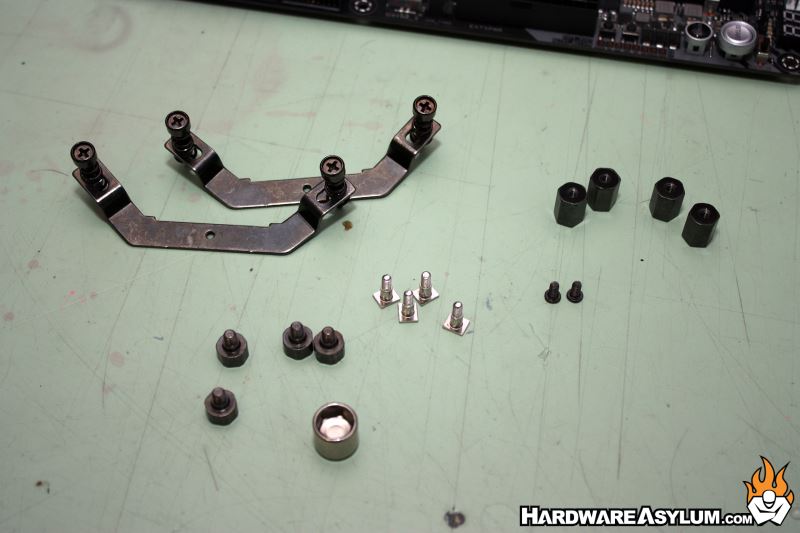
First thing, lay out your parts. The mounting rails on the left are adjustable for all Intel based CPUs even down to LGA 775 and up to LGA 2066. We will only need the silver posts and standoffs in the upper right.
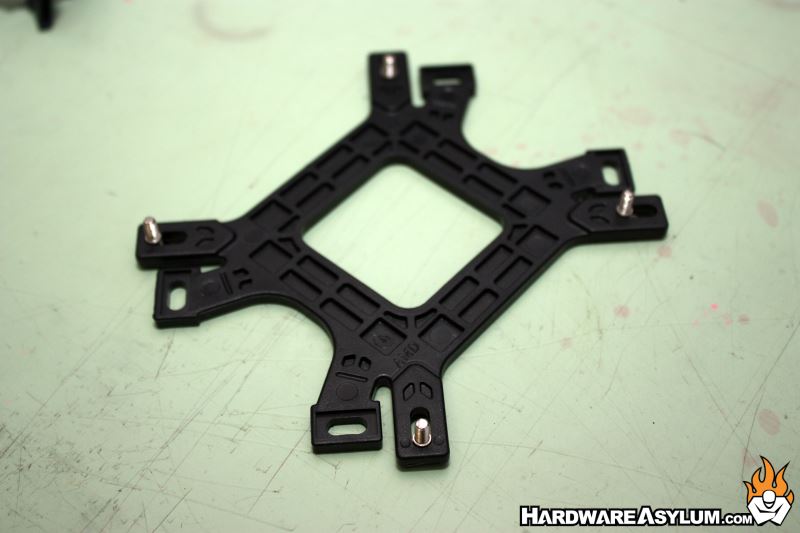
Install the posts into the universal backplate then place the motherboard down lining up the posts with the mounting holes around the CPU socket. If you are doing this with the motherboard installed I would suggest installing one pin at a time.
Use the standoffs to secure the pins to the motherboard and repeat for all four posts.
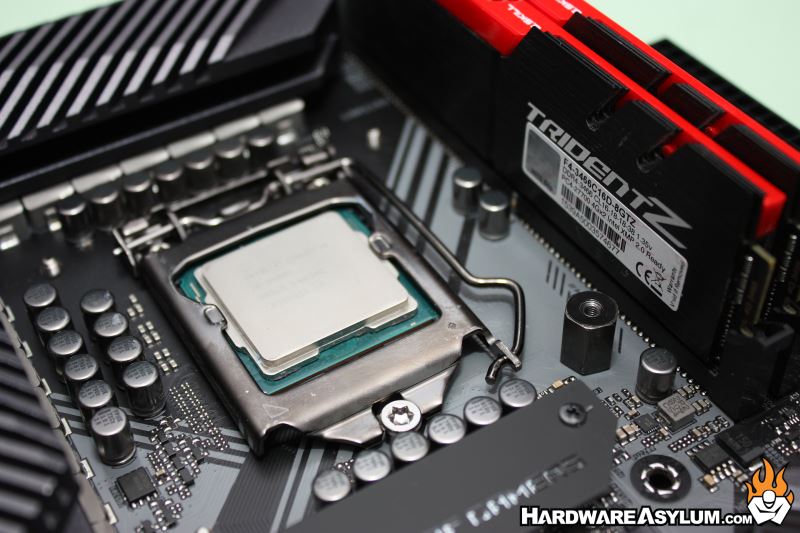
The mounting rails are attached using a single screw on each side. What is pictured here is what you you will want the end result to look like.
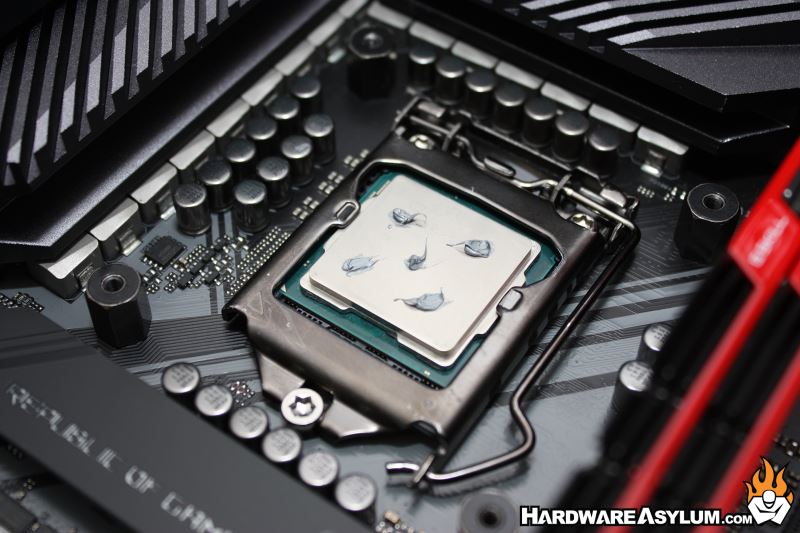
Thermal paste is next. I prefer, and recommend, the 5 dot method as illustrated. You can use the included paste or a high quality TIM like the Noctua NT-H1 like I am using here.
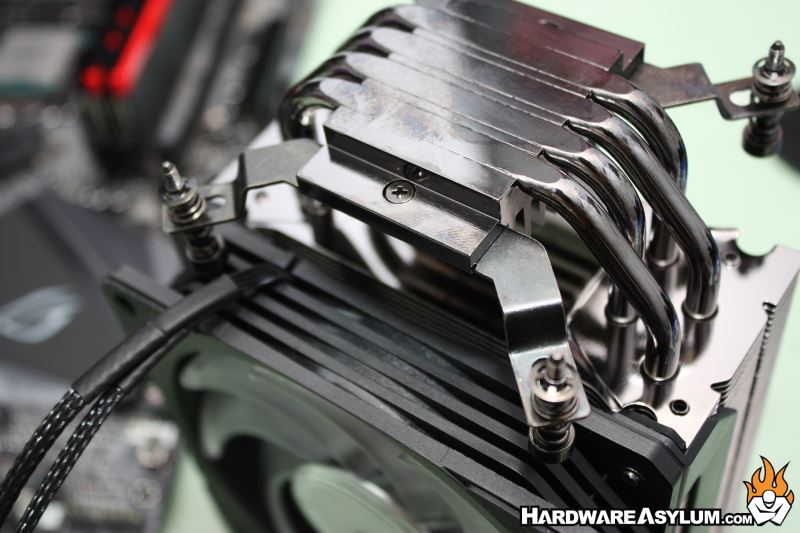
Next install the cooler using a Philips head screw driver tightening each screw a full turn a diagonal pattern until they bottom out.
Finally install the fan and you are ready to go. As you will see here the fan did not clear my GSKill Trident Z memory modules prompting me to install the fan on the opposite side. Sadly, this is a classic problem with inexpensive coolers so don’t be surprised when it happens to you.
Or use low profile memory, this is a budget cooler afterall ![]()