Cooler Master MasterAir MA612 Stealth ARGB Heatsink Review
Author: Dennis GarciaMasterAir MA612 Stealth ARGB Installation
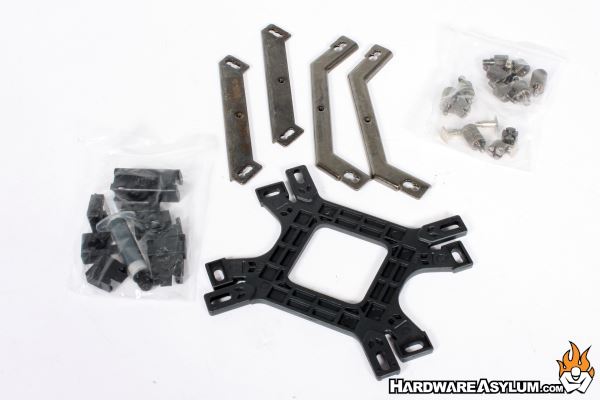
The MA612 has a very interesting installation procedure that includes a universal mounting system to fit every modern CPU and you will get everything you see here to install the cooler on your chosen platform. We will be testing on LGA 1200 which means we will need to assemble the backplate and use most of the components.
The first step is to assemble the backplate and this is done in three steps. To start the mounting pin needs to be installed into the slot located on the backplate and then the locking tab needs to be installed. The tab helps you locate where the pins need to be and keeps the pin from falling out.
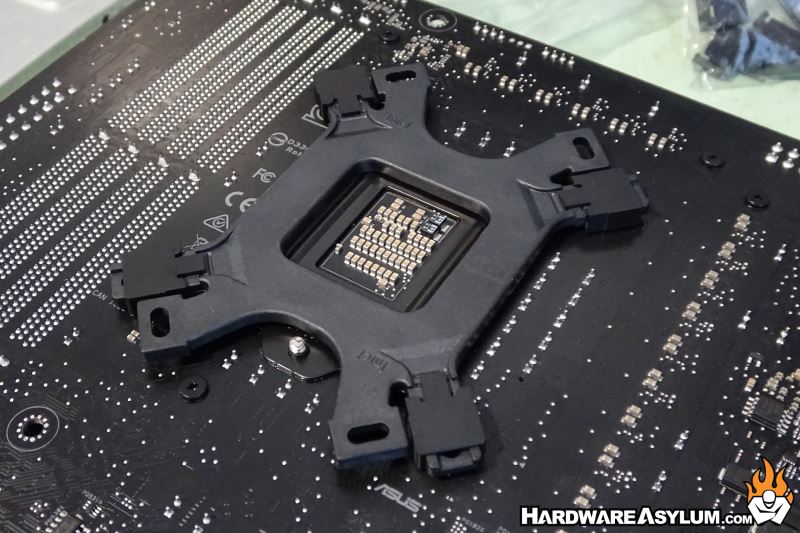
To ensure the tab is installed correctly it must SNAP around the mounting pin. After that, install the backplate and flip the motherboard over.
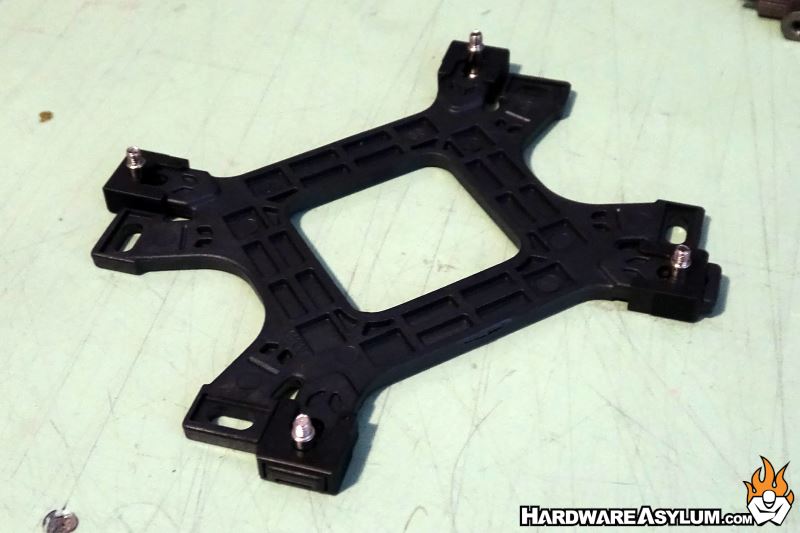
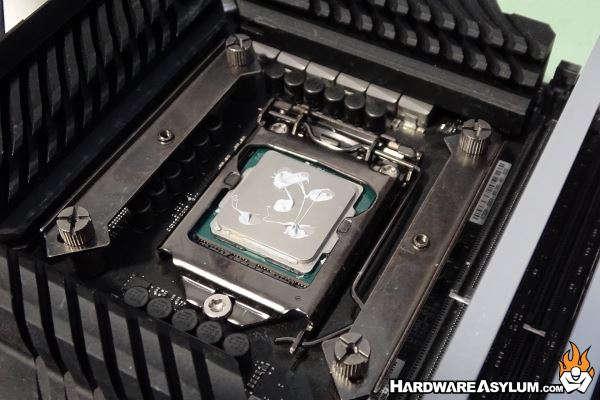
As with most “built up” style mounting systems you a have a spacer that needs to be installed, a mounting rail that needs to be located and a large nut to hold everything in place.
The heatsink installs on the two center threaded posts and these posts need to be aligned with your desired fan flow position. I wanted the fans to exhaust towards the back of the case across the I/O connectors so the rails need to be positioned parallel to the memory modules.
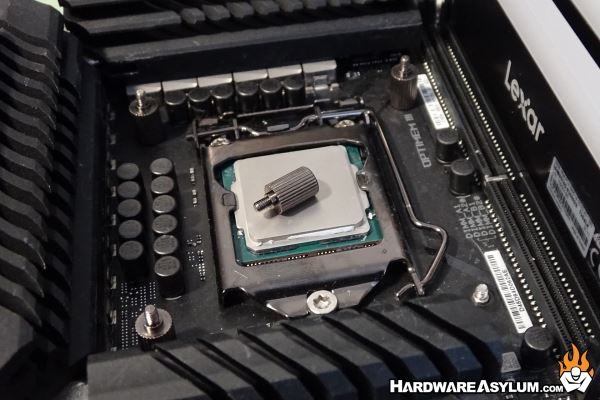
Cooler Master includes a tube of thermal compound that must be installed before installing the cooler. As always, I’ll be using the 5-dot method which creates an even distribution of thermal compound across the entire CPU.
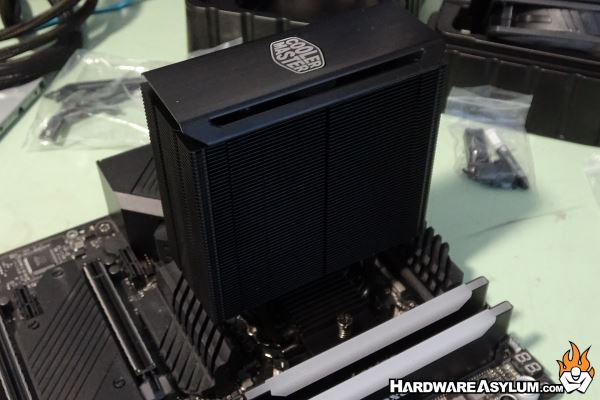
To secure the heatsink you need to position the cooler on top of the threaded posts so that the captured nuts will thread down them. You will need to remove the fans to secure the heatsink which is super easy using the long plastic clips attached to each fan.
Make sure to connect the fans and RGB header and you are set.