Deepcool AK620 Digital Heatsink Review
Author: Dennis GarciaIntroduction
Building a PC can be a very rich and rewarding process for those with the desire to learn and enough skill to properly handle a screwdriver. With those skills you can transform a box of electronic components into something wonderful. Many builders get confused when it comes to selecting components, and for good reason. For every heatsink on the market there are literally hundreds of variations to choose from and the same goes for cases, keyboards, mice, video cards and motherboards. The plethora of choices is what makes the process exciting and many companies have started to, finally, embrace what can make their products unique.
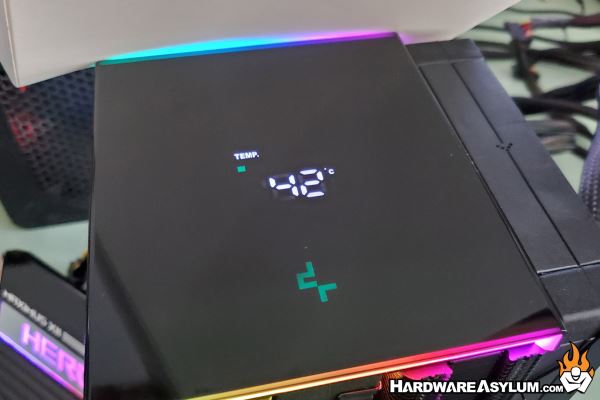
In this review we will be looking at the Deepcool AK620 Digital CPU Cooler. If that name sounds familiar it is because I reviewed a version of this cooler last year and found it to be quite good. The Digital version of the AK620 is virtually identical with only a few minor cosmetic changes and one major addition being a Digital Display covering the entire top of this exceptionally large heatsink.
Given that the AK620 Digital is the same basic cooler I will quickly go over the basics and then focus on some of the differences. Check out my review of the AK620 if you would like some more details.
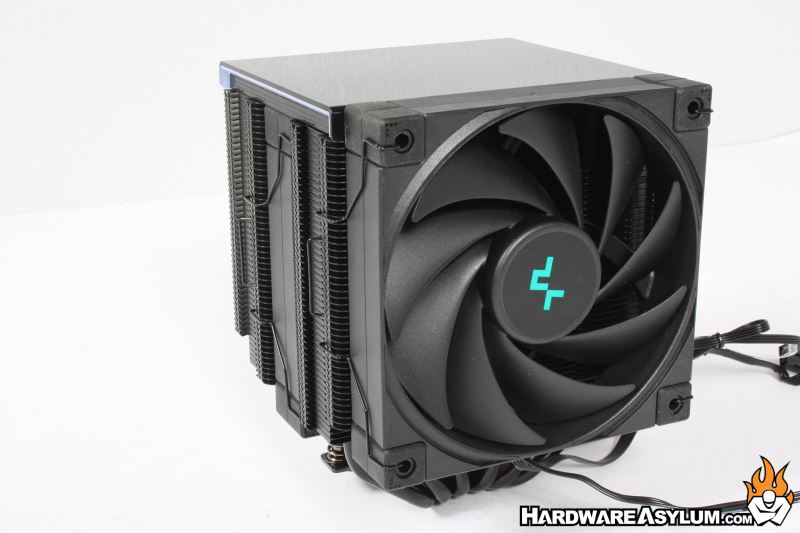
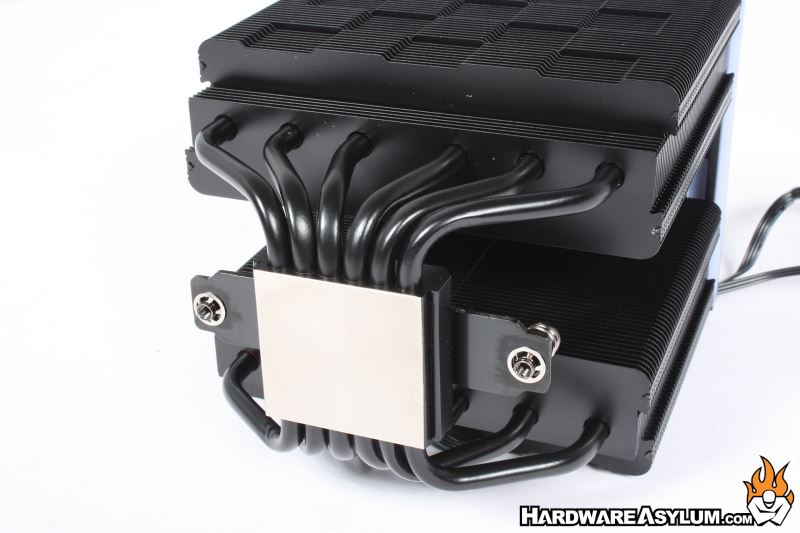
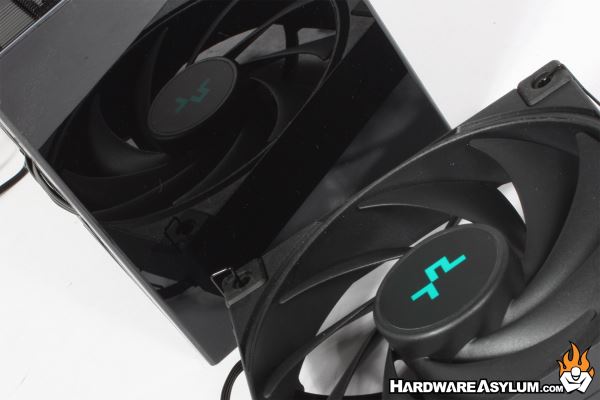
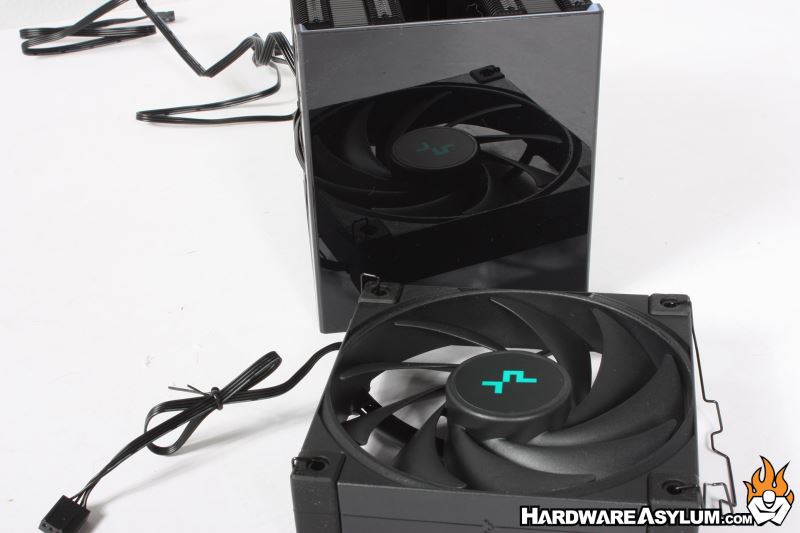
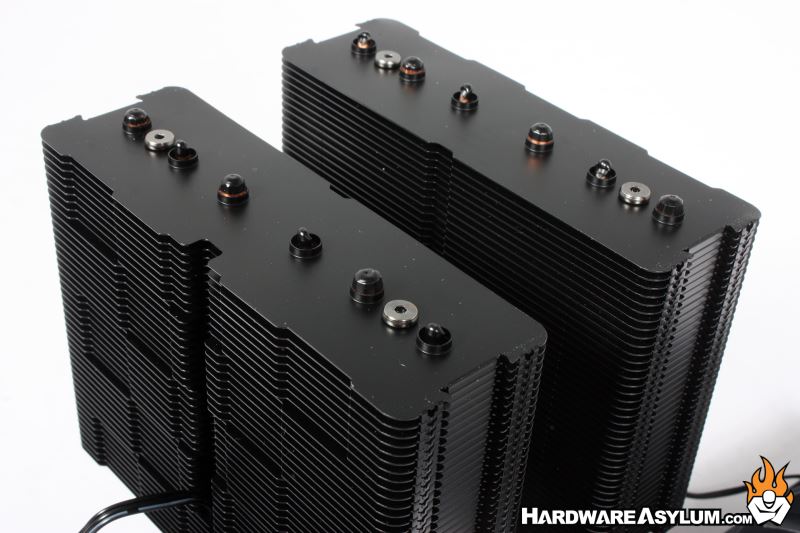
From a cosmetic standpoint, the new AK620 Digital from Deepcool now features a matte black coating similar to the Hyper 212 RGB Black edition and many of the popular AIOs on the market. The cooler still features a dual tower design and comes with two 120mm cooling fans.
Across the top of the cooler, you’ll find a highly reflective black plastic panel that does an extremely good job at hiding the digital display. I like this implementation better than what was on the Deepcool CH510 since it will look nice even when the display is off.
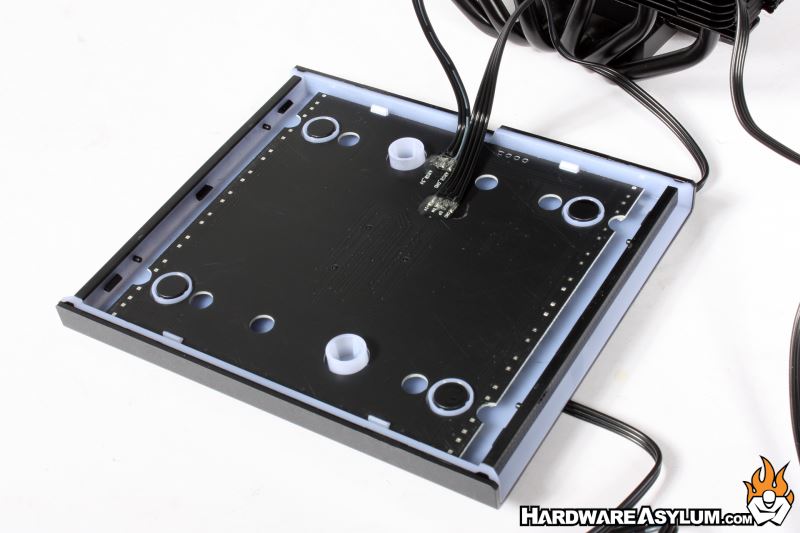
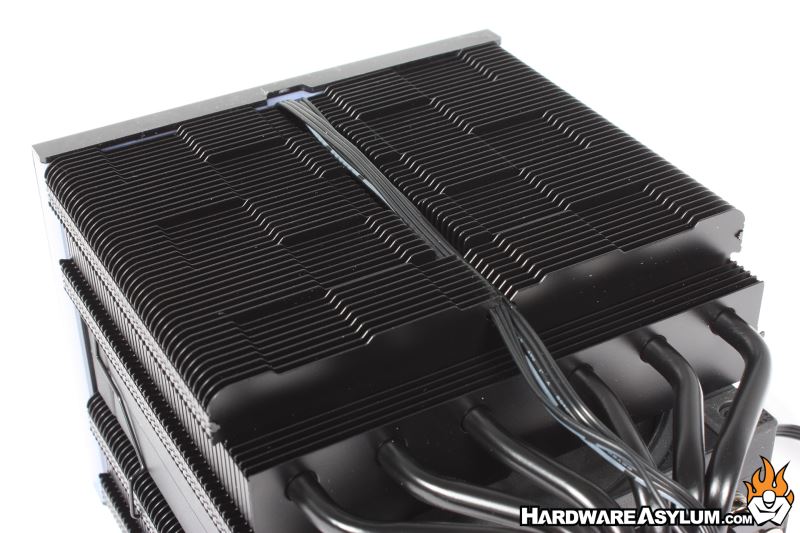
The panel is held in place with four magnets that have been correlated with positions on top of the radiator. I find this to be an elegant solution allowing the display to be held firmly in place while also making it easy to remove when needed. There are two cables required to make the display work. The first is a standard USB which plugs into a motherboard header, the second is a 3-pin ARGB header used to activate the ARGB strips along the edges of the panel.
Sadly, there are no ARGB lights on the included fans.