EVGA RTX 2080 Ti Kingpin Hydro Copper Review
Author: Dennis GarciaInstalling the Hydro Copper KPE
Installing the Hydro Copper is extremely easy and the instructions that EVGA include are quite good as well.
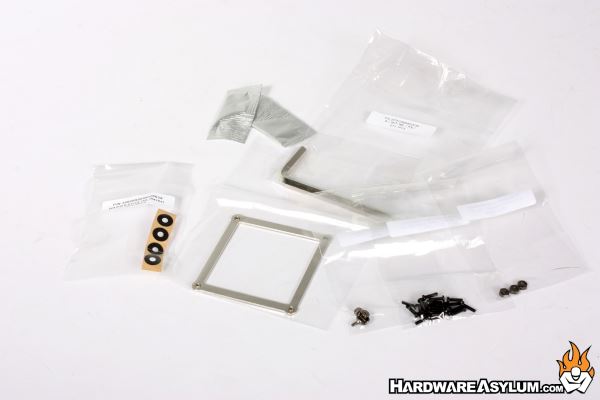
First thing you'll need to do is to check out the accessory package. It contains all the hardware you’ll need along with a wrench for moving the G1/4” plugs.
Next you’ll need to install the plate around the GPU. Given that the waterblock does not use any of the spring screws around the GPU you’ll need to install this plate to ensure that the GPU makes good contact with the block and doesn’t get twisted out of position.
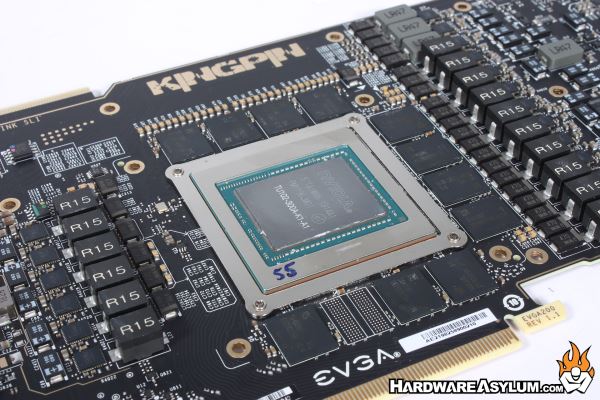
After that you’ll need to apply some thermal compound to the GPU. EVGA does include a small packet of thermal compound or you can use your favorite brand. As with all my heatsink and waterblock reviews I use the 5 Dot method. This requires placing 5 balls of paste on the chip resembling the number 5 on a dice. The only think to keep in mind is that the placement of the paste is important and needs to be more towards the edge of the chip given how large the silicon is.
Be sure to remove the plastic strips from the thermal pads and carefully hook up the OELD screen. The cable can only be installed one way and will click in place when properly installed.
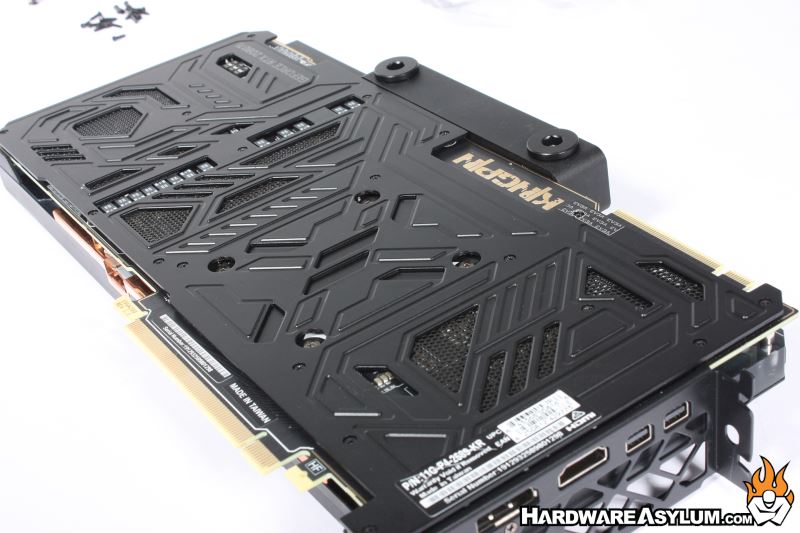
After that you can carefully place the block down on the video card and align the multitude of screw holes. Once the alignment is correct you can reinstall the back plate and start the process of installing the screws used to hold the block in place.
I preferred to tighten the screw from the GPU outward. While there are no screws directly around the GPU the next closest are across the memory, followed by the two VRMs and lastly ending at the edges of the card.
For me I would recommend a two stage install where the screws are lightly secured and then tightened down again after all of the screws have been installed. This would ensure that every screw has a good chance to be tightened properly and that all of the thermal pads have been engaged.
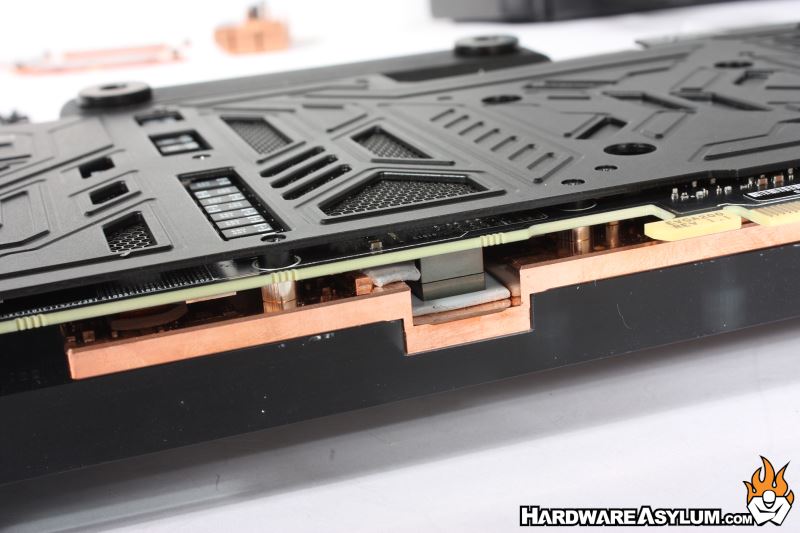
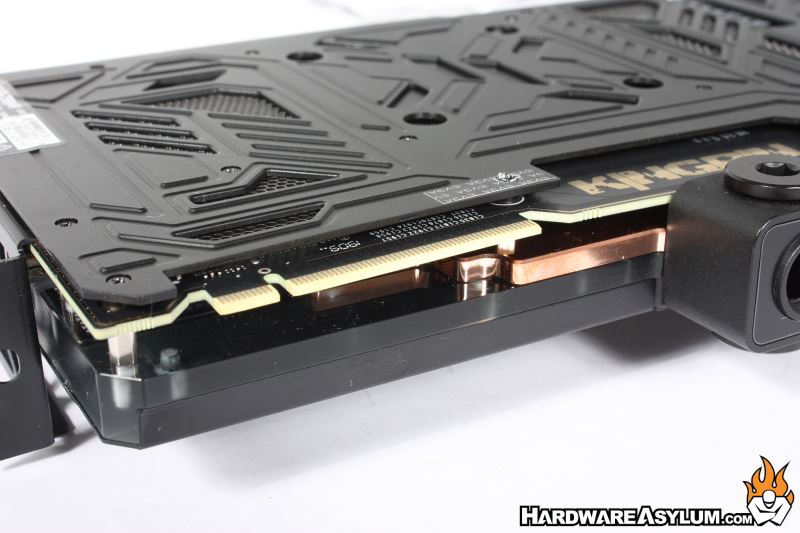
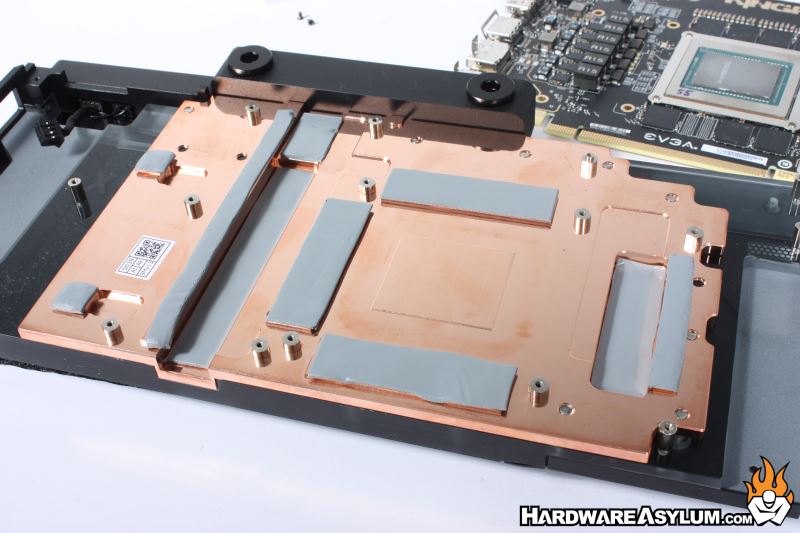
Speaking of here are a few shots showing how compressed the thermal pads are once the block has been installed.