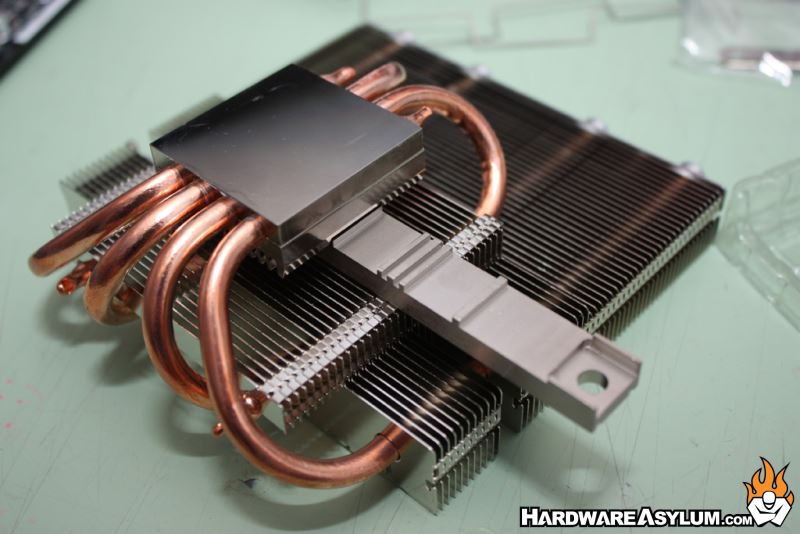
beQuiet! Shadow Rock LP Low Profile Heatsink Review
Author: Dennis GarciaCooler Installation
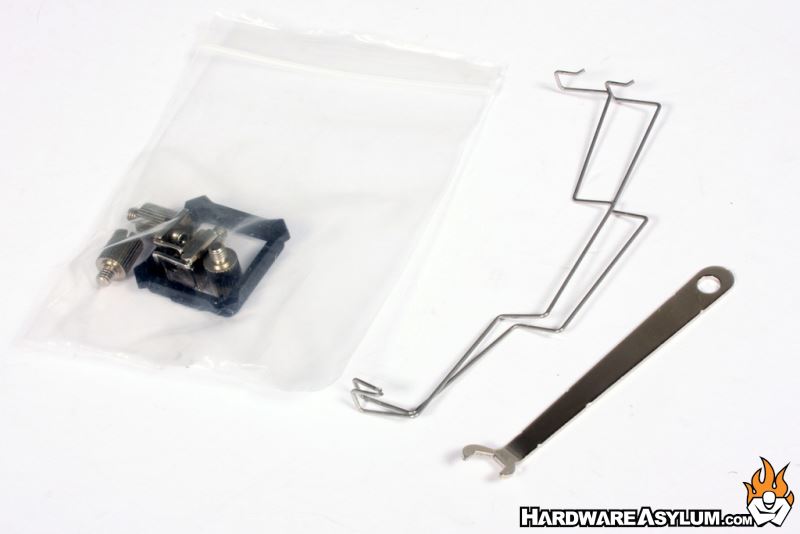
In the package you will find everything you need to install the Shadow Rock LP including mounting rails for all of the major processor platforms, a universal back plate and thermal paste pre-installed.
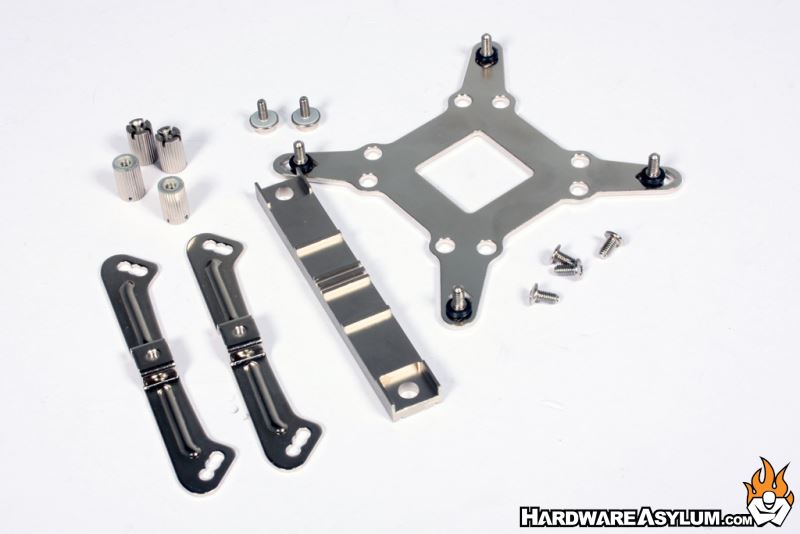
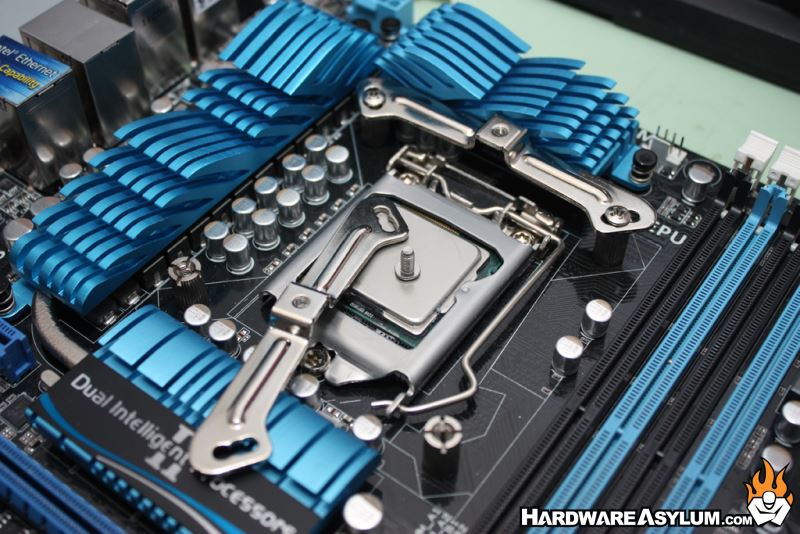
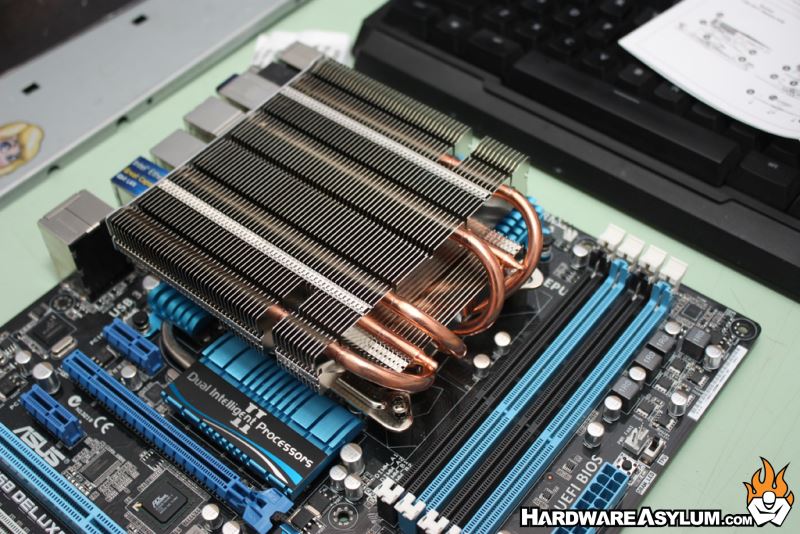
I will be testing on the LGA 1155 Sandy Bridge platform and according to the instructions a base needs to be built up to install the cooler. The base is several levels deep but is topped off with a cross bar so the cooler is held down at the center of the cooler instead of at the corners.
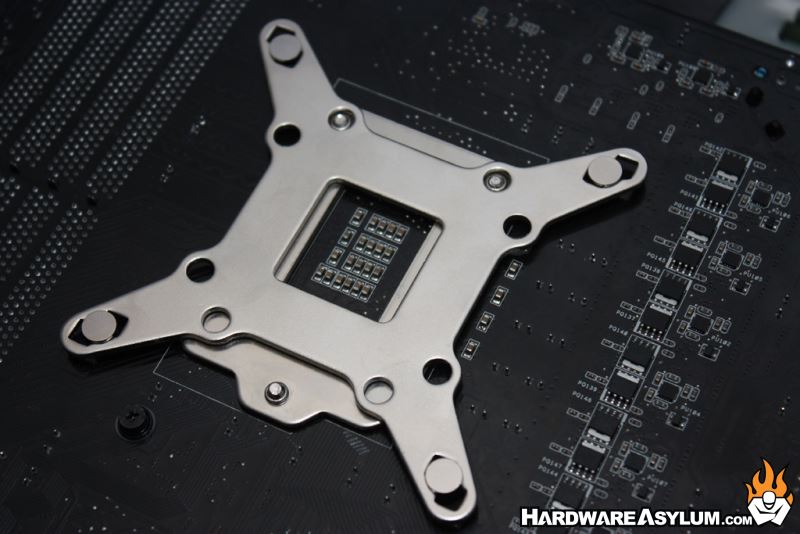
The first step is to install the backplate. This is a typical universal style with different mounting holes depending on your processor platform. Make sure to line up the holes in the back plate with the screw locations on the processor socket.
There are four screws used to connect the backplate to the mounting rails to the other side of the motherboard. To make the installation process a little easier you will find four o-rings in the hardware package, these slip over the bolts and that will keep them from falling out as you build up the mounting platform.
To ensure proper spacing between the heatsink and processor a set of spacers is installed and are run down finger tight. Or you can use a screw driver.
Mounting rails are attached to these spacers using the included screws. Be sure to position the mounting rails in the direction you want the heatsink to face.
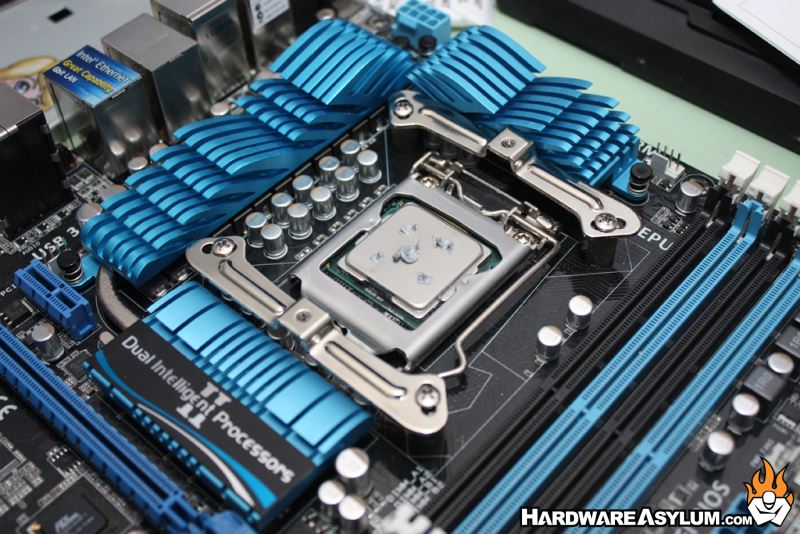
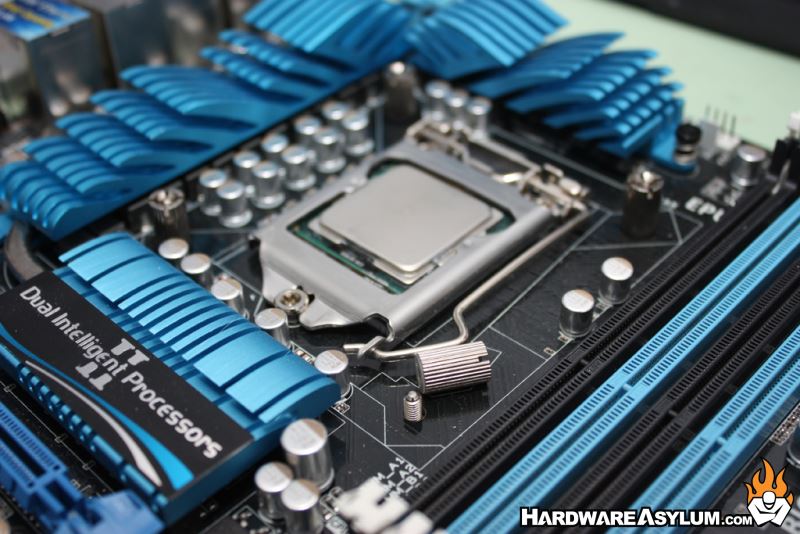
At this point you are ready to install the Shadow Rock LP. Start with thermal paste, we prefer the 5 dot method because it spreads well and will conform better in the event that either the processor or heatsink isn’t flat.
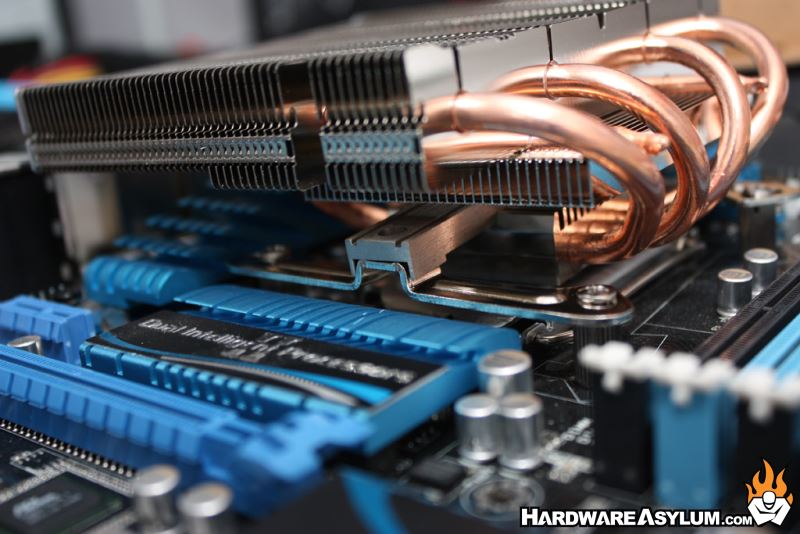
A cross bar is positioned through a slot in the cold plate. You will notice a set of keys on the cross bar and these help lock the bar into place and will prevent the heatsink from moving around. Two screws secure everything and are accessible with a long screwdriver from the top of the heatsink.
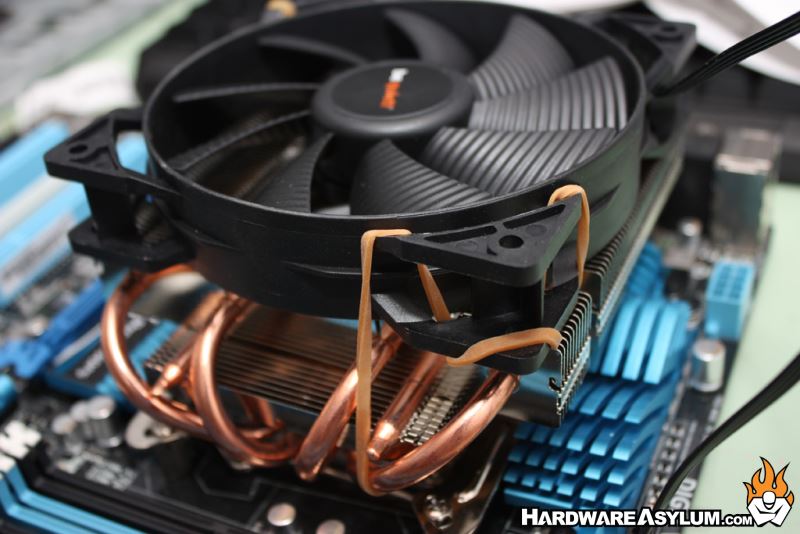
The last step is to install the fans. I had issues getting the fan clips installed and resorted to rubber bands for the testing phase of the review.