Thermaltake NiC F4 Heatsink Review
Author: Dennis Garcia
Published: Thursday, July 25, 2013
Cooler Installation
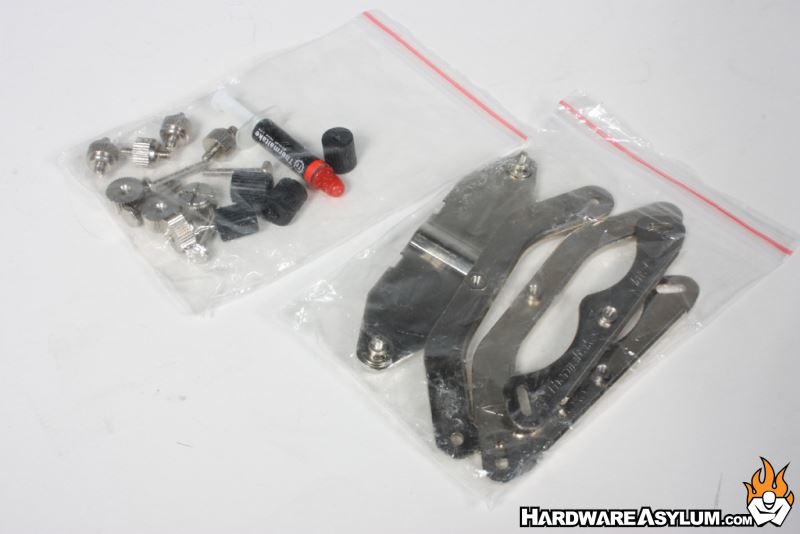
Installing the NiC F4 is no different than any other Thermaltake aircooler, in fact they all use the same mounting hardware making the process familiar to experienced Thermaltake users. The included hardware is shown below.
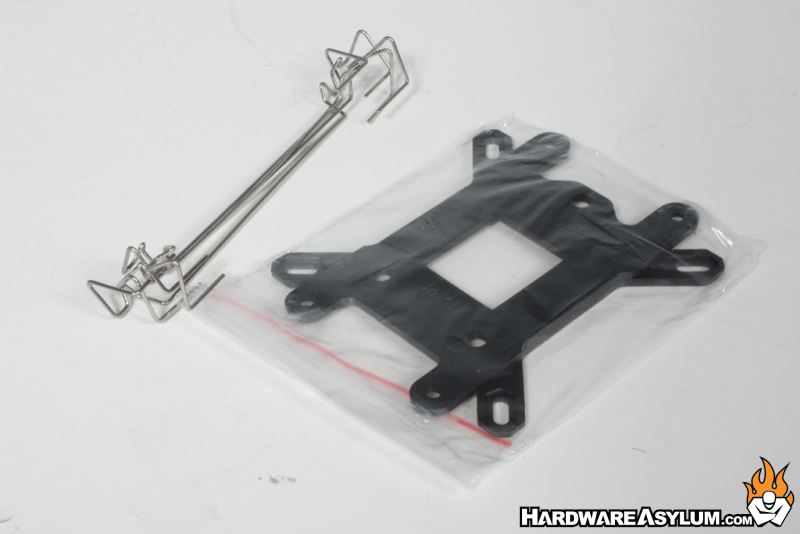
We will be testing on the LGA1155 Sandy Bridge platform and to get started you must first install the backplate and install each of the mounting pins.
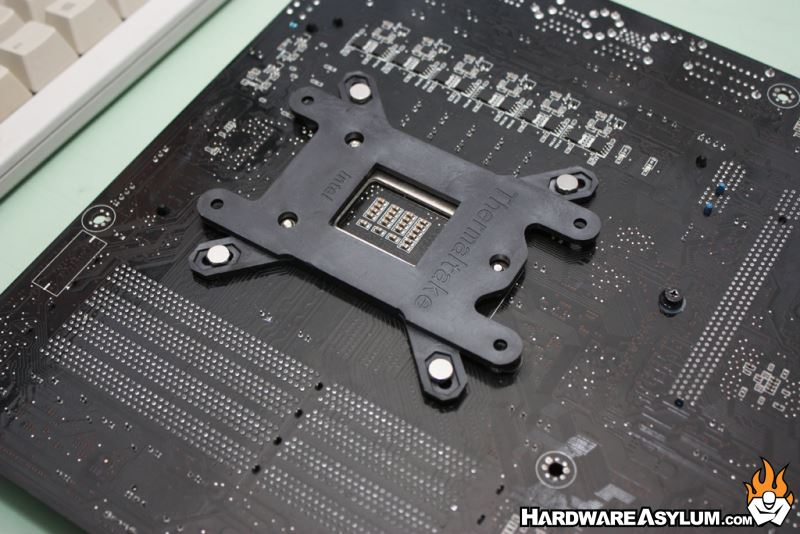

These pins are held in place using four threaded plastic standoffs which install from the top. We have found it best to hold the pin in place while threading the standoff. Working from opposite corners will also make quick work of this process.
Next you'll install the mounting plates and be sure to place them with the arcs facing the processor with the raised parts of the rails facing up. Turning them around will prevent your heastink from installing correctly. Each of the mounting plates is held in place with a thumb nut.
Next you'll install the mounting plates and be sure to place them with the arcs facing the processor with the raised parts of the rails facing up. Turning them around will prevent your heastink from installing correctly. Each of the mounting plates is held in place with a thumb nut.
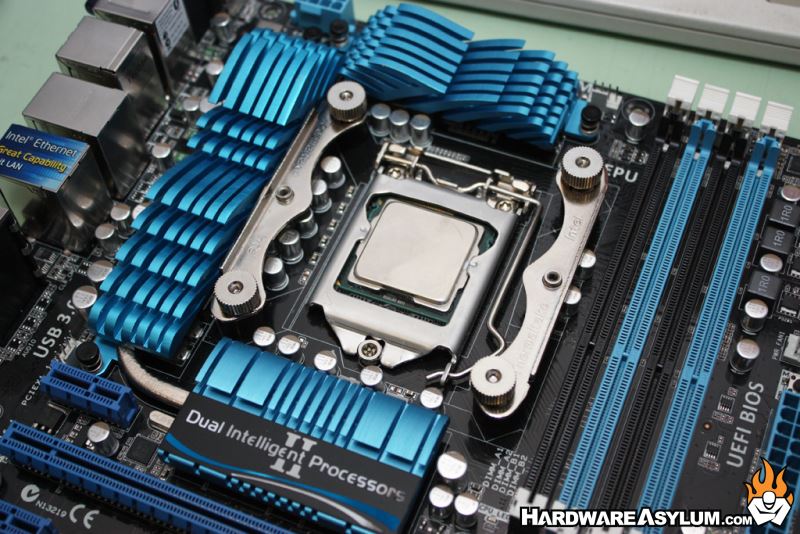
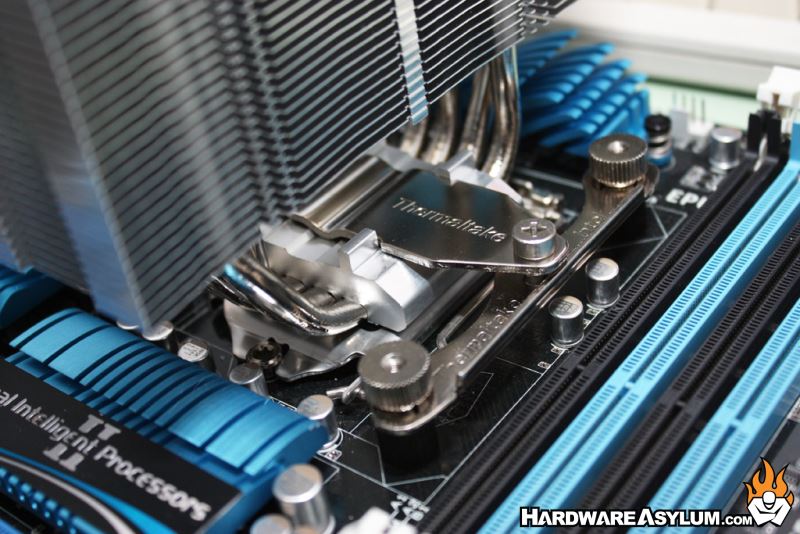
How you install the mounting plates will determine the orientation of your heatsink. Installing them as pictured will have the tower parallel to the long length of the motherboard and memory modules.
Once the mounting plates have been installed you can apply some thermal paste and secure the heatsink. We prefer the 5-dot method however keep in mind that with a core contact design like this you will need more paste than normal.
To secure the heatsink line up the mounting screws with the posts on the mounting plates. Loosely tighten each side evenly until the screws stop. When you are done, plug in the fans and you are ready to go.
Clearances
As you can see from the photo the NiC F4 does a great job at clearing the memory slots with plenty of room available to fully populate the motherboard.