Aorus Z490 Master Motherboard Review
Author: Dennis GarciaBoard Layout and Features
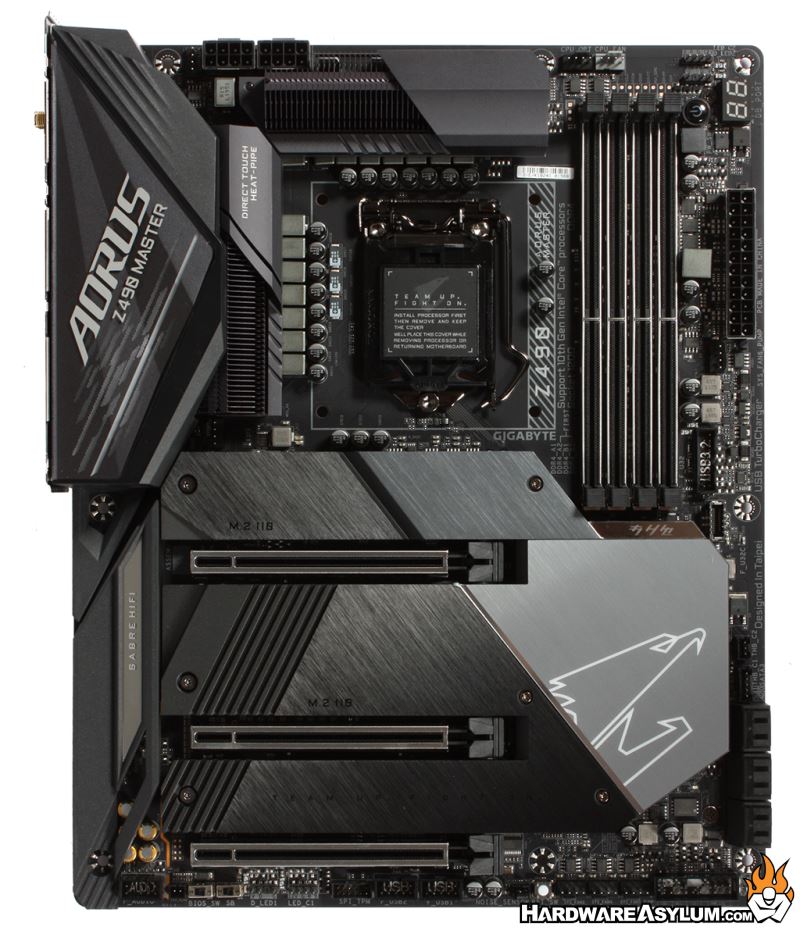
On the surface the Z490 Aorus Gaming motherboard looks like any other LGA 1XX0 based motherboard. PCI Express expansion slots at the bottom with a CPU socket and VRM at the top. The form factor is “standard” at a little over 9 inches wide and will fully utilize the 9 mounting screws in a standard case.
The one thing you cannot experience from simply looking at the motherboard is the sheer weight of the board. Now, weight is subjective as the motherboard is not heavy however, when compared with other motherboards you can tell there is a little sumpin sumpin attached to the PCB. This has been a common freature of Gigabyte motherboards which speaks mostly to the quality of heatsinks and other components used to build the board.
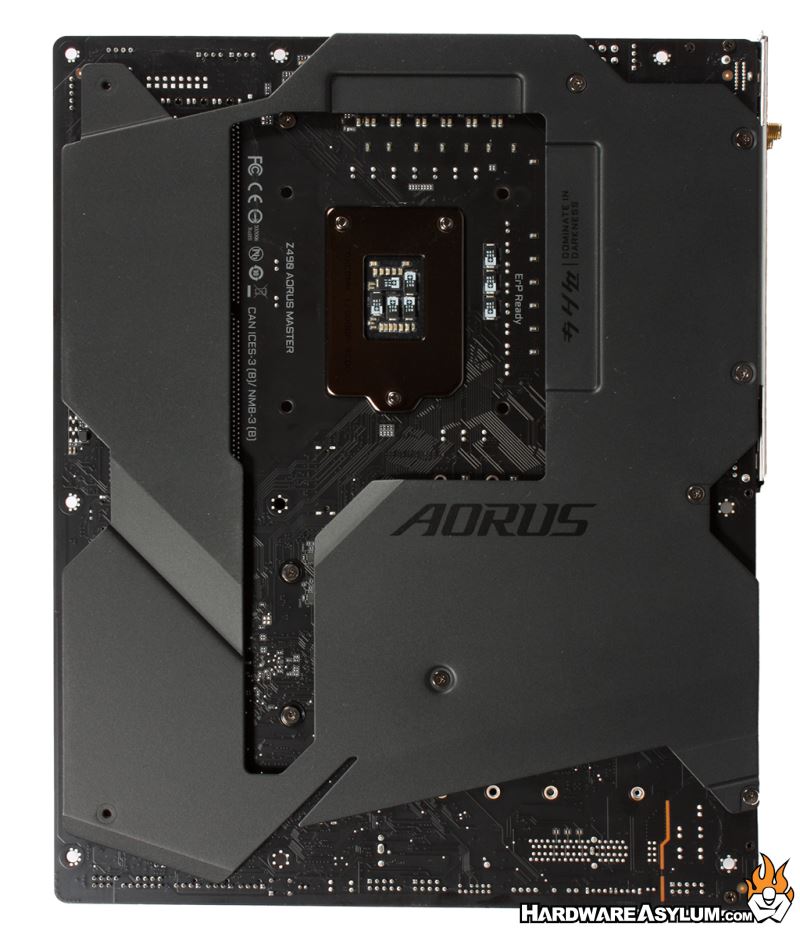
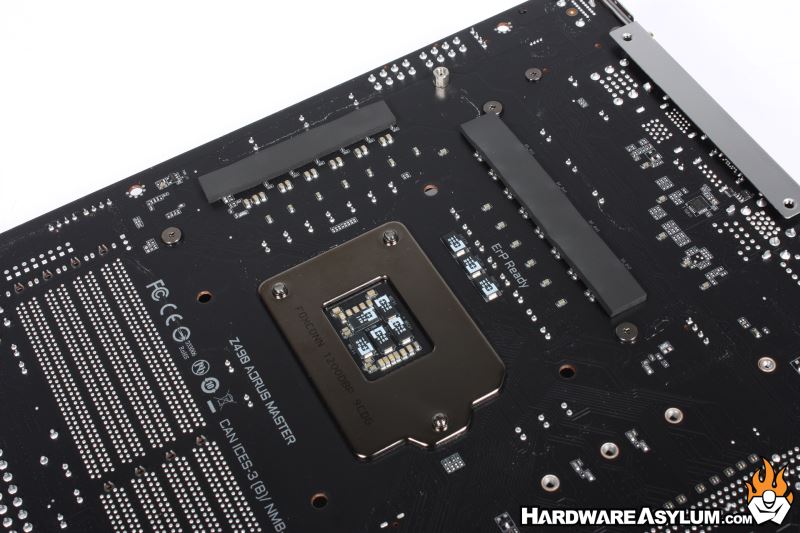
Looking at the back of the motherboard you can normally get an indication as to how the motherboard is constructed, most notability, how the PCI Express slots are wired. In a strange twist for elegance the Aorus Master comes with a full coverage back plate that not only protects the components from damage but will act as a secondary heatsink for everything hot on the business end of this board.
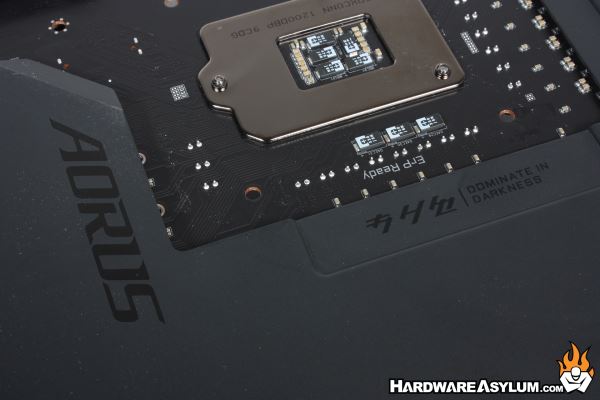
One feature that really impresses me about this motherboard is the subtle graphics scattered around the board. Here we have a ghosted phrase in gloss saying “Dominate in Darkness”. While I cannot read the kanji I find it to be a nice touch and something I wish more manufacturers would do.
Looking around the CPU socket you will find the 14 phase power supply. This is the new “Smart Power Stage” design designed to improve transient response and deliver higher efficiency. Gigabyte has never been afraid to experiment with VRM design and this is one is pretty impressive. Each Smart Power Stage can deliver 90A of power and features Tantalum Polymer Capacitors and can deliver 1260A of power to the CPU and other components.
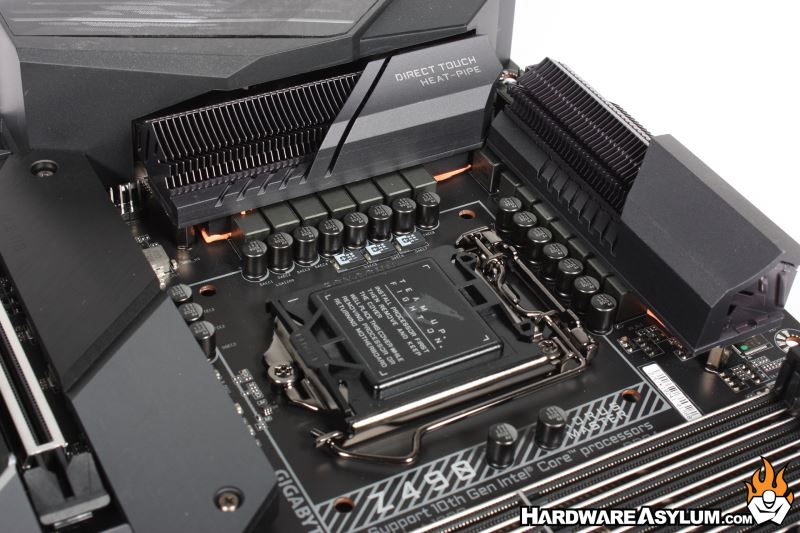
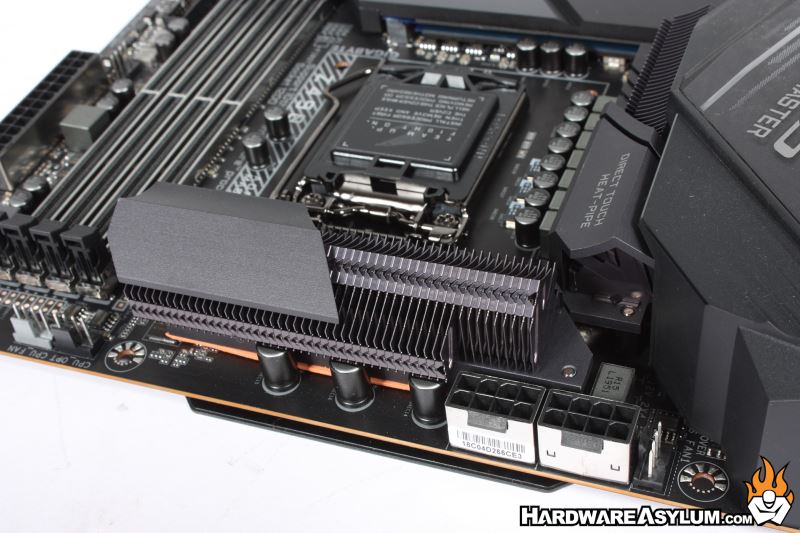
Cooling the VRM heatsink is handled with standard thin fin heatsinks with direct touch heatpipes. It is difficult to see in the photos but the two VRM heatsinks are connected with a single heatpipe and will provide balanced cooling to the entire VRM. While the design can deliver 1260A(mps) of power it does not draw or process anywhere near that under normal operation. To provide the source power you’ll find two 8-pin CPU power sockets behind the VRM cooler with plenty of access for installation and removal of the power sockets.
One thing you will notice (or not notice in my case) are the hidden PWM Fan headers. There are two hidden in these photos and to be honest I never noticed them until I started taking the board apart for this review. I’m not saying that hidden fan headers are a problem but, it would be nice to easily find them else you may not know they exist.