Noctua L9x65 Low Profile Heatsink Review
Author: Dennis GarciaCooler Installation
Installing any Noctua heatsink is extremely easy and their universal mounting hardware not only is one of the best we have ever used but works with any Noctua cooler currently on the market. The system is so universal that when new socket configurations come out you can contact Noctua and get a free socket upgrade kit with proof of purchase.
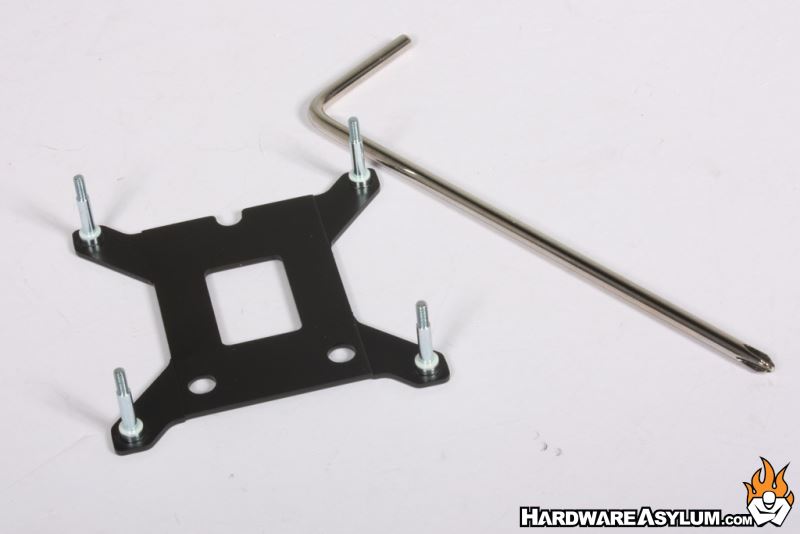

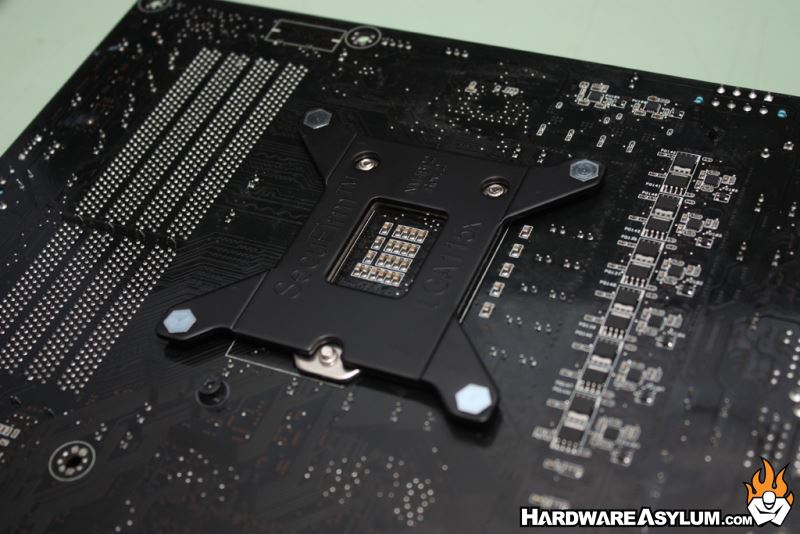
We will be testing on the LGA 115x platform so you start by installing the back keeping in mind that the socket bolts will need to line up with the back plate. You then place the included spacers over the exposed threaded posts.
Next you secure the mounting plates to the threaded posts using the included screw caps. These simply lock down without any sort of spring pressure.
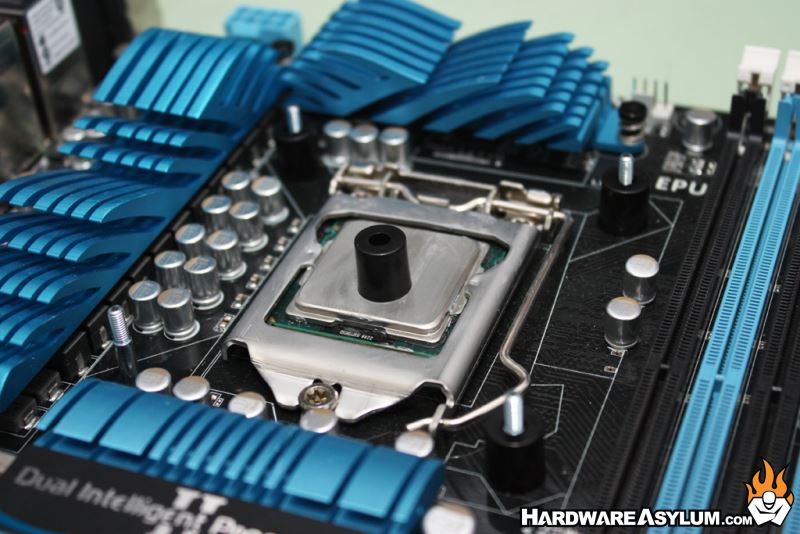
You should trial fit the heatsink to determine the best orientation to install the cooler and make sure the arcs in the mounting plates line up with what is illustrated in the instruction manual. On tower style coolers you will also need to test fit the heatsink to ensure proper clearances around memory modules and make sure the fans are pointed the right direction. .

Once you have determined the heatsink orientation you can install the mounting plates with the included screwcaps and apply some thermal compound. We prefer the 5 dot method with dabs in the illustrated configuration.
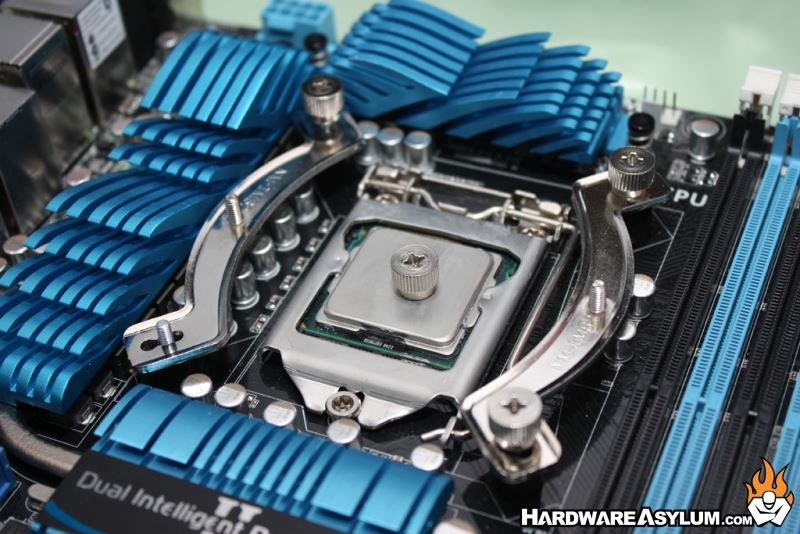
To secure the heatsink you may need to first remove the cooling fan and use the included screwdriver to tighten the two spring screws. Do this in stages to ensure equal pressure on the processor and promote a good spread of thermal paste.

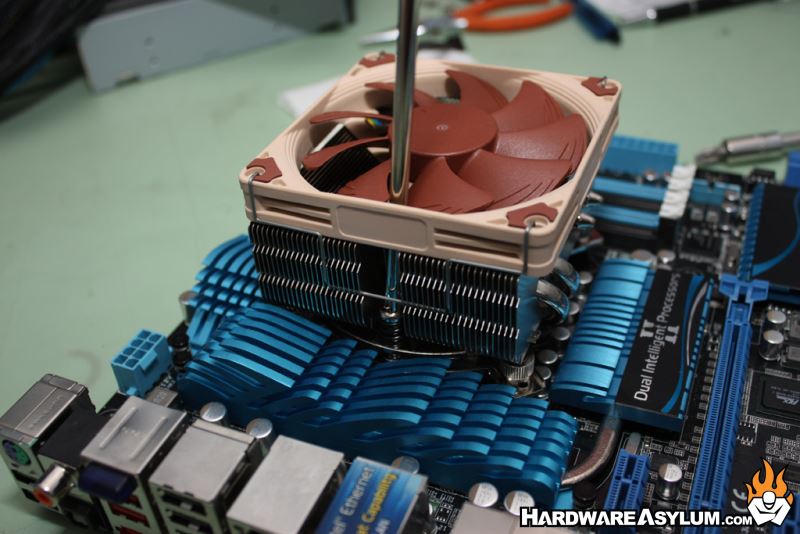
Once secured, reinstall the fan, hook up the fan header and away you go.