bequiet Pure Loop AIO Watercooler Review
Author: Dennis GarciaPure Loop Details
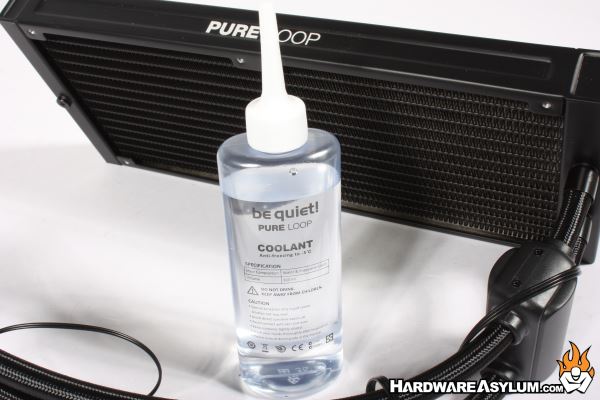
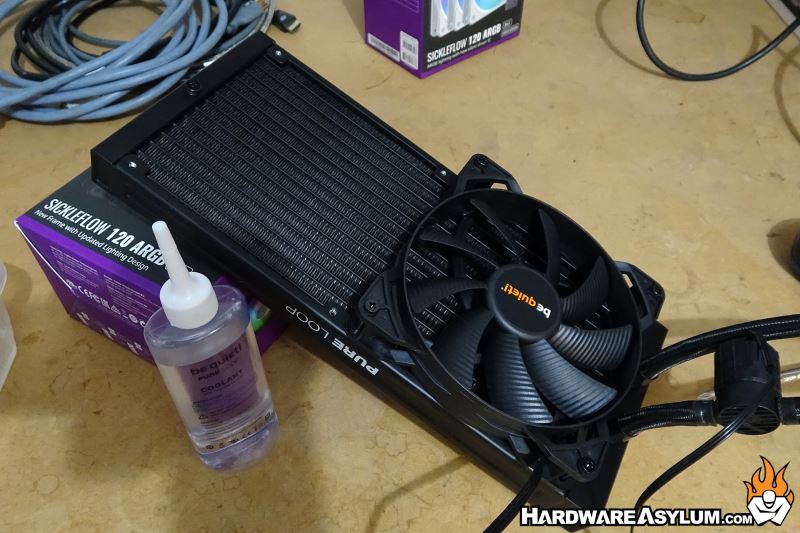
Most AIO coolers are designed to be zero maintenance. You install the cooler and aside from an occasional dusting that is all you should need to do. Of course, with an open loop DIY cooler you have to contend with yearly coolant flushes and that is something that bequiet allows you to do with the Pure Loop. While I don’t believe a coolant flush is required the cooler comes with extra coolant allowing you to top off the loop after several years of use.
It is a little-known fact that all AIO coolers feature an “air bubble” in the loop. The air is not a byproduct of how the cooler is filled but done purposely to prevent them from exploding during shipment. It can also become an issue when installing your cooler as the air can get trapped causing the pump to cavitate and not actually move any fluid.
The fill port on the Pure Loop not only allows you to refill your cooler but also can be a way to reduce the size of this bubble as you top off your cooler. Just to be clear, if the AIO is mounted properly you will have years of trouble-free operation and many never need to touch it. However, it is nice that bequiet is giving you that option.
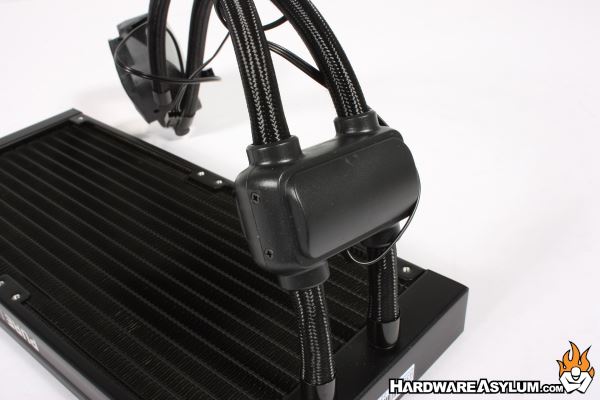
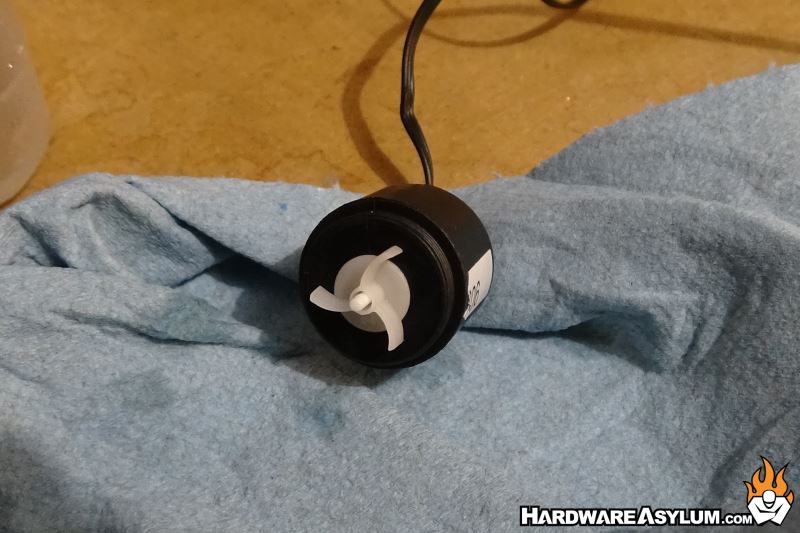
Because the Pure Loop is different, I felt compelled to take it apart to see what kind of pump they decided to use. To access the pump you need to first remove the screws that hold the plastic cover in place. This will expose the pump and shows that while the plastic part attaches to both hoses the pump only engages with one.
The pump base is installed inline and the pump threads in similar to how you would install a D5 making the Pure Loop is just a mini-DIY loop disguised as an AIO.
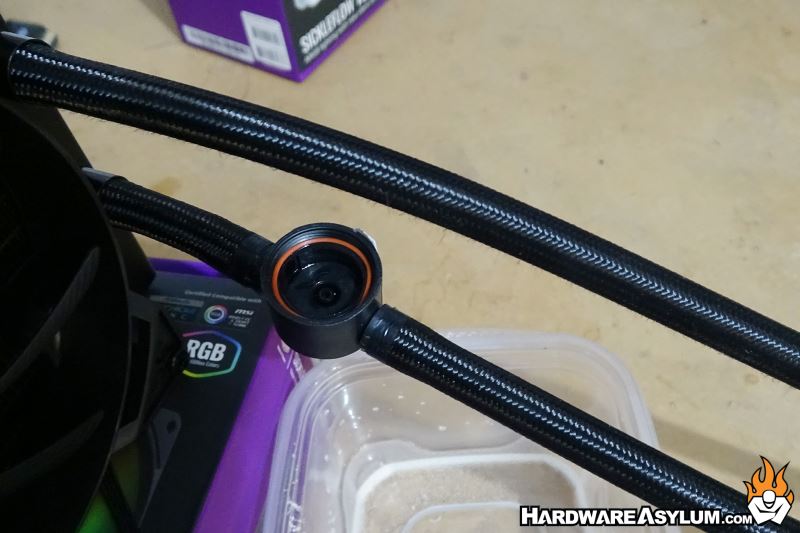
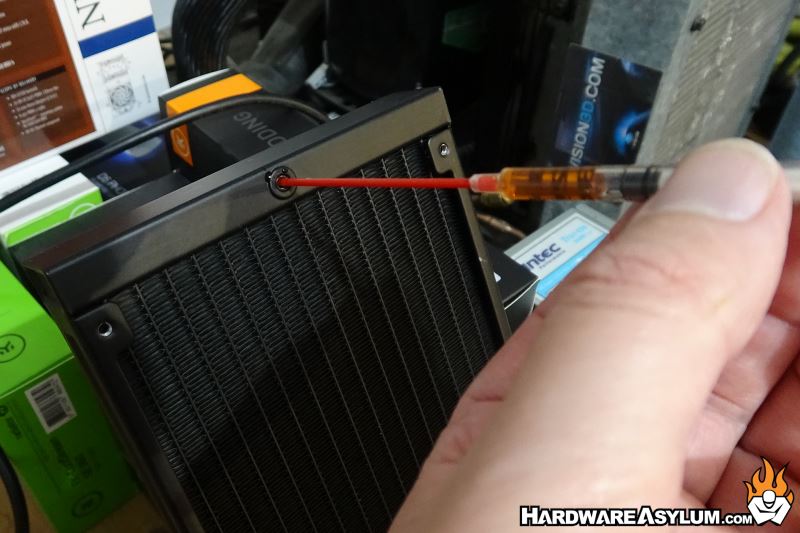
As you can imagine by removing the pump will drain most of the coolant and I found that the fill port to be just large enough to accommodate a screw and yet too small to be useful. The nozzle in the coolant bottle allows you to create a pressure seal against the fill port which can prevent spills but doesn’t allow you to actually fill the radiator. Squeezing the bottle will force coolant in and you can suck air out but it will never completely top off leaving the loop with a much larger airbubble than what you got from the factory.

To solve this dilemma, I created a tool. This is a small syringe (maybe 1CC) and forced the directional nozzle from WD-40 can into the end. In doing so I was able to fill the loop while allowing air to escape. The process worked best with the radiator propped up while the CPU block and pump hung off the edge of my workbench. And, It worked like a charm and the coolant got a drop of orange just for the camera.