bequiet Pure Loop AIO Watercooler Review
Author: Dennis GarciaCooler Installation
Installing the bequiet Pure Loop was actually easier than I expected thanks for the universal mounting hardware. I’ll be testing on the LGA 115x which will require the use of a backplate, other systems may not need this step so refer to the instructions.
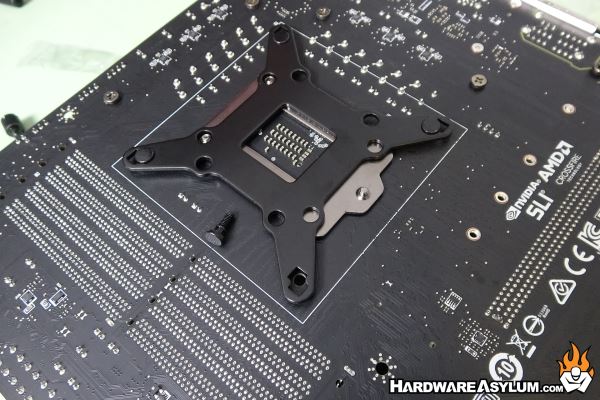
I did find it difficult to keep the little black posts in place for the next step so my advice would be to work slow. To keep the posts in place use the long knurled nuts and secure them finger tight over the posts. This will create the base for the mounting rails to attach.
There are slots for a screwdriver but I didn’t need to use them.
Much like many “other” coolers on the market the universal mounting hardware changes the mounting pattern to conform to the cooler instead of the cooler conforming to the motherboard. For the Pure Loop you’ll find a two post mounting system that is held down with four small screws.
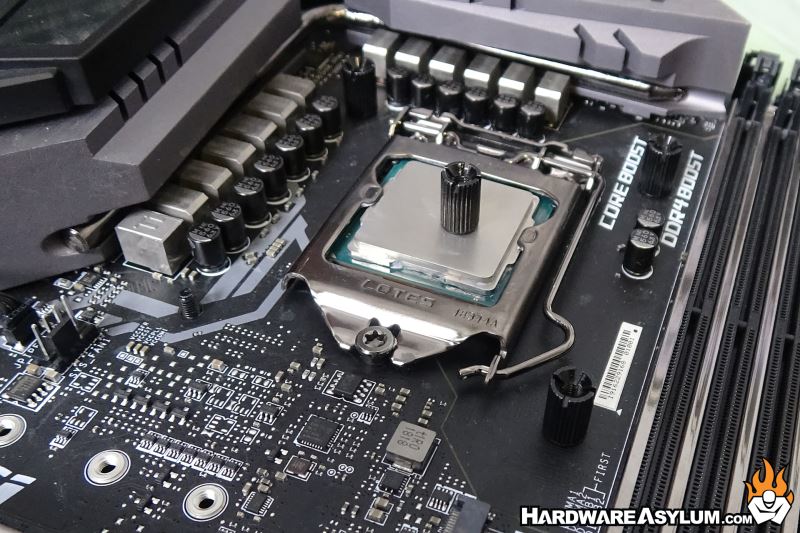
Once the mounting rails have been installed you can apply some thermal paste. I prefer the 5-dot method and find it to be the most accurate and most repeatable process available. Though I won’t judge if you buy into any of the others.
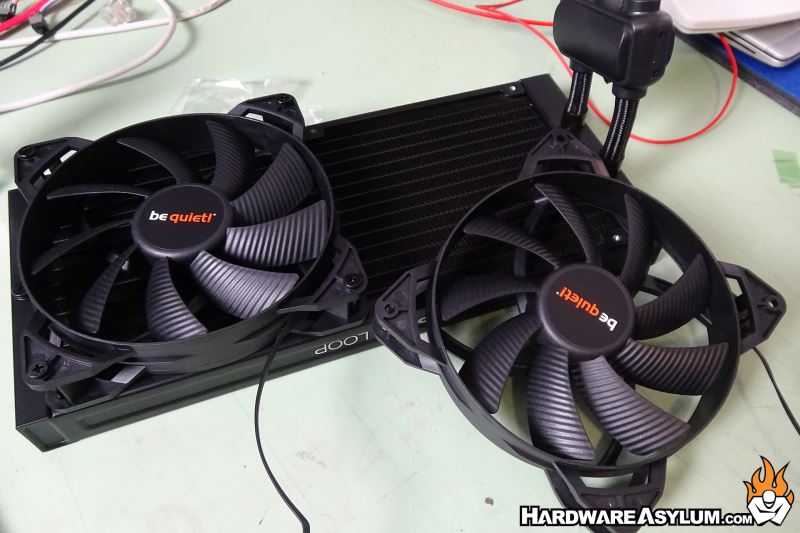
I like to install the fans before installing the cooler. As this will be tested on an open bench it really doesn’t matter just so long as the fans are security mounted and the tails exit the same side of the radiator.
Finally, there are two screws that secure the Pure Loop to your motherboard. These are not spring and should be tightened in an alternating pattern until they bottom out.
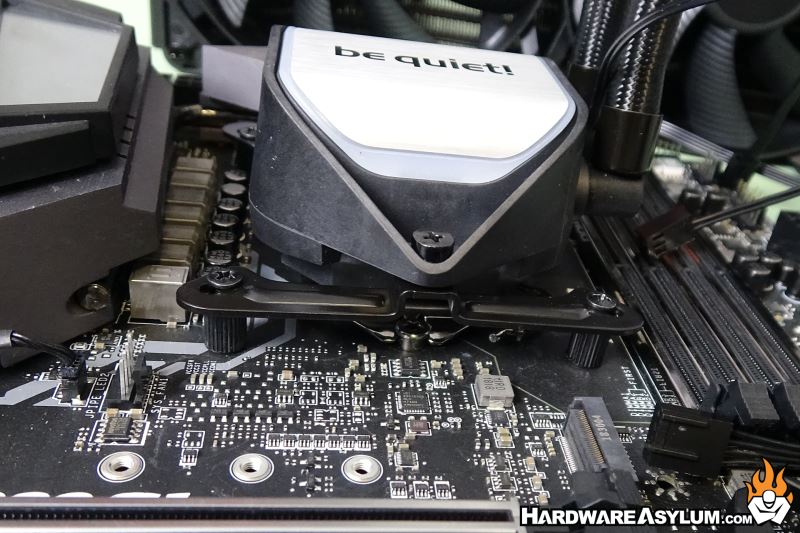
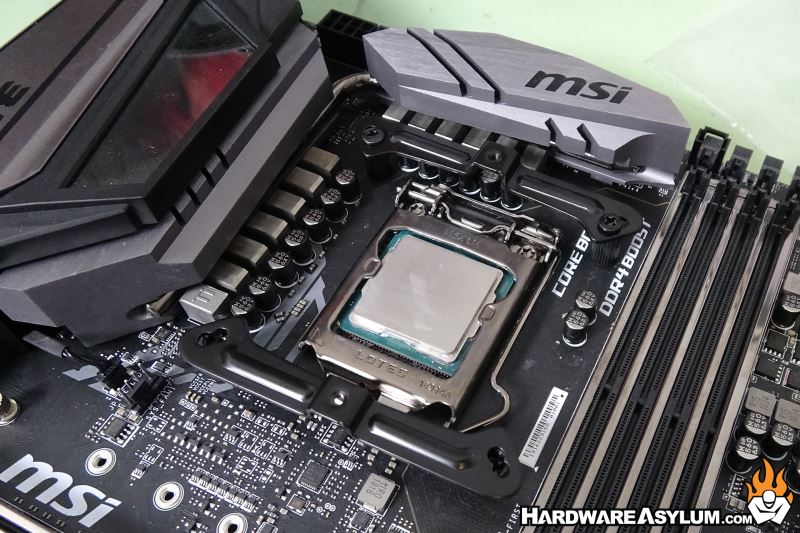
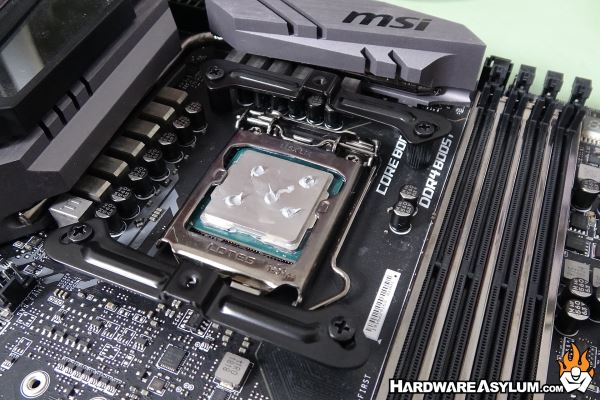
On my test bench I preferred to have the logo parallel to the expansion slots which put the hose elbows extremely close to the memory sockets. In your build I might choose a different orientation.