ASUS Strix Z690-E Gaming WiFi Motherboard Review
Author: Dennis GarciaBoard Layout and Features
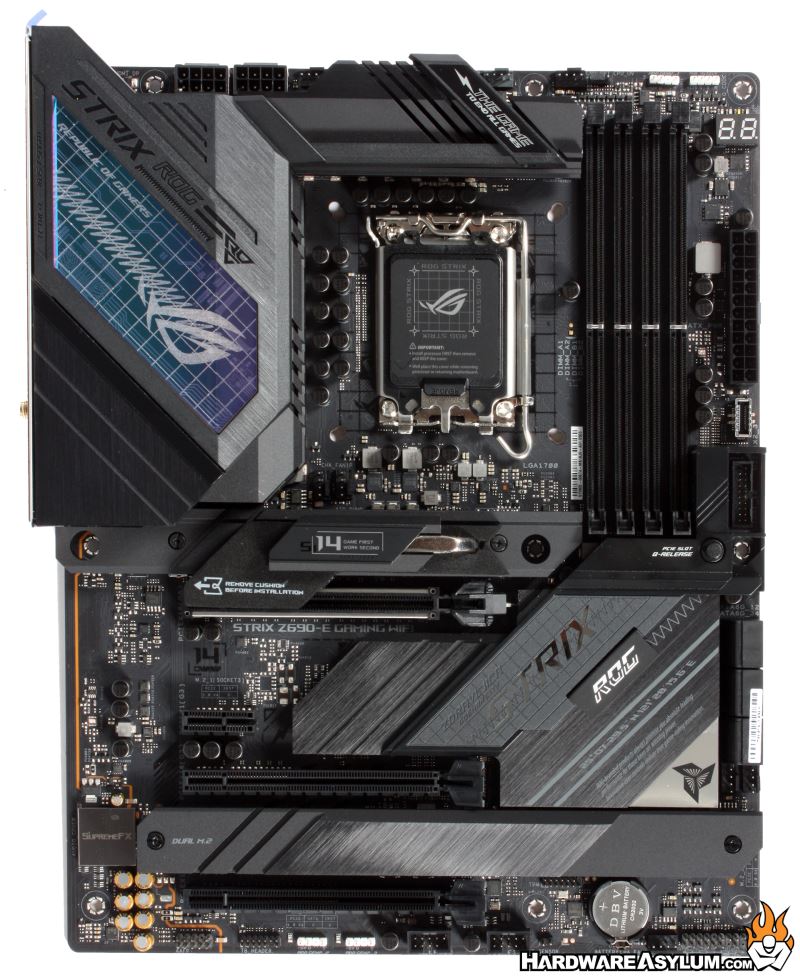
One of the biggest differences between the STRIX and Maximus motherboard lines are with the onboard decoration. The change in decor helps to save money while still delivering a certain degree of class and style. Given that the STRIX is a "gaming" line and that the motherboard is designed to be in a case the overall decoration on the STRIX Z690-E Gaming has been reduced to an assortment of individual covers that collectively make the board look like it is fully covered.
However, the individual details are what make this design worthwhile.
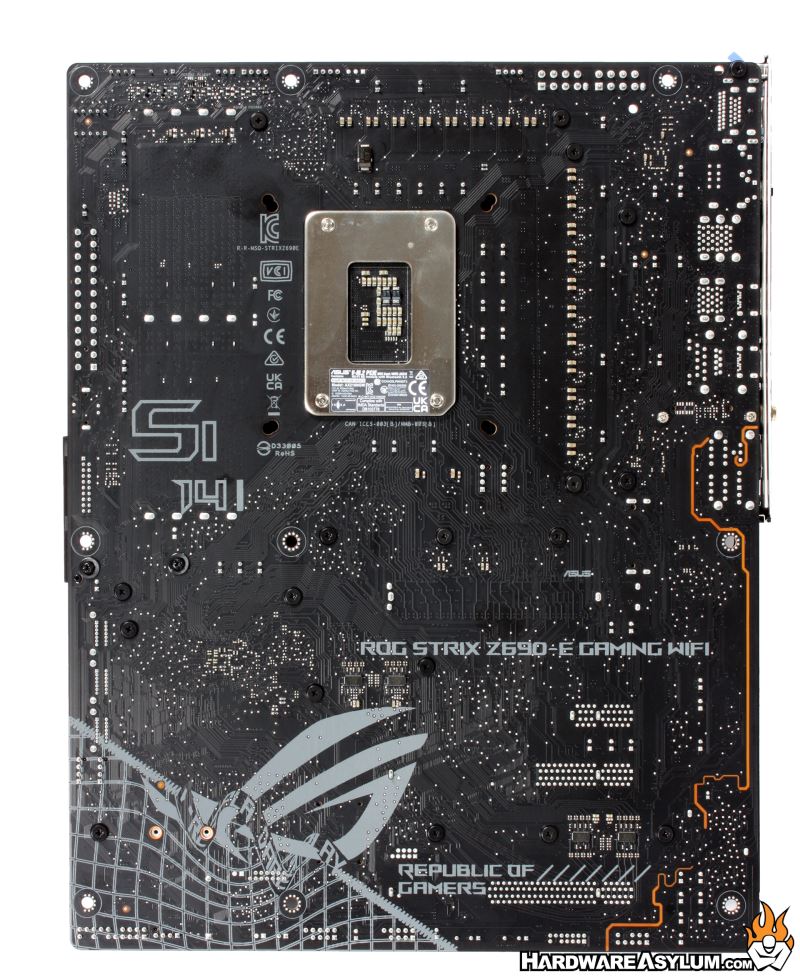
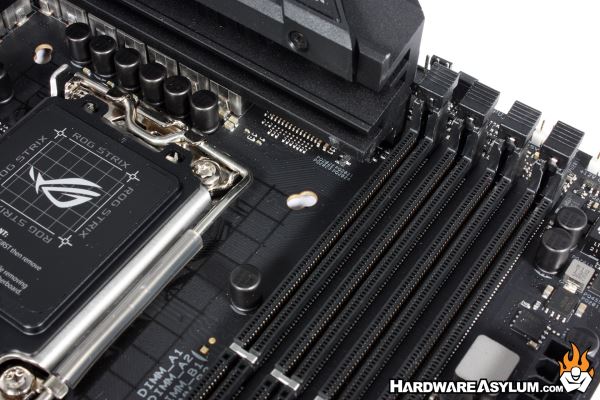
Looking at the back of the motherboard we can normally get an indication as to how the board is constructed. For instance, you can look for how the PCI Express slots are wired, location of the memory modules and even the location of the M.2 drives.
Thing is, the memory sockets appear to be surface mounted and no longer have traces reaching through the motherboard PCB. The primary PCI Express slot are also surface mounted while many of the other slots feature traditional connectors. Several years ago, many high-end overclocking motherboards featured the same surface mounted components in an attempt to further shield those components from EMI.
It would appear the same is being done here allowing the PCB ground plane to absorb interference to increase stability.
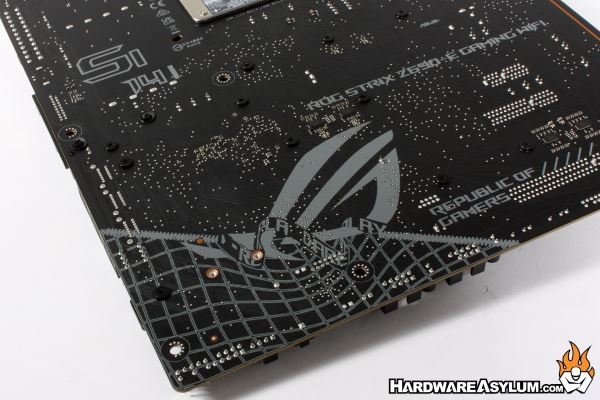
I’m also a fan of the silkscreen graphics on the back of the PCB. It has been a while since we have seen this and I’m glad it is making a return.
Looking around the CPU socket you will find the 18-phase power supply based on the number of chokes around the CPU socket. According to the documentation this is a 18+1 phase VRM encased in an extremely large heatpipe connected heatsink.
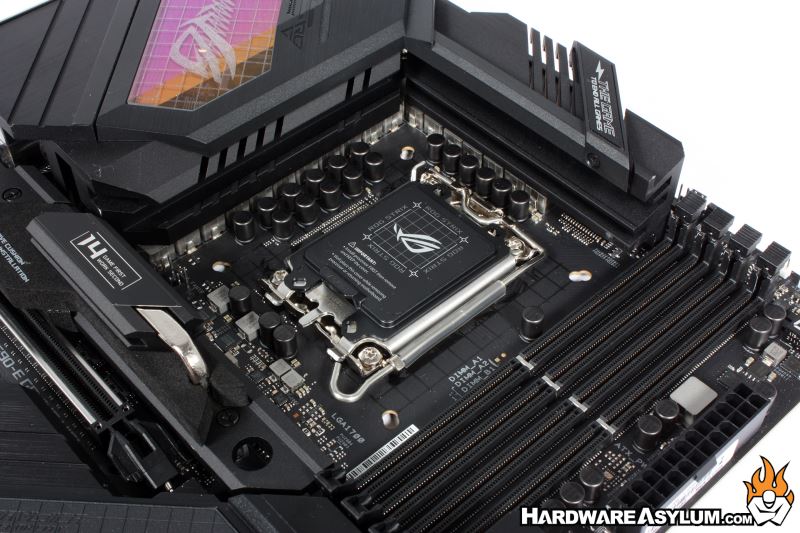

The new LGA1700 socket design is taller than the LGA1200 counterpart and features a new mounting system that resembles what we had on the LGA20XX. The primary latch will unlock the cover and allow it to swing away from the opposite side. I have always been impressed with that processor retention method as it seems to provide more clamping force and doesn’t require a rogue pin sticking up though the PCB.
To offer a more stable heatsink mounting system the LGA1700 socket is using a larger mounting footprint. The previous design has been with us since Sandy Bridge with literally thousands of different heatsink combinations to choose from.
To help early adopters of Alder Lake and the Z690 chipset you will find a dual heatsink mounting holes in the PCB supporting the new LGA1700 and older LGA1200/LGA11XX heatsinks. Keep in mind that while you “can” install and older heatsink you will want to ensure that the cooler can handle at least 250w, else you are going to have a bad time.