Custom Painting a Thermaltake Core V51 Casemodding Project
Author: Dennis GarciaThe Second Coat - Ground and Color
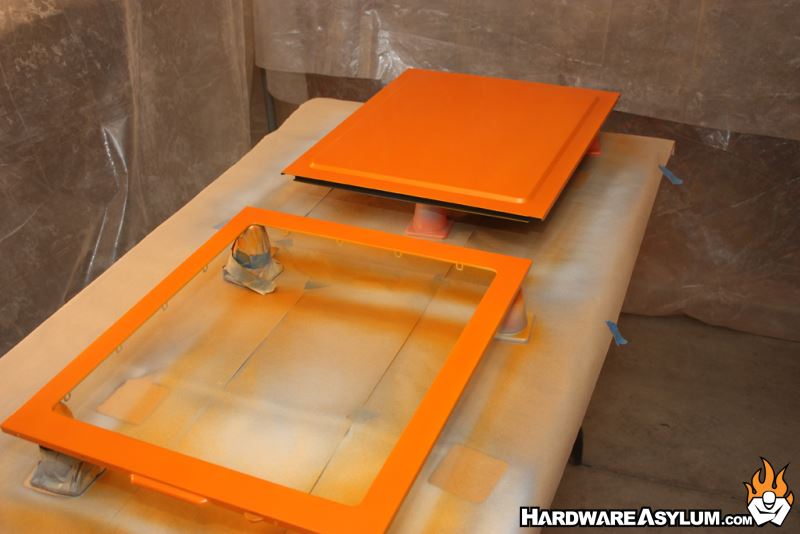
The next color is a white basecoat and the first part of the tri stage paint. Most pearl paint finishes use a white basecoat so that light will reflect back thru the pearl layer but that isn’t always the case and usually left up to the painter to determine.
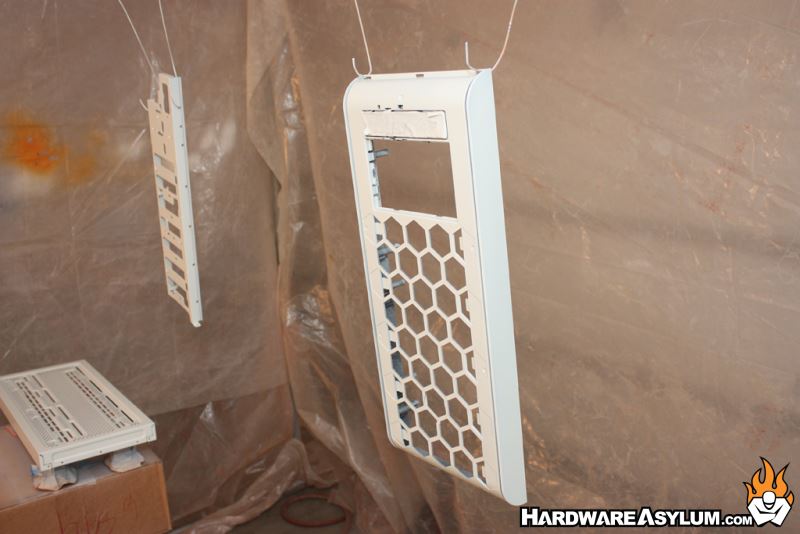
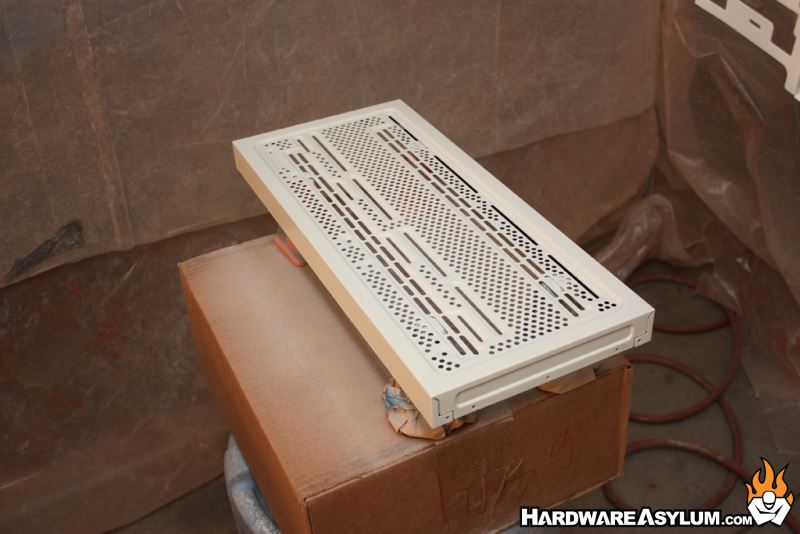
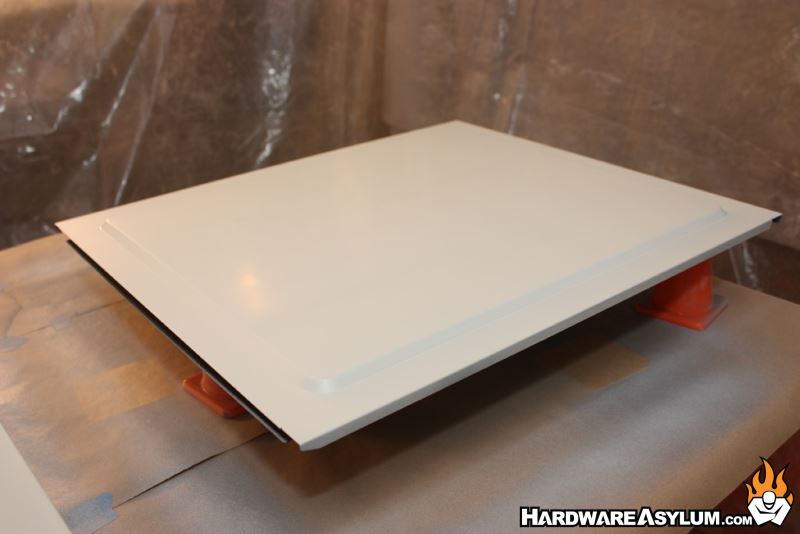
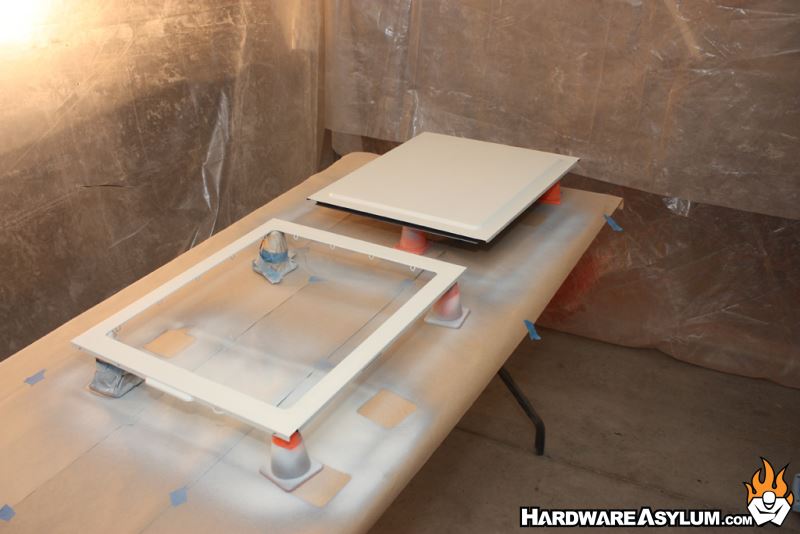
It is important to get the ground coat applied evenly so all of the parts are a bright white. The grey from the sealer coat has a nasty tendency to darken everything if not completely covered.
The midcoat, or color coat as I call it is the main orange and pearl mix. Just like with the white basecoat the color goes on and is applied evenly to give that orange luster.
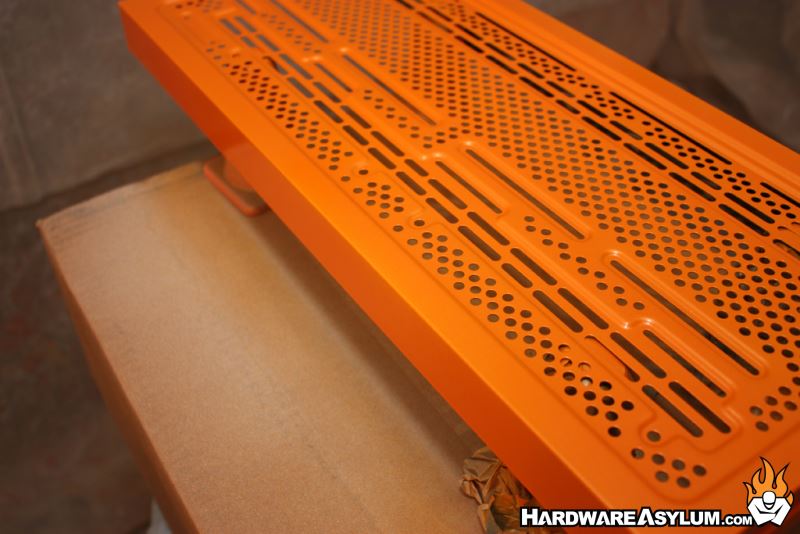
This was the most challenging part.
As I mentioned before I’m using a smaller spray gun designed for touch ups. The paint cup is smaller and it sprays in a shallow pattern meaning that you not only need to be close to the work but spray in overlapping patterns. On small parts this isn’t a problem however, the large back panel would be seen by everyone and needed to be free of “banding” or the lines created by the pearl as the gun went back and forth.
I spent quite a while painting that panel until I was happy with the way the pearls aligned.
As a side fact, most painters would tell you that when painting pearls you also need to align the parts together so that the spray lines will match when the parts are reassembled. I didn’t do that but attempted to spray in the same direction to minimize the impact.