ASUS Maximus XII Hero WiFi Motherboard Review
Author: Dennis GarciaBoard Layout and Features Continued
Dual channel memory comes standard on the Comet Lake processor and the Maximus XII Hero supports standard speed DDR4 modules up to and beyond 4700Mhz. This will depend on your module choice and processor quality but, be humbled the board can handle it. A maximum of 128GB is addressable with the proper module density.
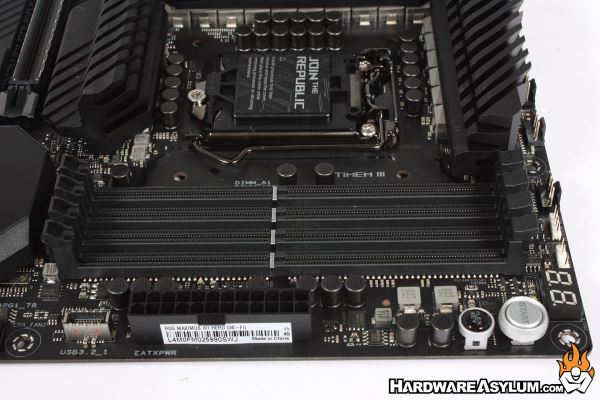
Below the memory sockets you’ll find the onboard bench controls including the large START button and a new FLEX KEY button. By default the Flex Key is your standard reset however you can reassign its feature in the BIOS to control the AURA lighting effects or do a Safe Boot if you happen to be pushing the limit with overclocking.
At the bottom of the board is another overclocking friendly feature called the ReTry button. This works to force the board to restart when the normal reset button isn’t working (or been reassigned). It is a solid interrupt so try not to be scared when you press it by accident.
Internal SATA connections number six and follow the new SATA6 connection standard. If you happen to use any of the onboard M.2 slots be warned that some of these SATA ports will be disabled. Next to the SATA connectors you’ll find a standard USB 3.0 header mounted 90 degrees.
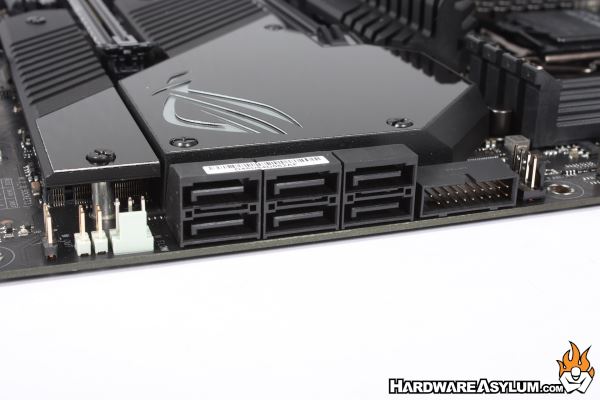
The connections nearby are dedicated watercooling ports for monitoring your DIY loops. The 3-pin fan header in white is a flow control and appears to be RPM based and a couple of temperature sensors. These are all great additions for those looking to maximize and tune their water loops.
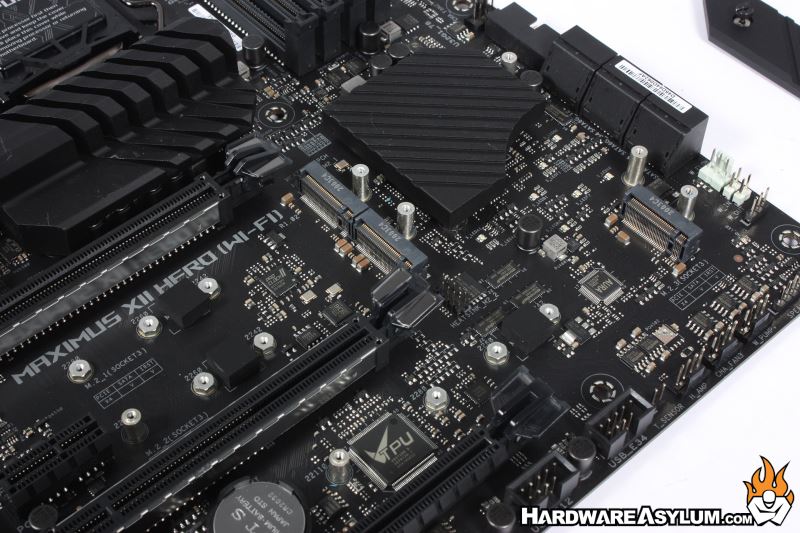
The Z490 chipset comes with 24 PCI Express 3.0 lanes and unlike the lanes coming from the processor the chipset PCIe are intended for connectivity and storage. You will find a total of three M.2 slots on this motherboard all with different key types for different devices. All three slots feature integrated heatspreaders and be warned, lots of disassembly is required. In fact the screws holding the covers in place are rather long winded so keep that in mind when you are sitting there with your screwdriver wondering when the madness will end.
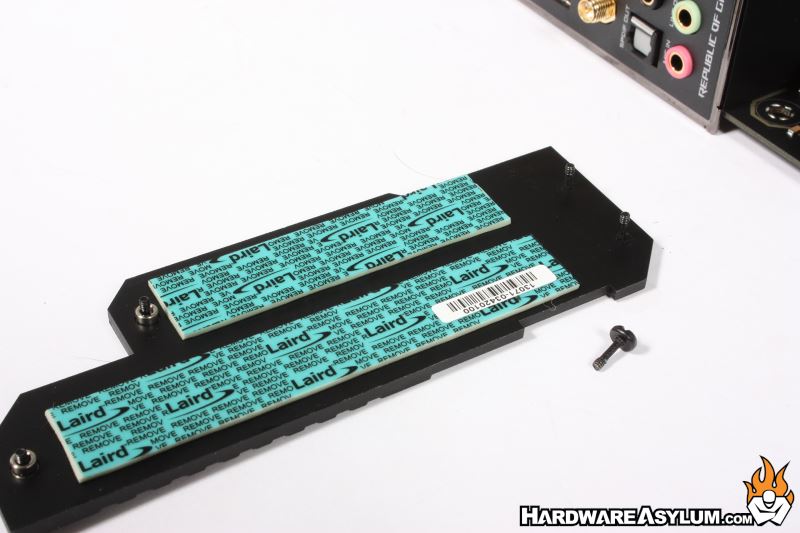
Oh and remove the plastic covers from the thermal pads if you plan to use one, or all of the M.2 slots.